Want to add a personal touch to your kitchen or gift someone something unique? Let’s transform a simple apron into something stylish and one-of-a-kind!
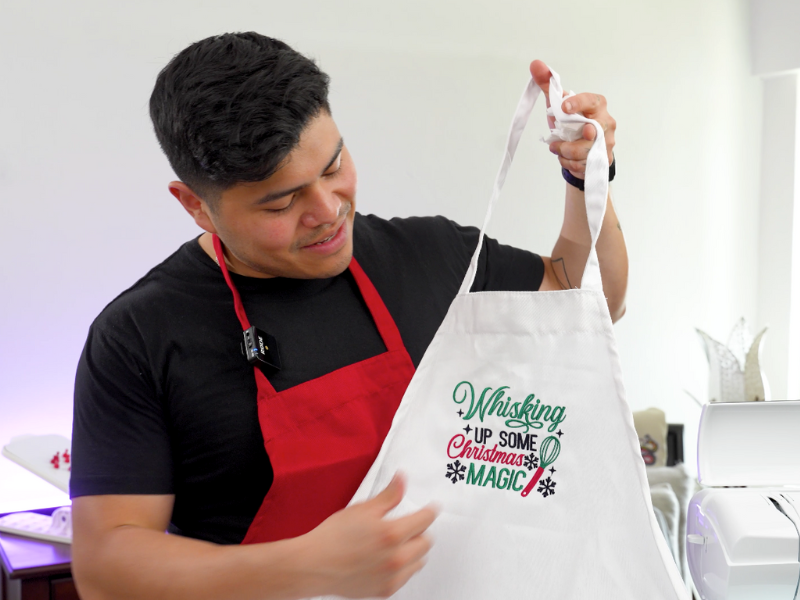
In this blog, we’ll show you how to embroider an apron with a single-needle machine—perfect for beginners! From stabilizer selection to the perfect design placement, we’ll cover all the tips and tricks you need to easily create a beautifully embroidered apron.
Enthusiasts or VIP Embroidery Legacy Design Club members receive a special embroidery cheat sheet PDF. You can save the PDF on your computer or print it as a reference beside your machine.
Login to your digitizingmadeeasy.com account and check your “Classroom” tab!)
Want a hands-on guide? Watch the video tutorial below while following along with the blog!
Embroidery Apron Materials:
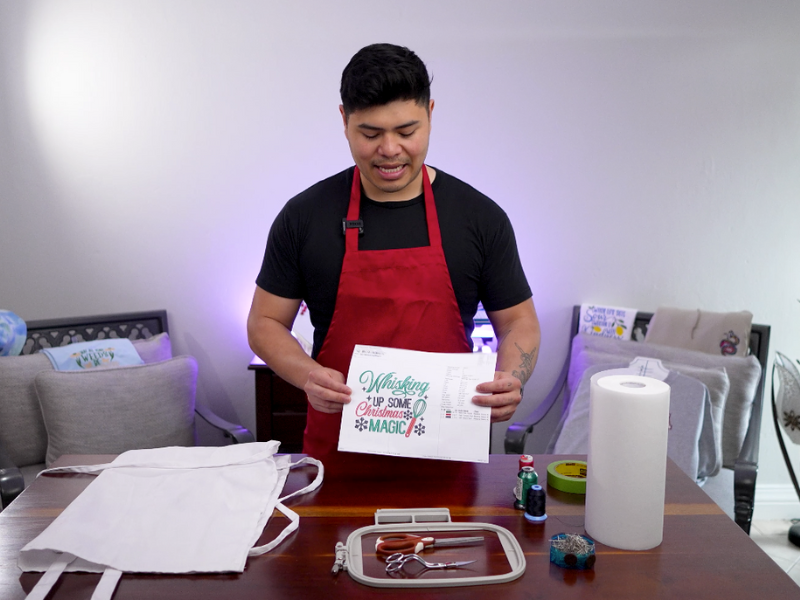
- Apron
- Embroidery hoop
- Pins
- Threads
- Scissors
- Painters tape
- Tearaway stabilizer
- Design template print-off
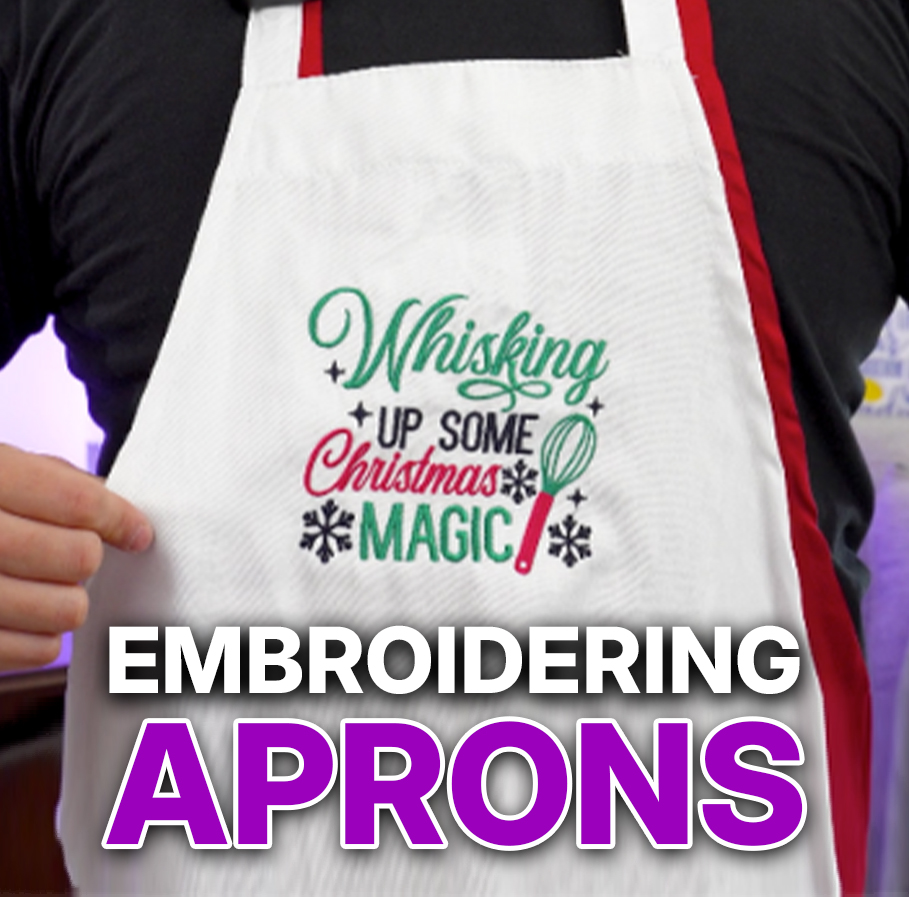
- Embroidery design – we used our Whisking Up Some Christmas Magic embroidery design
Save 90% on high-quality embroidery designs when you join our Embroidery Legacy Design Club!
Apron Embroidery Tutorial
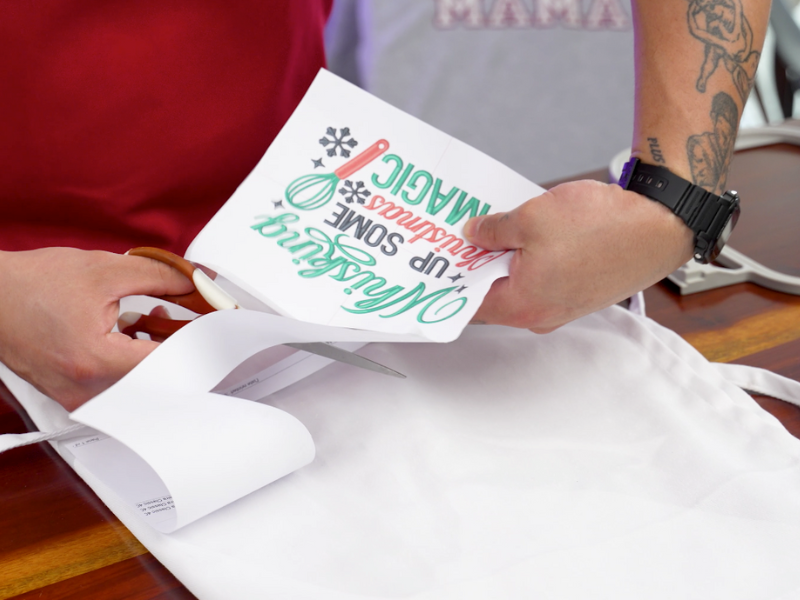
Step 1: Print out and cut your design template. Use the template to ensure your design fits within your hoop and you place it perfectly on your apron.
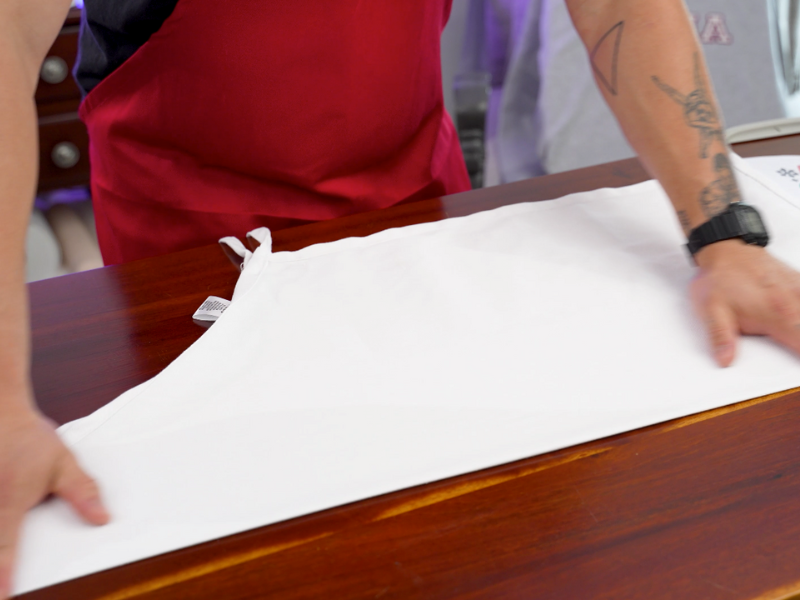
Please note: To embroider in the center of your apron, fold it in half from right to left. A crease will appear in the middle, and you can iron it out later.
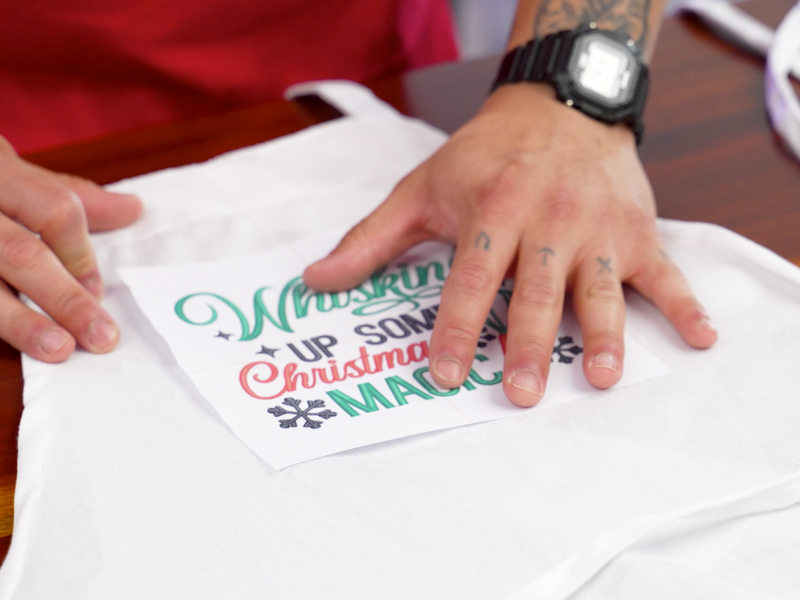
Step 2: Place your design template in the middle chest of your apron using the folded line for placement.

Step 3: Pin your design template in place. Hold up your apron on yourself to ensure you like the placement. Adjust if needed.
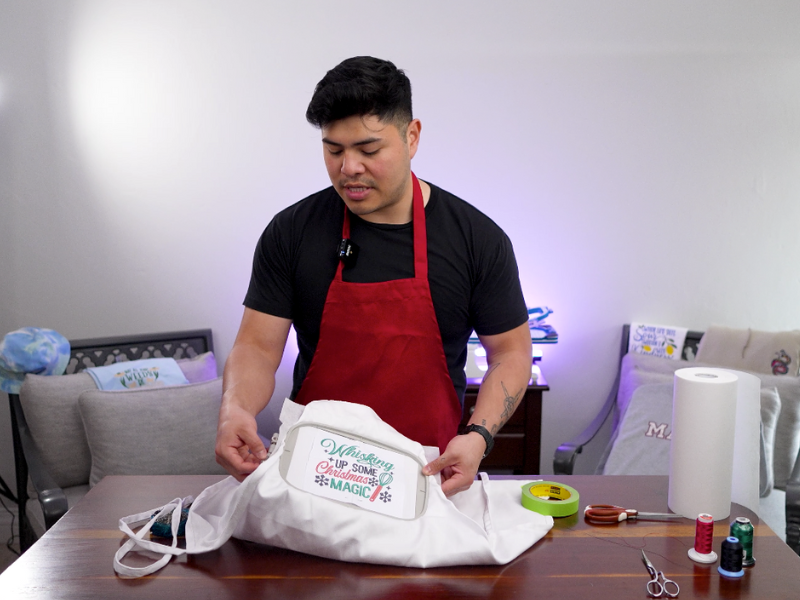
Step 4: Hoop your stabilizer and apron. If you are using a single-needle embroidery machine, position your hoop correctly. The part that connects to the machine should face the top neck area of the apron.
Watch the video above to learn how to gauge and preset your hoop for the best results and to avoid hoop burn.
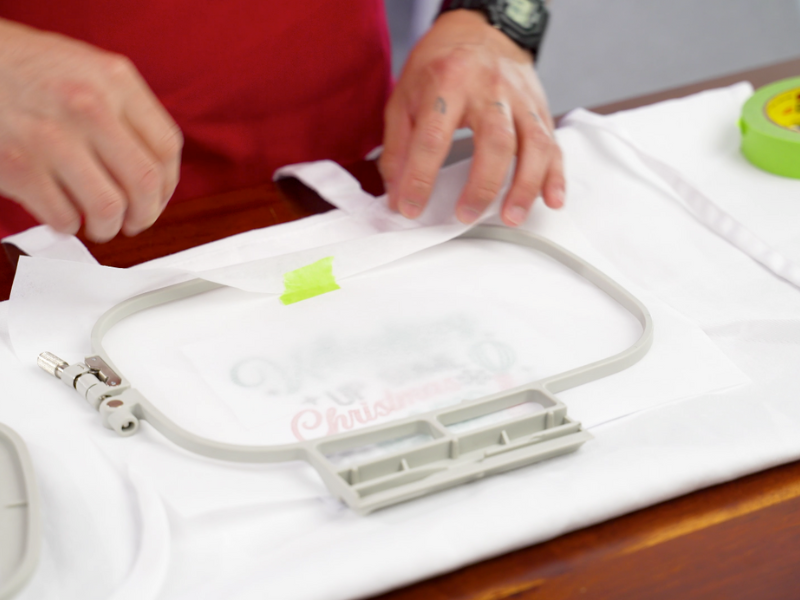
Tip: Use painter’s tape to keep your stabilizer in place on the hoop. This will stop it from moving before you hoop. We will remove the tape before embroidering.
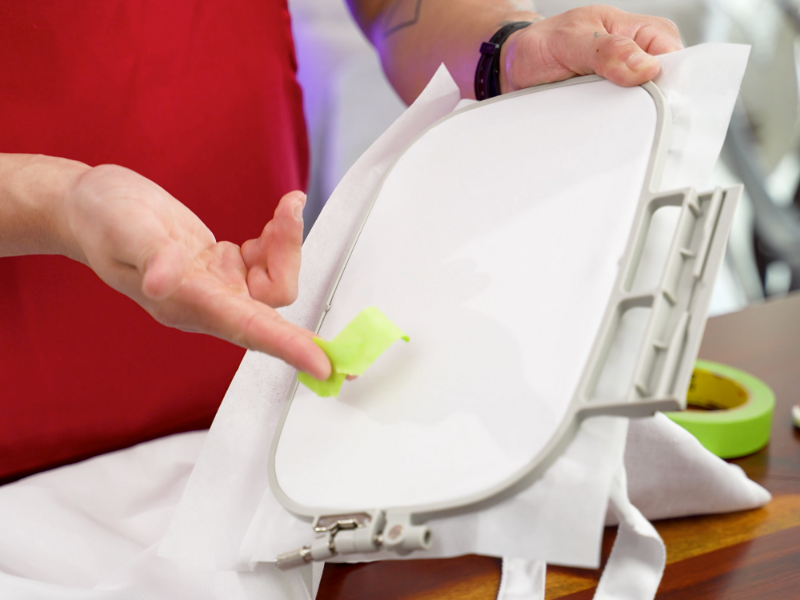
Step 5: Remove the small piece of tape from your hoop after securely hooping your apron and stabilizer.
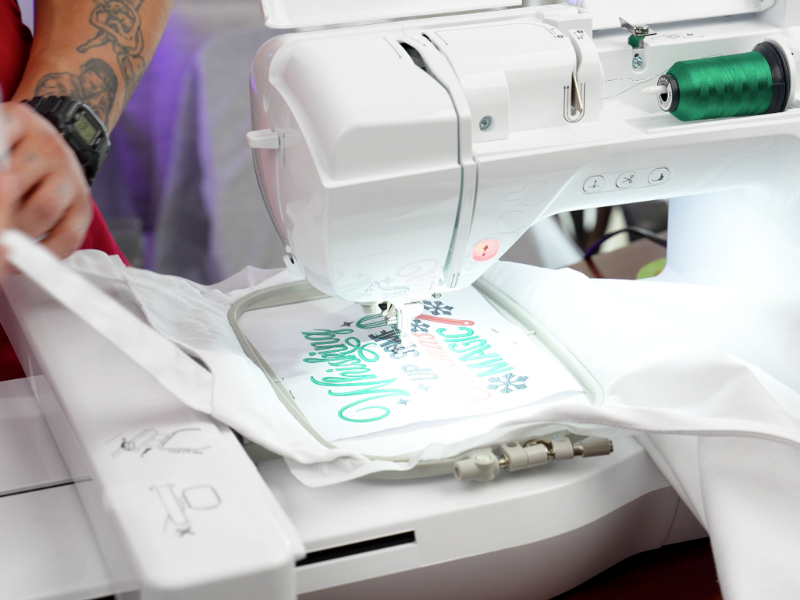
Step 6: Load your embroidery design into your machine and place your hoop. Move the next strap out of the way and ensure no fabric is under the hoop.
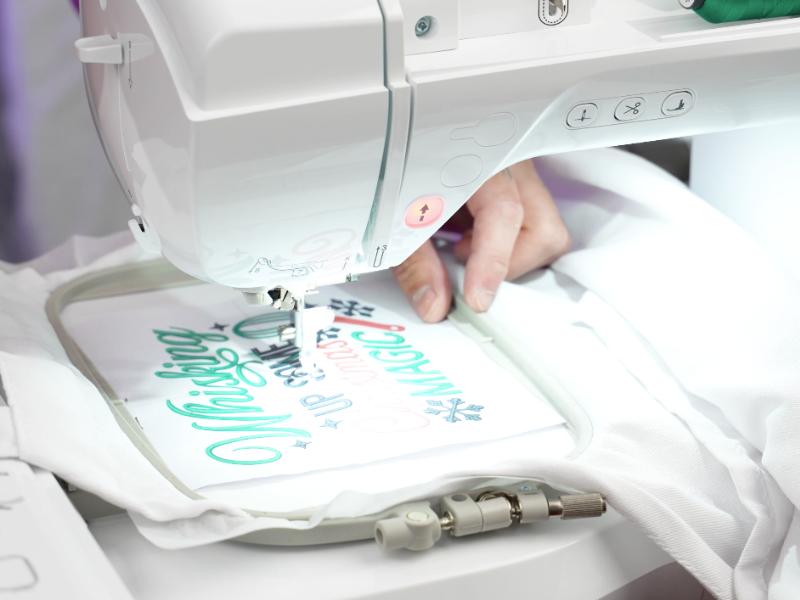
Center your needle in the center of your design template.
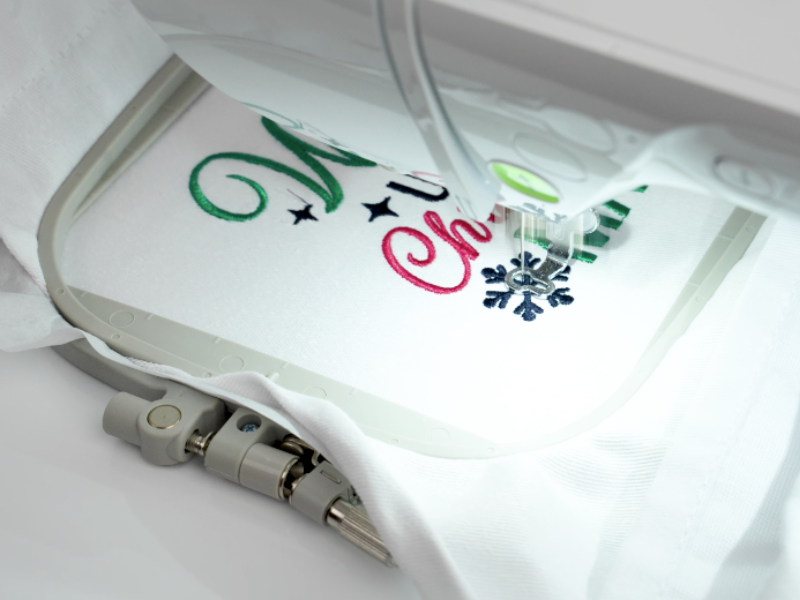
Step 7: Remove your pins and template from your bag and stitch out your embroidery design.
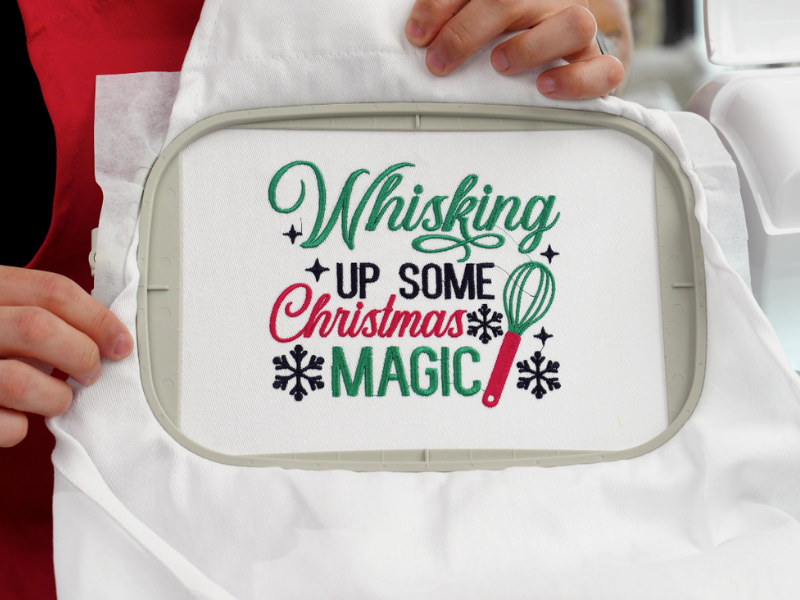
Step 8: After stitching your design, carefully remove the hoop from your machine.
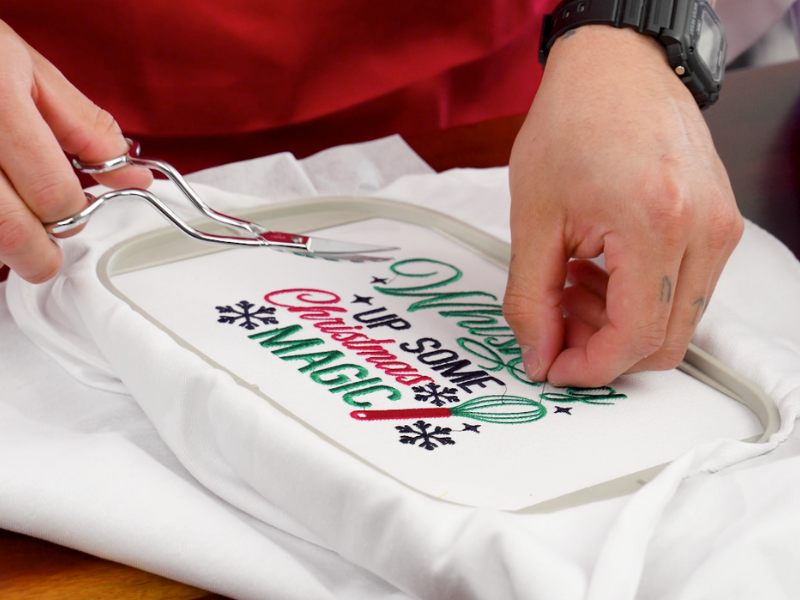
Step 9: You can trim the excess threads if you like. Remove the apron from your hoop.
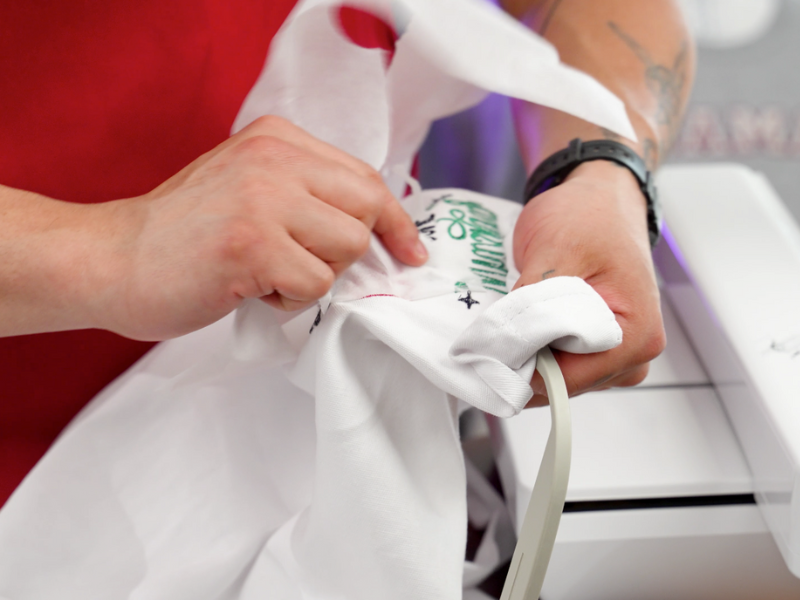
Remove the stabilizer by tearing it away.

Step 10: You’re finished and ready to use your newly embroidered apron!
Thanks for cooking up some designs with us! Now that you’ve learned the essentials, you can confidently create your personalized apron! Whether making it for yourself or as a thoughtful gift, these tips and tricks will help you achieve a professional-looking result on a single-needle machine. Happy stitching, and don’t forget to share your finished projects—we’d love to see what you create!
Remember to check out all our other high-quality embroidery designs! Want to save up to 90% on designs? Join our special Embroidery Legacy Design Club for great savings. Members get free pocket page PDFs of various embroidery techniques!



Leave A Comment