How much do you love embroidery? If you’re not sitting in front of your embroidery machine, eagerly preparing to sew out your next project, it looks like you’re reading about it!

Machine embroidery can be fun and relaxing, and you can create gifts for loved ones. I’m sure you’ll agree that, as embroiderers, we put tons of time and dedication into our machine embroidery stitch-outs. However, let’s face it, as fun as stitching out machine embroidery designs can be, the process can sometimes begin to feel repetitive.
Do you wish you could be more interactive while making creative embroidery?
If you’re looking for new ways to be inventive with your machine embroidery, you’ve come to the right place! Let’s talk about four easy-to-follow ideas you can do yourself to make creative machine embroidery.
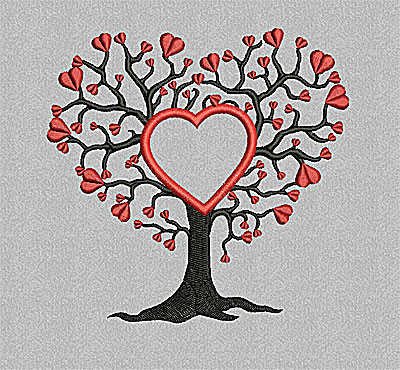
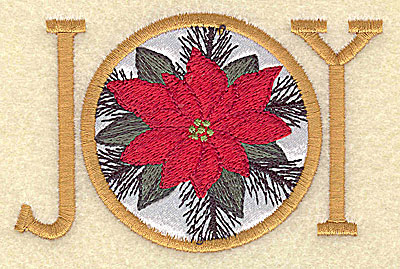
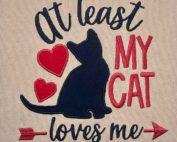
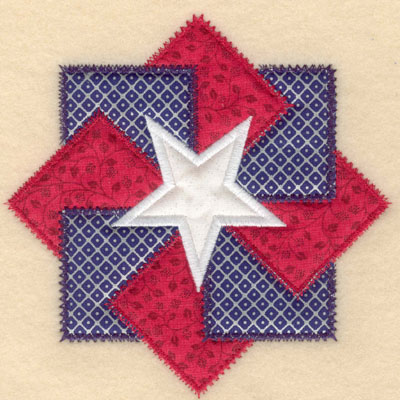
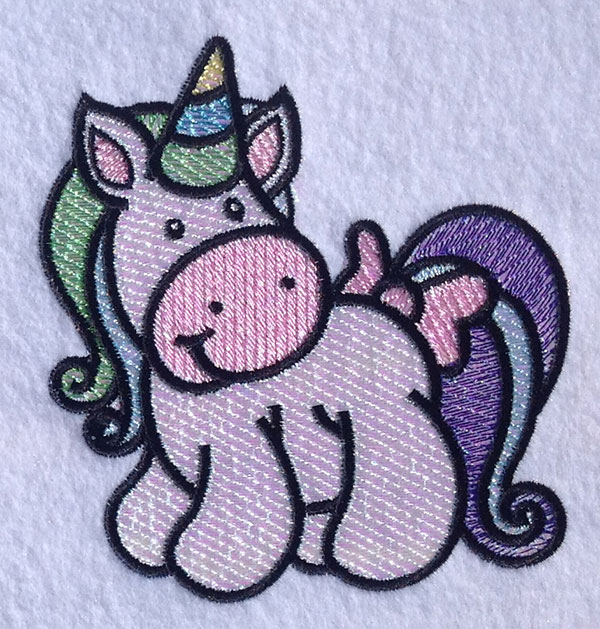
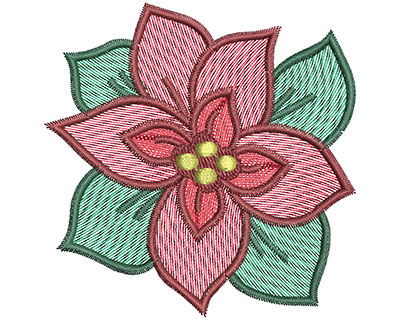
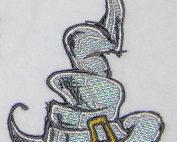
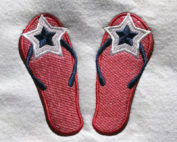
1: Applique Embroidery Designs – Fewer stitches, more fabric.

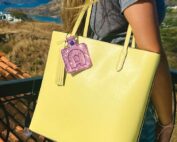
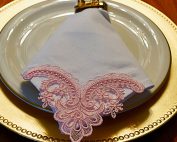
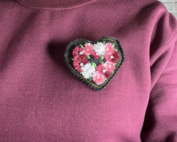
Applique machine embroidery designs are fun; plus, they look and feel great! Not familiar with applique? In simplest terms, applique embroidery is embroidery designs with smaller pieces of fabric attached and sewn within them.
One thing you should remember while learning how to create applique embroidery designs is that they are easier than they seem! Newbies are often scared when trying applique because they think the process is more difficult. This isn’t the case! Anyone can embroider applique embroidery designs easily!
Check out our fun 1780+ applique embroidery designs to bring fun and personalization into your next embroidery project.

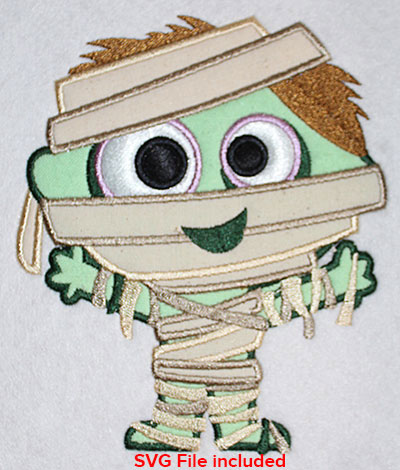

Applique designs are a very popular form of embroidery as they are fun and customizable. They allow you to select whichever fabric type and pattern you want to include in your design.
Want to create a cute tiger applique design? Download your free applique embroidery design with our free Embroidery Legacy Design Kit to try this fun technique yourself.
In terms of digitizing, creating applique is a great way to reduce the total stitch count in a design and still produce a beautiful visual effect. An applique technique allows you to replace larger fill areas with a simple sheet of fabric. By doing this, you will have less run time on your machine without sacrificing the look of a design.
Learn more about the benefits and a step-by-step tutorial on applique embroidery designs.
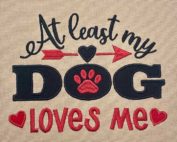
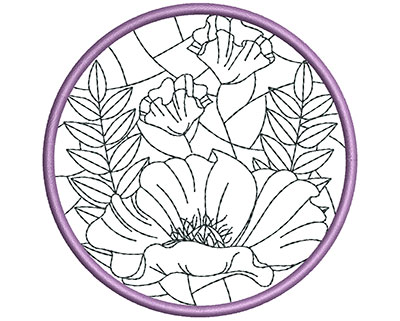
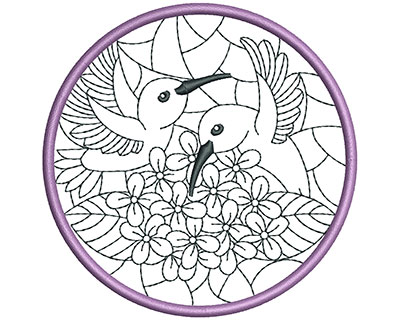
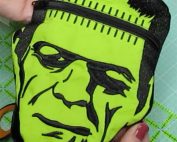
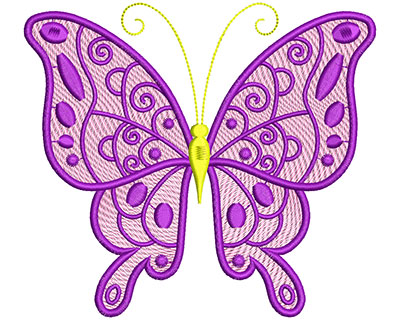
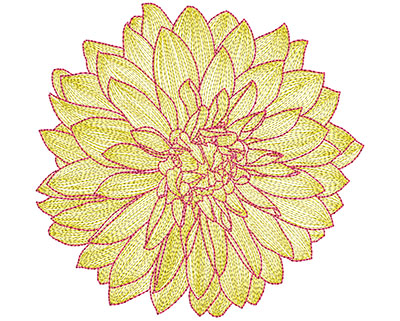
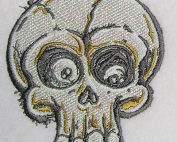
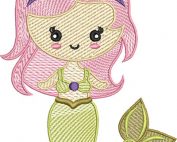
2: Painting your Embroidery Designs – Embroidery Art

When it comes to getting creative with machine embroidery, the possibilities are endless. Embroidery is an art form. So why not enhance your embroidery by combining other art forms like painting and coloring?
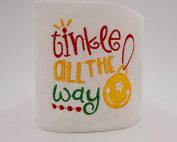
If you’re looking for an embroidery project that is fun and a little more on the artistic side, this technique is perfect for you. Using fabric paint or fabric pencils, strategically creating designs meant to be painted is a fun and creative process that all ages can use!
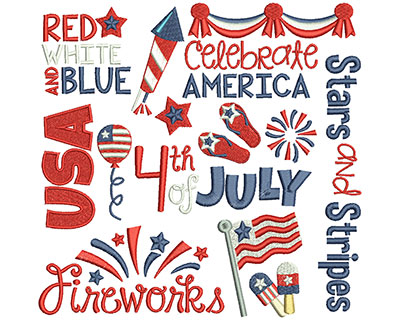
Check out our fun 50+ sew-n-color embroidery designs to brighten up your next embroidery project.
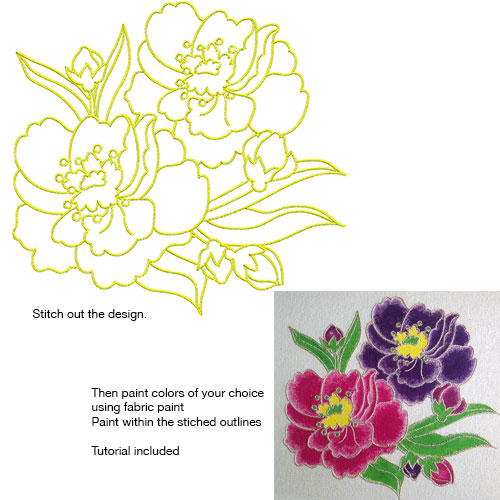
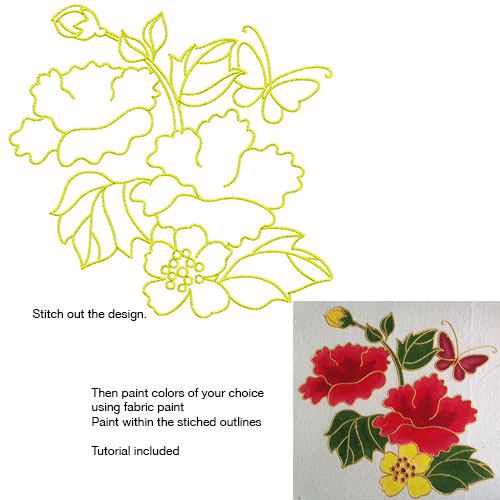

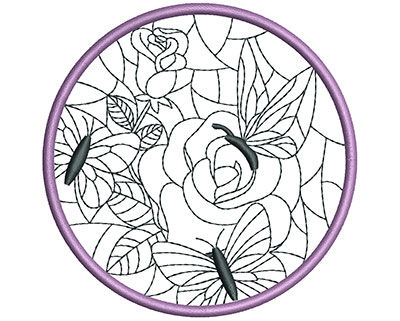

Switching between the brush or pencils and the machine, painting your embroidery is a great process that allows you to have fun with fabric pencils or paints. It will also reduce your stitch count while enabling you to give your embroidery a more realistic look and feel. If that isn’t enough, who didn’t love arts & crafts time in school?
Make your own DIY fabric paint for fast, affordable, and machine-wash-friendly embroidery! Or, check out our recommended Inktense pencils that are perfect for fabric.
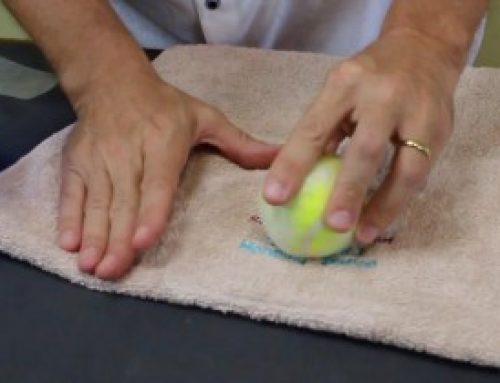
Embroidery paintings are also a great home decoration! What’s a better conversation starter than a unique and beautiful piece of art you created yourself? Join John in the video below as he demonstrates how to embroider and paint a pineapple for a realistic look and feel.
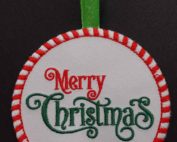
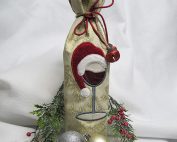
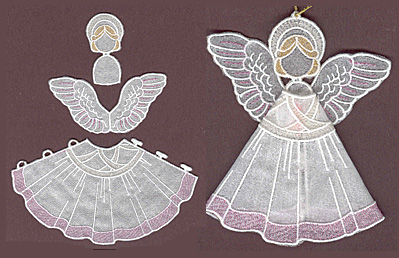
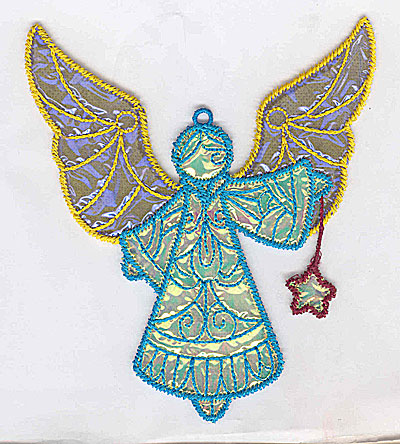
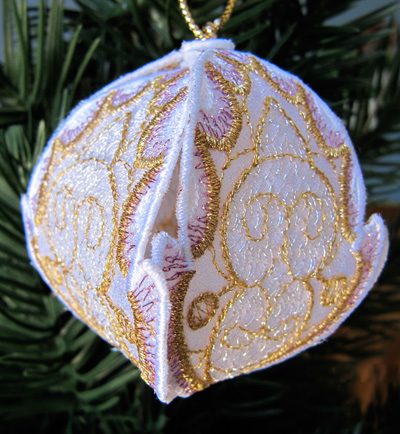
3: ITH Embroidery Projects (In-the-hoop)

ITH (in-the-hoop) projects are a fantastic way to have fun, get creative, and make some awesome projects from scratch. You may be asking yourself, “aren’t all embroidery designs done in the hoop?” yes, you’re correct.
When embroidering a traditional embroidery design, it is only that design that is embroidered onto the material.
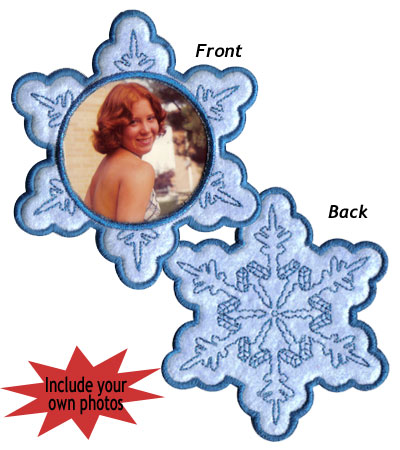
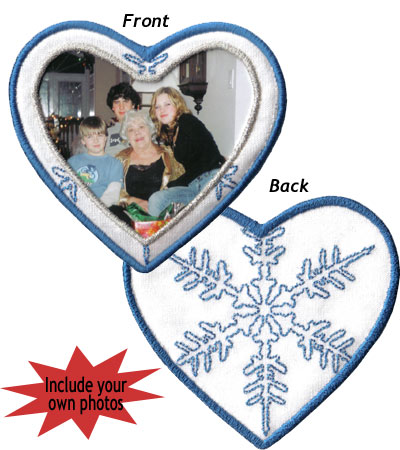
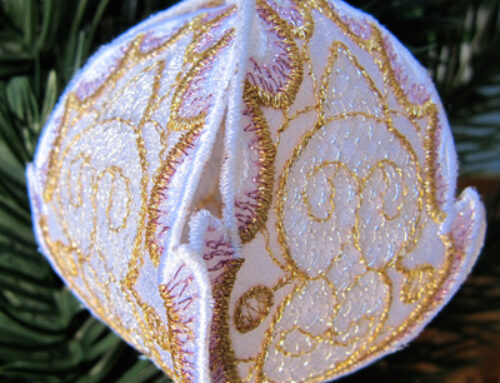
However, an in-the-hoop project creates a finished 3D object/item all within the embroidery machine.
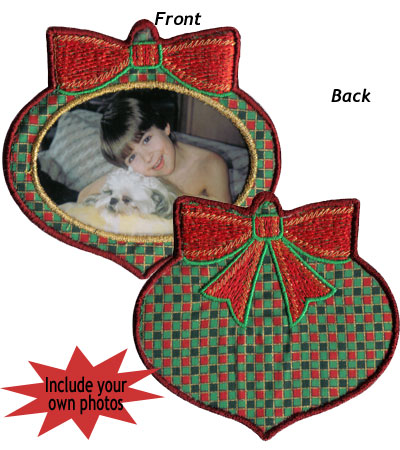
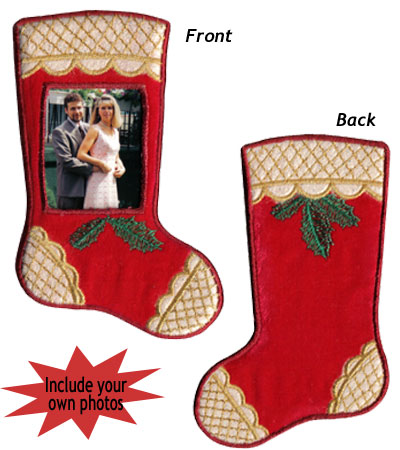
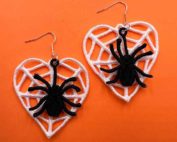
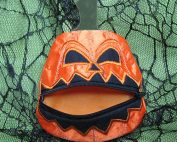
For example, when creating an ITH Christmas ornament, you wouldn’t embroider a design onto an ornament; you would make the ornament entirely on the machine!
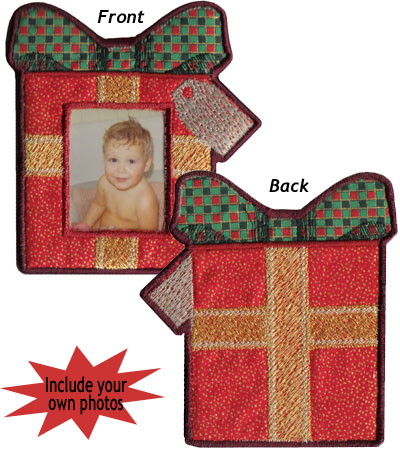
There are many different in-the-hoop projects to choose from. These can include wine coasters, sleeping masks, bookmarks, purses, bags, Christmas stockings, ornaments, key fobs, and customizable gifts (to name a few)!
Want fun 3D embroidery projects that demand attention? Check out our 450+ in-the-hoop embroidery projects to create your next embroidery project to leave your friends and family in awe.


Completing our ITH projects couldn’t be easier! We supply you with tutorial videos or instructional PDFs. This makes the creation process simple with a step-by-step guide. In-the-hoop projects are easy to try new embroidery techniques and create designs you’d never think possible with your embroidery machine.
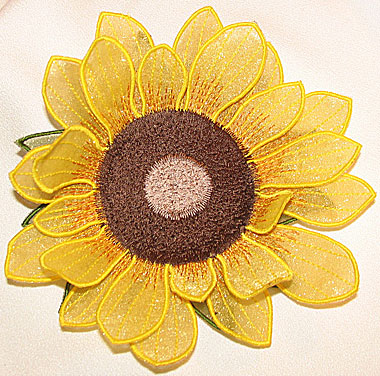
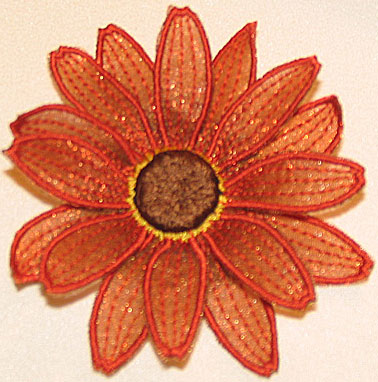
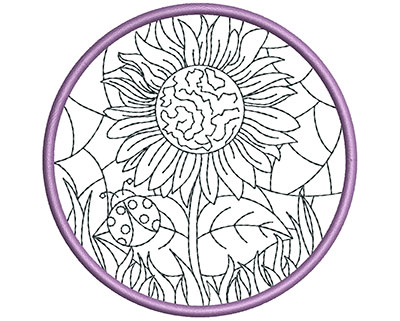
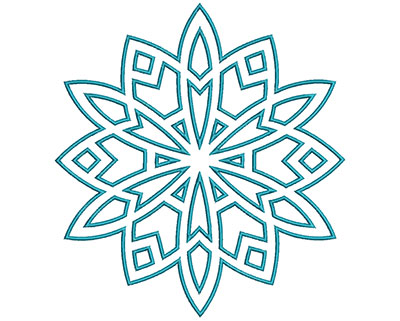
Create your own in-the-hoop embroidery project with our free in-the-hoop embroidery sunflower coaster. Experience the difference quality digitizing makes and have fun!
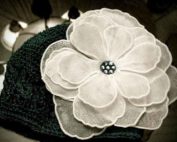
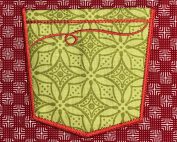
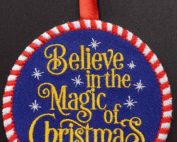
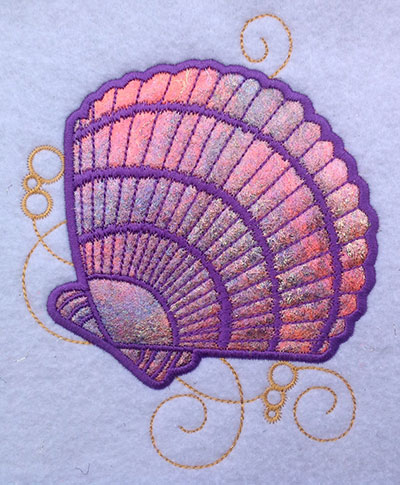
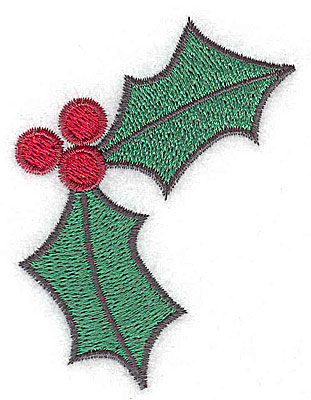
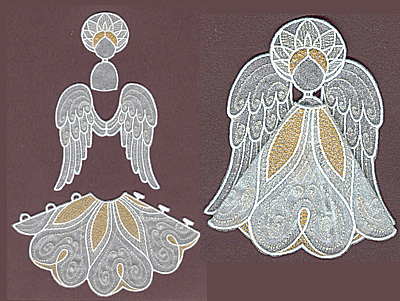
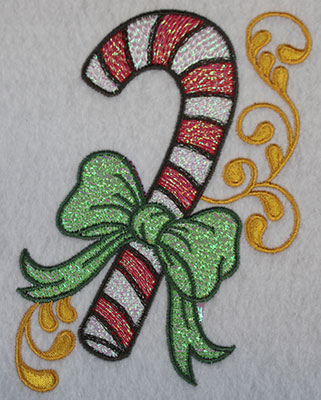
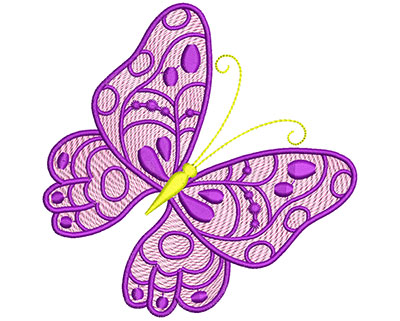
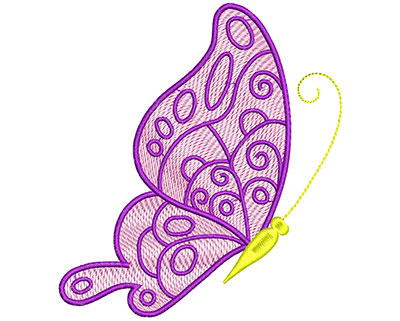
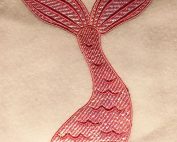
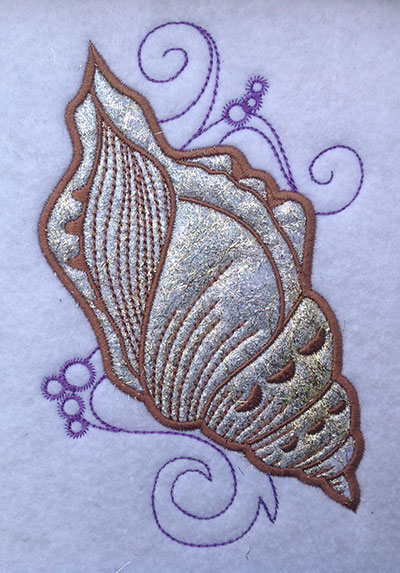
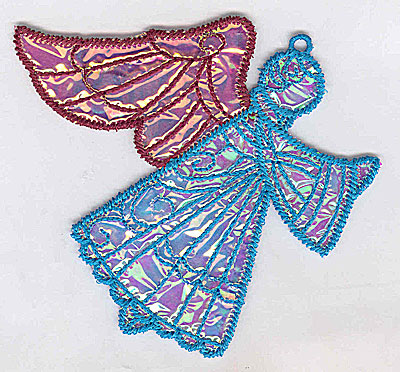
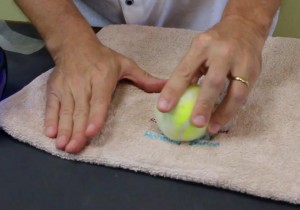
4: Mylar Embroidery Designs – Designs that Shine

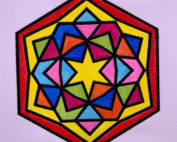
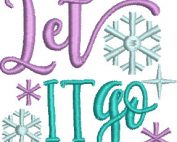
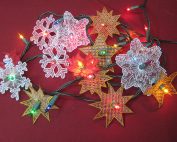
Mylar Embroidery designs are a relatively simple and highly effective way to add some shimmer to your designs and make them look incredible!
Mylar designs have gained tons of popularity over recent years as they’re an easy way to add sparkle and color to your next embroidery project. Instead of using metallic embroidery threads, try using mylar! It’s a more affordable alternative that adds a glitter-like appearance to your designs!
Check out our fun 160+ mylar embroidery designs to bring some shine into your next embroidery project.
Mylar sheets are a shiny plastic film used for many things, not only embroidery. Remember, when purchasing them for embroidery, you want to purchase the thin sheets, which can often be found in the wrapping paper aisle of craft stores, or check out the affordable magic sparkle sheets we offer.
Please note: Do not use mylar balloons with your embroidery. The material in the balloons is far too thick, and it will give different results and could ruin your embroidery machine.
An incredible benefit of using mylar is that, in terms of color, it has a one size fits all approach. You don’t have to buy separate colors of mylar. Instead, mylar picks up and reflects whatever color of thread you use! This means that after initially tacking the mylar down with stitches, you can let your machine run normally without adding multiple pieces of materials.
Learn more and a step-by-step mylar embroidery design tutorial.
14 Popular Embroidery Techniques: Tips, Tricks & Secrets
These four fun ways to get creative with your embroidery must have your artistic juices flowing! There are more ways to get creative and make amazing projects, but maybe you’re unsure how or nervous about trying new techniques.

You don’t have to do it alone! We have created a Fun Effects Embroidery Course that will give you the support and education to guide you through learning how to make your embroidery projects stand out and impress. With video tutorials, printable PDFs, and 25 quality embroidery designs, you can learn at your own pace and enjoy the process.
If you’re ready to learn some new eye-catching embroidery techniques that’ll make your future projects stand out & impress, this course is for you! This course includes follow-along video tutorials, printable PDFs, and beautiful embroidery designs to follow along with so you can sew each technique yourself. The best part? You can do it at your own pace & time!
Conclusion: Creative Machine Embroidery Is Fun
Using these creative ideas, you can create incredible designs that require more than just hooping and hitting the start button. Use these ideas next time you start an embroidery project, and take pride in what you’ve created!
Don’t be afraid to share your results… remember, machine embroidery and embroidery digitizing are all about having fun; there are no wrong ideas! You can use these tips and implement them into your own project.
A big part of being and getting creative with your embroidery is using your own imagination! Implement these ideas in your next machine embroidery project. Be sure to comment below & let us know which one you plan on trying first.
P.S. Don’t forget to learn the secrets, tips & tricks behind the most popular embroidery techniques (including applique) and have fun doing it with our new & improved Fun Effects Embroidery Course.
Leave A Comment