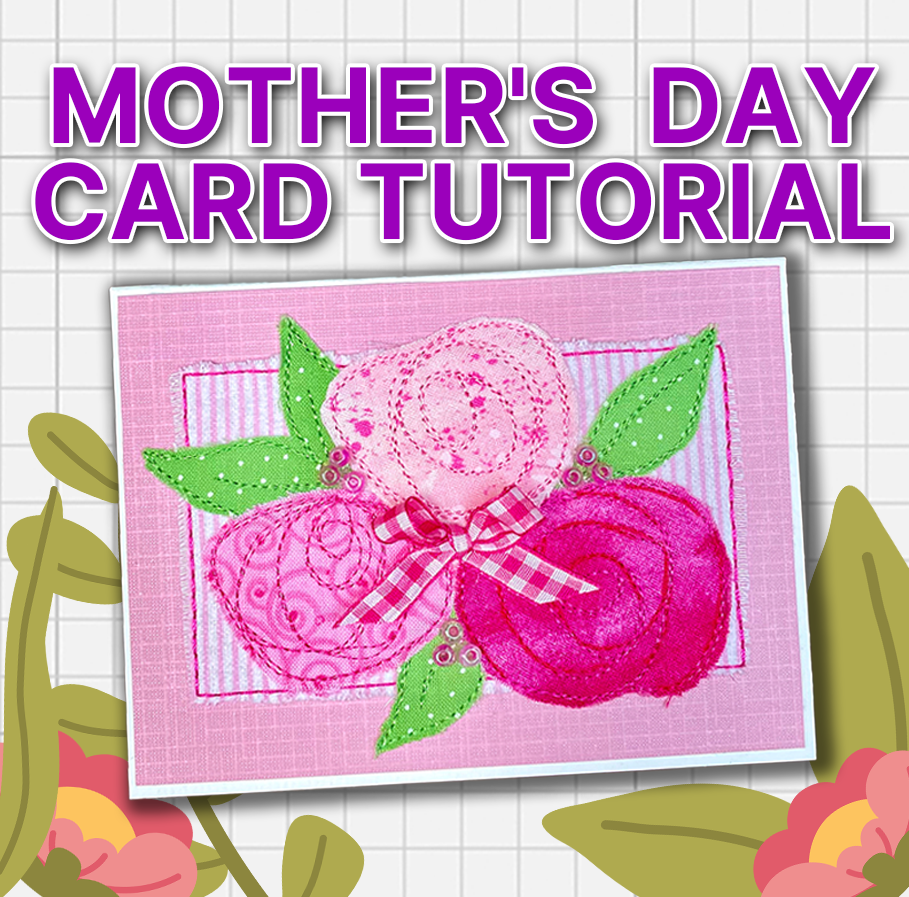
With Mother’s Day just around the corner, what better way to celebrate the special women in our lives than by creating an adorable personalized embroidered card?

The best part? You don’t need any prior digitizing experience to make it happen – this tutorial is user-friendly for everyone!
The hardest part of this project? Having to choose what fabric you’ll be using! By providing flower artwork and step-by-step directions, we make this Mother’s Day card project easy and fun.
Grab your Design Doodler and some cardstock, download the file below, and let’s begin!
New to the Design Doodler and want to learn more? Try our free Design Doodler demo!
Design Doodler Mother’s Day Card Tutorial
Step 1: Click 3 Dots> Settings> Change the Unit of Measure to Imperial (Inches)
Step 2: Click Insert Backdrop Icon.
Step 3: Navigate to where the Artwork is stored on your computer. Select the Artwork> OK. The Artwork will now appear on your screen.

Step 4: Click the Hoop Icon to show your hoop on the screen.
Step 5: Click the Select Backdrop Icon. Then click on your Artwork. You will now see a bounding box around the artwork.
Step 6: Click Properties Docker.
- Make sure the Keep Aspect Ratio is checked, then change the Width to 5.5”. The artwork should now be 5.5” x 4″
- Lower the Opacity of the Artwork.

Step 7: Select the Running Stitch, 3mm Stitch Length, and the Square shape on the Widget. Drag out a Square.
Step 8: Select the Square.
Step 9: Select the Property Docker. Uncheck Maintain Aspect Ratio. Change Size Width 5.5” and Height 4”.
- If necessary, move the Rectangle so it lines up with the artwork.
- This will be the Placement stitch for the cardstock.

Step 10: Keep the Rectangle selected, then Copy and Paste.
Step 11: Click the Sequence Docker and select the second Rectangle.
Step 12: Click the Palette and change the Rectangle to a new Color.
Step 13: Change the Stitch Length to 4mm> Bean Stitch. Change the size Width 4.5” Height 2.5”
- This will be the Tackdown line for the Background Fabric.

Step 14: Select a new color on the Palette.
Step 15: Select the Running Stitch, 2.5mm Stitch Lenth, and the Free Draw tool.
Step 16: Draw around the shape of the leaves 2 times.
- This will be the Tackdown line for the Leaf fabric.

Step 17: Select a new color and Doodle twice around the flower.
- Select a new color and repeat for the other 2 flowers.
- This will be the Tackdown Stitch for the Flower Fabric.

Step 18: Select the Save Icon. Name and Save the design as a JDX file. This is the working editable Design Doodler File.
- Save the design in your machine file format.

Embroidering Mother’s Day Card Tutorial
Supplies

- 5.5” x 4” Notecard with Envelope
- 5.5” x 4” piece of heavy Cardstock
- 5.5” x 4” piece (Background Fabric)
- 5.5” x 4” piece (Leaf Fabric)
- 3 pieces of 3” x 3” pieces (Flower Fabrics)
- Tear Away Stabilizer
- Spray Adhesive
- Masking Tape
- 2 Sided Tape
- Double Curved Scissors
- Rotary Cutter
- Ruler
- Optional: Ribbon or other embellishments for the card.
Step-By-Step Tutorial
Step 1: Stitch the Placement Line.

Step 2: Lightly spray Adhesive on the back of the piece of Cardstock. Line up with Placement Line. Secure with tape.

Step 3: Lay Background Fabric over the Cardstock and secure it with tape.

Step 4: Stitch the Tackdown Line. Trim away excess fabric close to the stitching line.

Step 5: Lay Leaf Fabric over top, and secure with tape.

Step 6: Stitch Tackdown Line.
Step 7: Trim away excess fabric close to the stitching line.

Step 8: Lay the first Flower Fabric, and secure it with tape.

Step 9: Trim away excess fabric close to the stitching line.

Step 10: Repeat with the remaining two Flowers.

Step 11: Remove from the hoop. Carefully trim 1/8” around all four sides of the Cardstock with a rotary cuter.

Step 12: Turn over and cut away the excess stabilizer from the edge of the card. Place the double-sided tape around the edges of the card.

Step 13: Remove the tape and secure it to the front of the Notecard.

Optional: Embellish your card if you’d like.

We hope the special women in your life cherish their heartfelt Mother’s Day cards. With the Design Doodler, the possibilities are endless!
P.S. Don’t have the Design Doodler yet? Try our free Design Doodler demo to see how easy creating your own custom embroidery designs can be.


Leave A Comment