For a lot of kids, Halloween can be one of their favorite holidays. Not only because they get to use their imaginations and dress up, but also because of all the candy!
Each child is unique, so why not make them a personalized trick or treat bag?
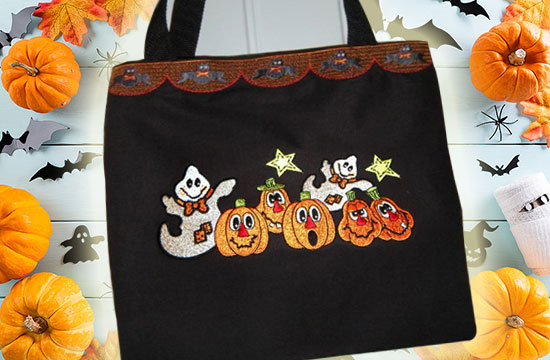
Whether you’re going trick or treating or just doing a candy hunt in the backyard, you’re going to need something to keep all that candy in. If you’re looking for a quick, easy, and budget-friendly Halloween trick or treat bag, keep reading…
Why create this embroidered DIY Halloween trick or treat bag?
This easy Halloween trick or treat bag will hold the most important thing for your child this Halloween. Their candy!
Each child picks out their own unique Halloween costume, so why not make them a unique and personalized trick or treat bag to go with it? You can choose a custom fabric and embroidery designs based upon your child’s costume. If your child is going out as a creepy-crawly spider, you could create a yellow fabric bag with spider web and bug embroidery designs on it. If you have a magical princess, you could use purple fabric with some cute mylar pony embroidery designs.
An extra touch would be to embroider your child’s name or initials onto their trick or treat bag. It’s easier to guess who’s candy bag is whose, which will save you from the dreaded “no, this one’s mine” fight. Plus, making instead of ordering and buying a custom bag, can save you a lot of money. (Keep scrolling as we share an easy way to add quality embroidered lettering with just a few clicks of a button!)
Making this easy personalized trick or treat bag from home is budget-friendly, and you can ensure the quality is to your standards. If you need to get fabric from your local sewing store, you won’t need much material to create this project. Creating this bag can be very cost-efficient if you already have a fabric stash (I’m guilty too!), where you can grab fabric pieces you may have leftover from previous projects. If you don’t have enough of one kind of fabric, use two different fabric styles to make your trick or treat bag even more unique. No one will know, and because they’re intended for fun, it’ll look intentional.
Making your own Halloween trick or treat bag will also save you a run to the store. Although shopping used to be a fun pastime, events have changed in recent months, and doing whatever you can from home can be safest.
To check out more Halloween inspired in-the-hoop projects, check out our Jack-O-Sac zippy pouch, Scary eye sac pillow, and Frankensac zippy pouch project.
Although our Halloween trick or treat bag tutorial outlines sizing for your bag, feel free to adjust sizing to best suit your child’s needs.
Follow our simple steps below to create your own personalized Halloween trick or treat bag.
Supplies required for this DIY embroidery Halloween trick or treat bag:
- Scissors
- Pins
- Thread
- Stabilizer (to decide which stabilizer is right for different embroidery projects, check out our complete guide to embroidery stabilizers)
- 2x pieces of webbing 28″ long
- 2x pieces of fabric 16″ X 20″
- Embroidery design templates, we used:
- Border: Bat Trio
- Center: Ghosts and Pumpkins
- Sewing machine to stitch fabric and webbing (or if you’re feeling ambitious, just a needle and thread work too) -you don’t need a lot of sewing skills.
- Iron (optional but recommended)
Want to check out our other Halloween inspired embroidery design? Click here to see more.
Halloween trick or treat bag embroidery tutorial:
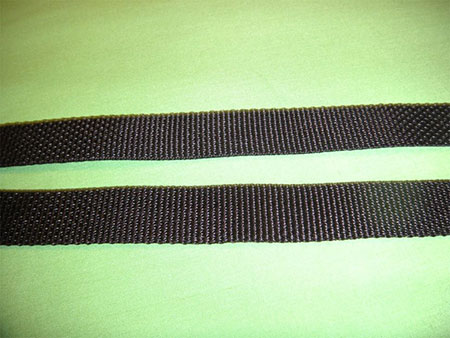
Step 1: Cut 2 pieces of webbing 28″ long.
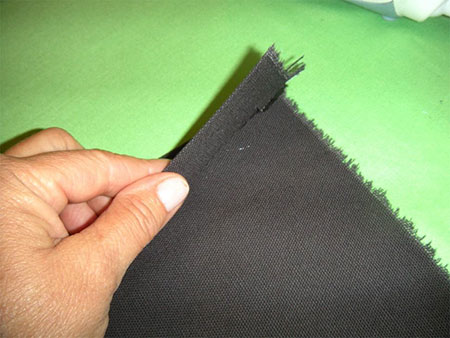
Step 2: Cut 2 pieces of fabric (canvas/duck) 16″ X 20″.
Print your embroidery design template for the top border.
Print your embroidery design template for the center of the bag design.
Step 3: Using one piece of fabric, fold one short side of fabric down 1″ and press, then fold 1″ again and press.
Step 4: Using your fold lines as a guide, line up your embroidery design template for proper placement on the upper edge of the bag.
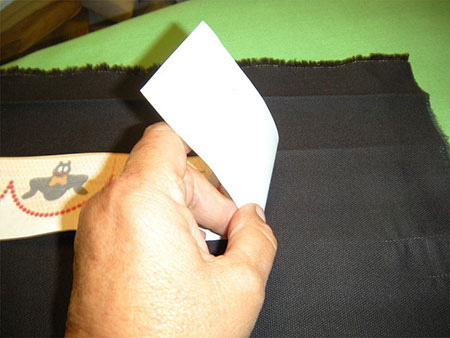
Step 5: Stitch your border embroidery design onto the fabric.
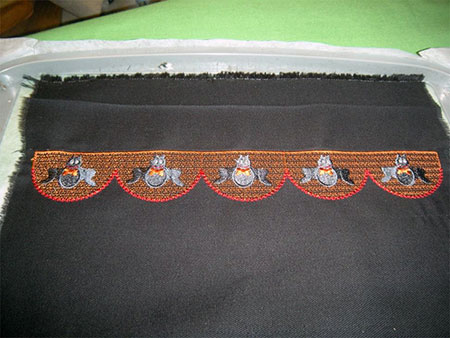
Step 6: Using your other piece of fabric, fold the short side of the other fabric down 1″ and press, then fold 1″ again and press.
Use the fold lines as a guide to line up embroidery for the upper edge of the bag.
Stitch out our border embroidery design.
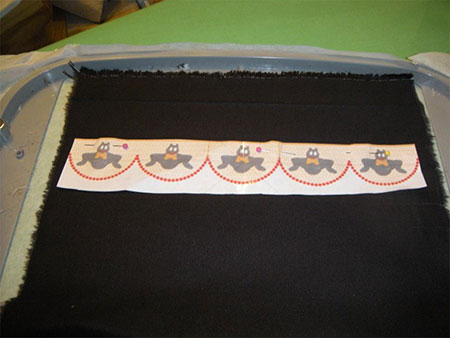
Step 7: Using your embroidery design template, center your featured embroidery design below the design stitched on one side of the bag.
Hoop your stabilizer and fabric.
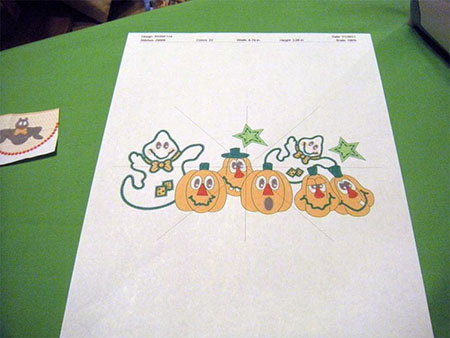
Step 8: Stitch out your Halloween embroidery design.
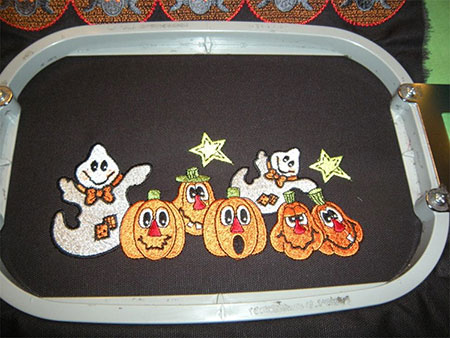
Step 9: With the correct sides of both pieces of fabric together, line up the border design to stitch the side seams (bag will be inside out during this process).
Stitch the seams together on 3 sides of the bag, leaving the top open to create a functional bag.
Press touching seams open with an iron.
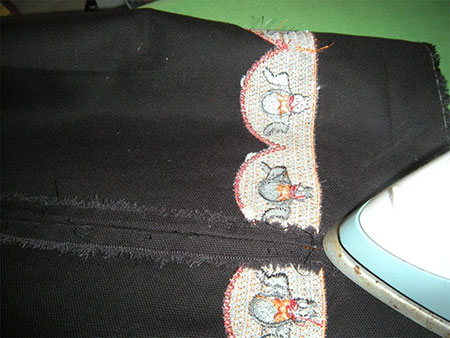
Step 10: Measure over 2″ from one side of the bag.
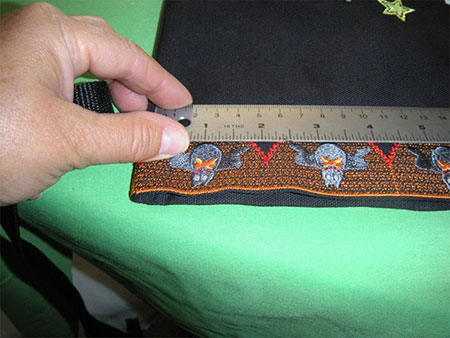
Step 11: Fold the top down to the first 1″ marking.
Place one end of webbing inside the 2nd fold.
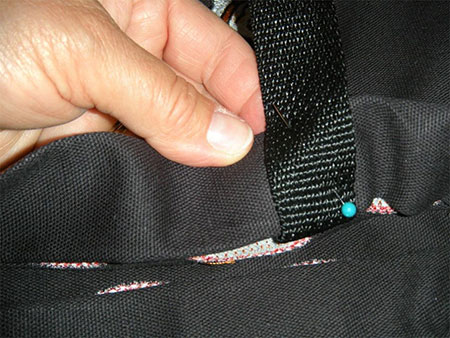
Step 12: Extend to the top of the fabric.
Pin in place.
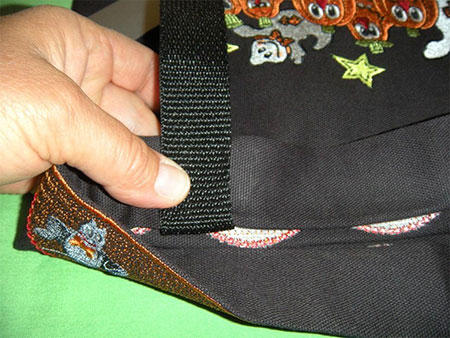
Step 13: Measure over 2″ from the other side of the fabric.
Place the other end of webbing inside of the 2nd fold and extend to the top of the fabric.
Pin in place.
Repeat the above steps until both webbing handles are in place.
Step 14: Following the edge of the bag, stitch the top fold in place.
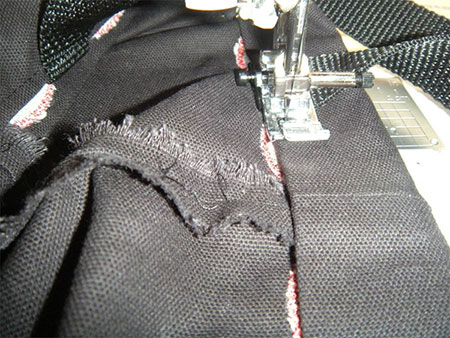
Step 15: Stitch the handles in place using an X stitch.
Press well.
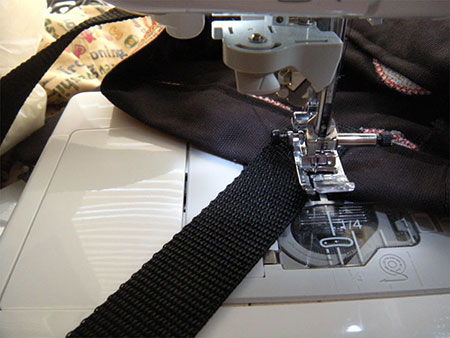
Step 16: You’re ready for trick or treat fun!
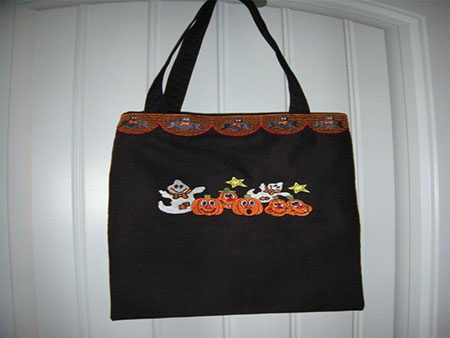
Conclusion: This easy to embroider DIY Halloween bag is a budget-friendly way to personalize your child’s trick or treating
Not only are these Halloween trick or treat bags easy and budget-friendly, but they’re also something the kids can help with planning. Spending time and making them together can bring sentimental value, and with their input, you know your child will love their new personalized candy holder. After all, for your child at Halloween, what’s more important than the candy?
Don’t forget to comment below if you’ve enjoyed this project and would like to see more. Happy stitching!
P.S. If you want to give your embroidered Halloween trick or treat bag a different look, browse through our giant collection of machine-friendly embroidery designs. Plus, check out our Embroidery Legacy Design Club to learn how to save on our entire database of close to 30,000 quality designs. Or if you’ve never tried our designs before, download our free Embroidery Legacy Design Kit.

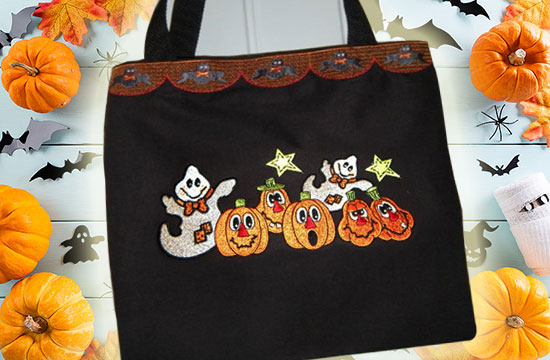


Tak fordi du deler med os Anders. Jeg fik flash back til min egen barndom. Pepi Bartram Lodmilla
I made the Halloween bag but the instructions are super confusing. I skipped putting the top border on because the pattern doesn’t fit the width of the material. Also, the instructions say two pieces of material 12x36in, but what do I do with the second piece? I imagine it’s supposed to be sewn to the 1st piece, but when?
Hi Vera, thanks for your questions! We suggest 16×20″ for the two pieces of material. After you embroider your one side of the material, put the sides of the materials that you want to be as the outside of the bag, inwards (so it looks like an inside bag). You will sew the bag together when it’s looking inside out. After sewing your 3 sides, you will flip it the right way so the fabric you want shown on the bag is displayed outward 🙂