Hey, Embroidery Legacy family! Are you ready to create a fun and practical project that will make you smile?
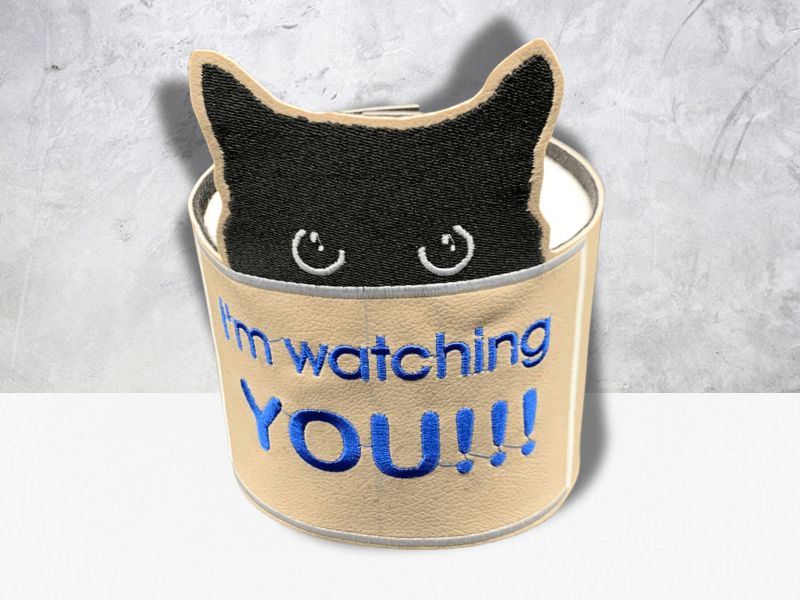
Create your own cute cat toilet paper holder using the Design Doodler! This step-by-step tutorial will guide you through designing and stitching an adorable cat motif that turns a simple toilet paper holder into a fun bathroom accessory! Whether you’re a cat lover or just looking for a fun new project, this tutorial is purr-fect for you!
Materials for Toilet Paper Holder
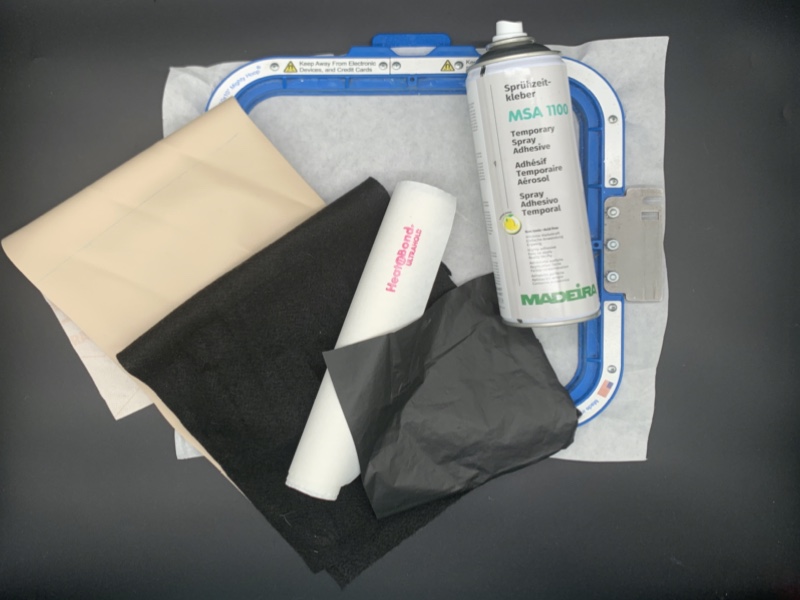
- Vinyl 7″ x20″
- Scissors
- Craft felt in any color 7″ x20″
- Heat ‘n Bond (or other heat-activated bonding material) 7″ x20″
- Black disposable tablecloth material 4″ x4″ inches
- Tear-away embroidery stabilizer
- Temporary embroidery spray
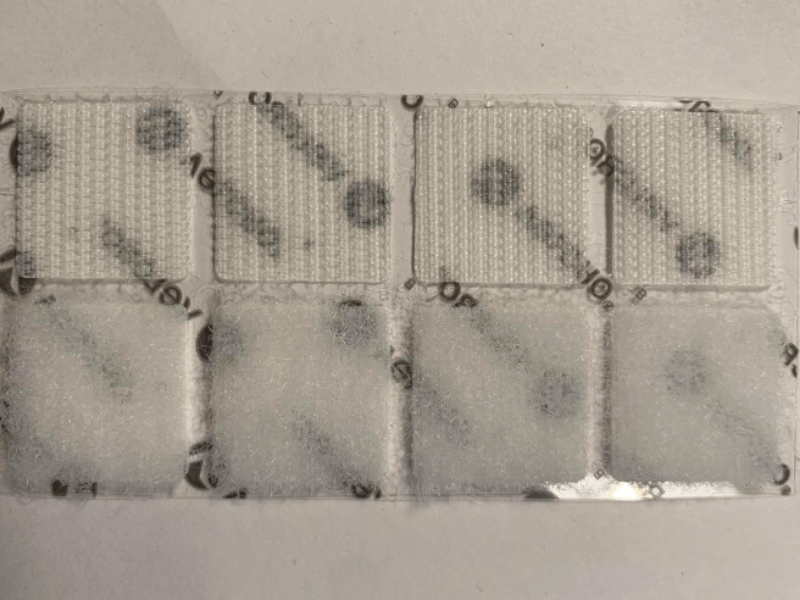
- Velcro self-stitch closures
- Artwork you can download below
Creating Embroidered Cat Toilet Paper Holder on the Design Doodler
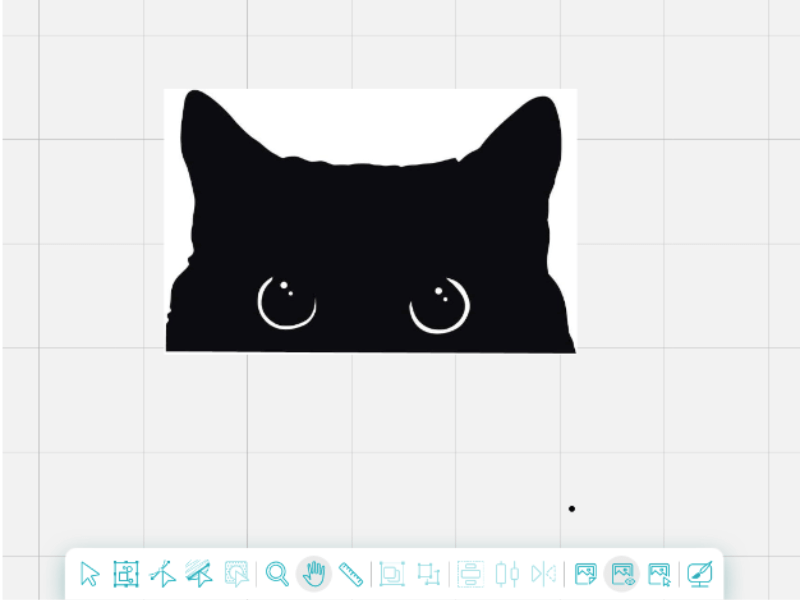
Step 1: Insert your artwork in your Design Doodler software.
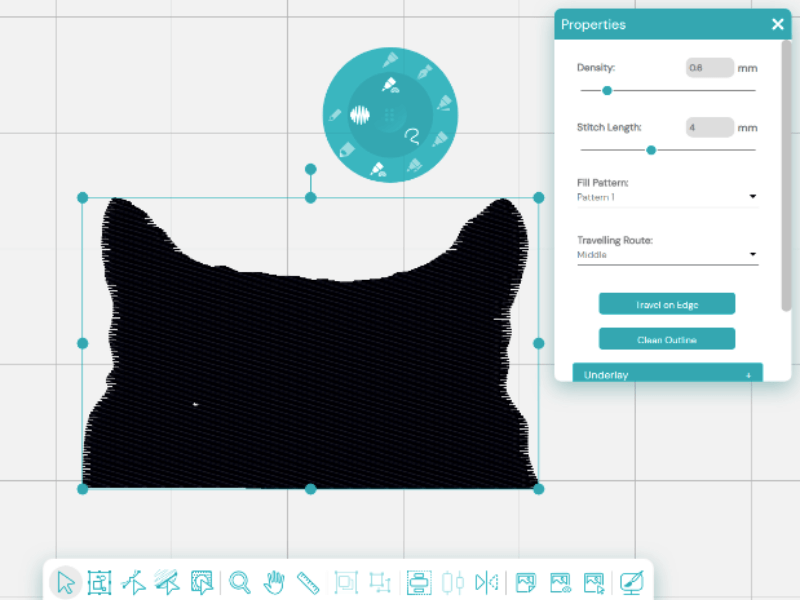
Step 2: Use the fill tool to draw around the outline of the cat artwork. Set your fill density to .60 mm and your stitch length to 4 mm.
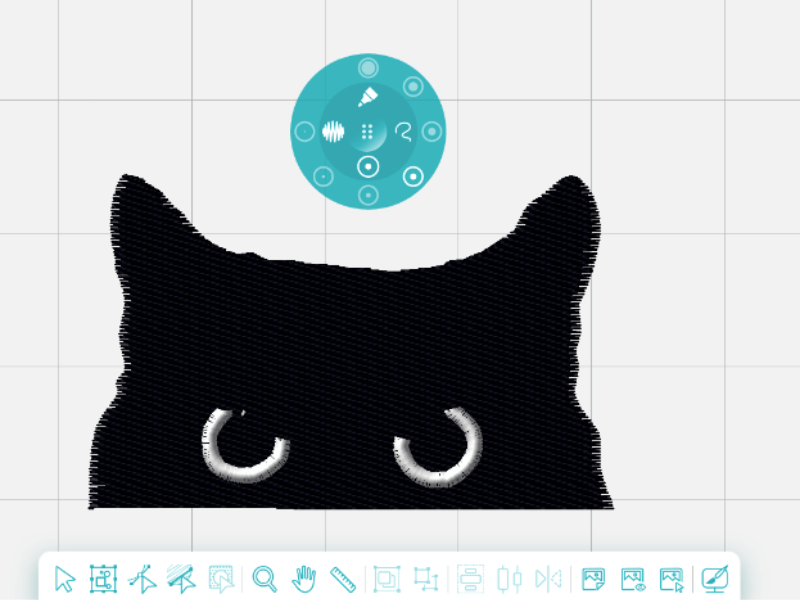
Step 3: Draw the crescents of the eyes using the steel (satin) stitch at 2.5 mm width.
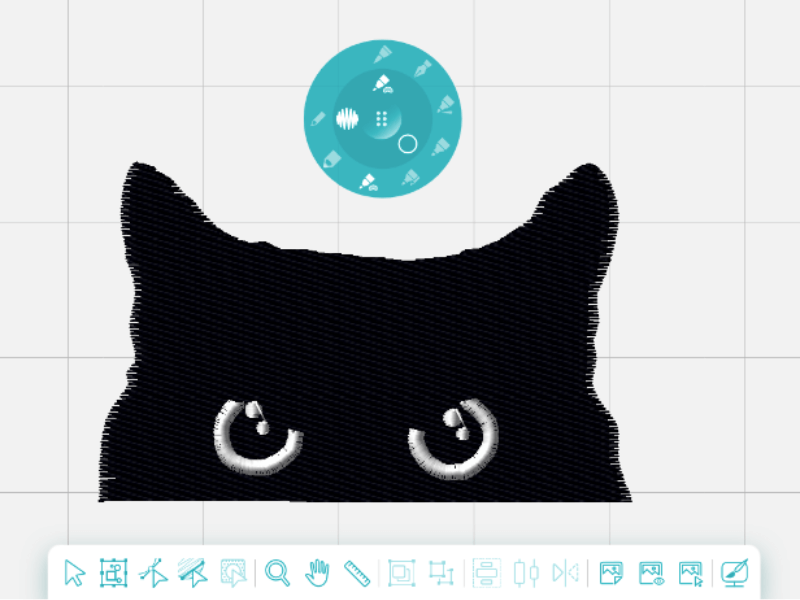
Step 4: Create the highlights of the eyes using the circle fill tool in satin.
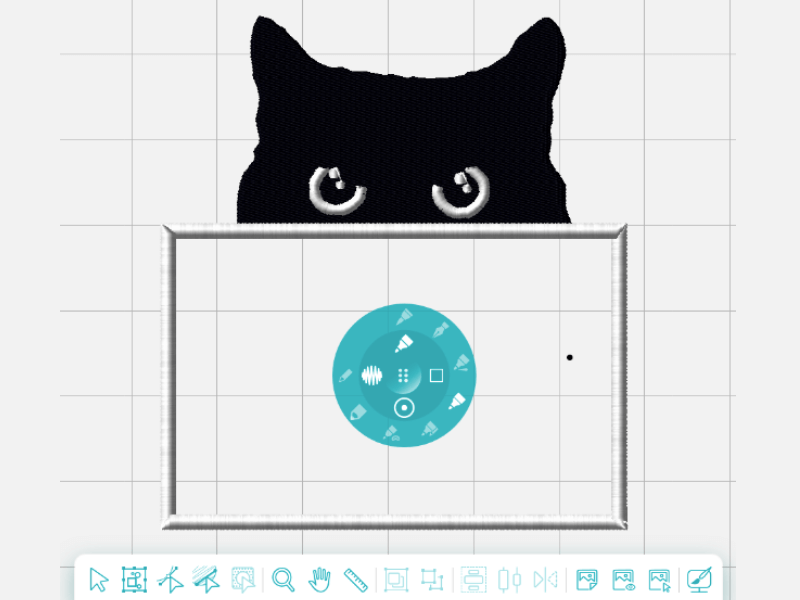
Step 5: Create the rectangle box using the satin stitch tool in a square pattern.
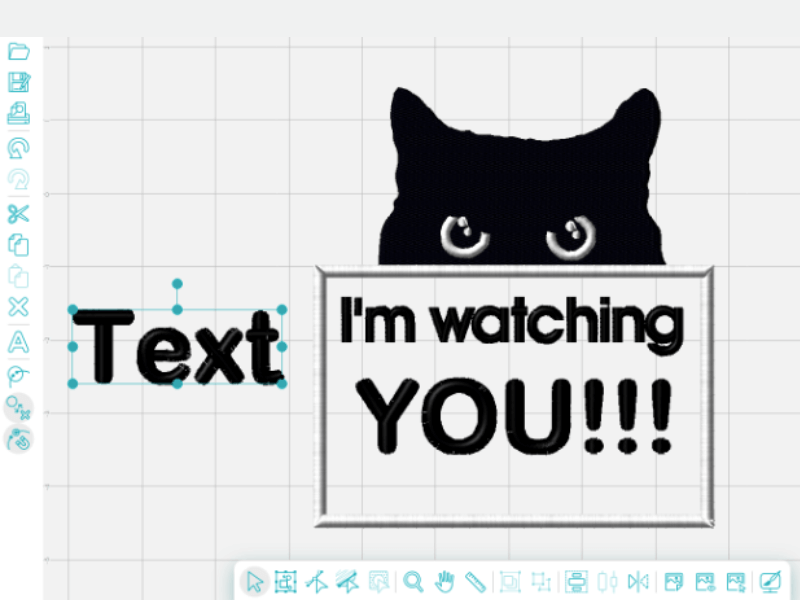
Step 6: Create the lettering for the phrase you want using the Text tool.
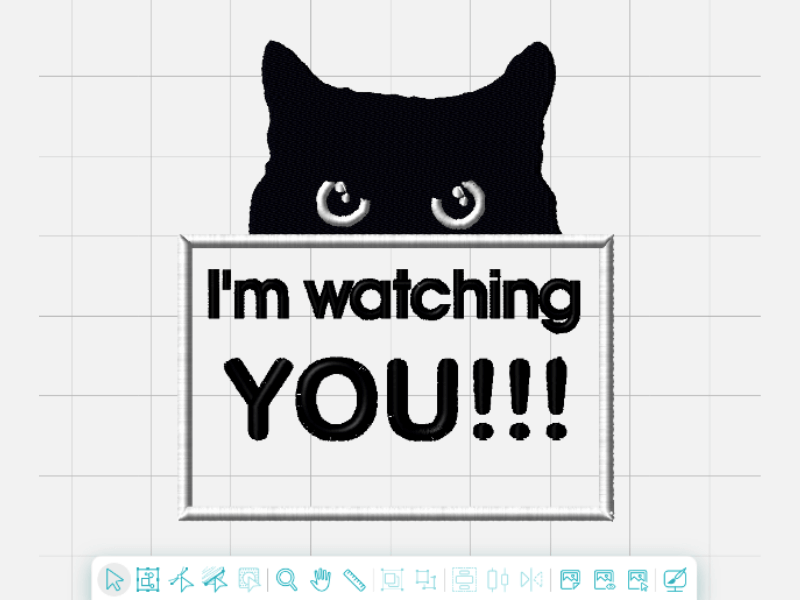
Step 7: Your design is finished! Save it as a “native” .jdx file and your desired embroidery machine format.
Embroidering Cute Cat Toilet Paper Holder
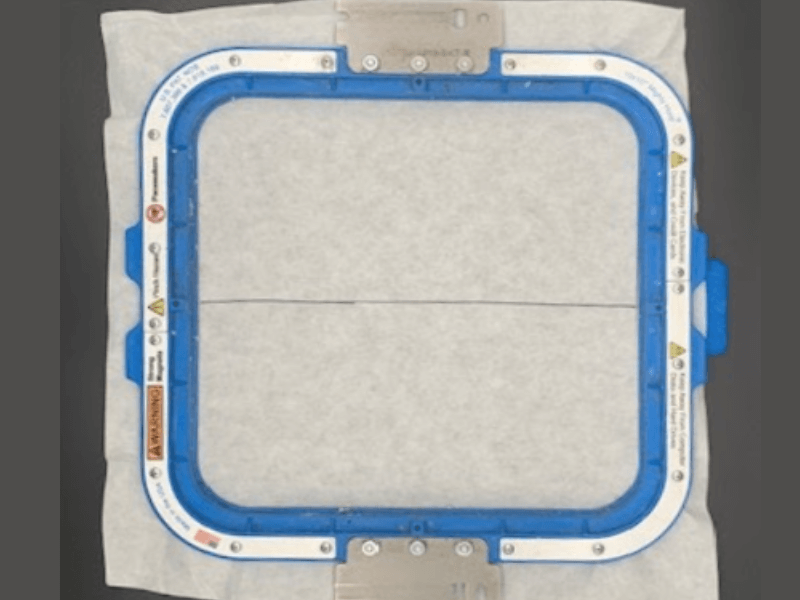
Step 1: Hoop a piece of stabilizer. (You can add a center line if you need it for proper positioning.)
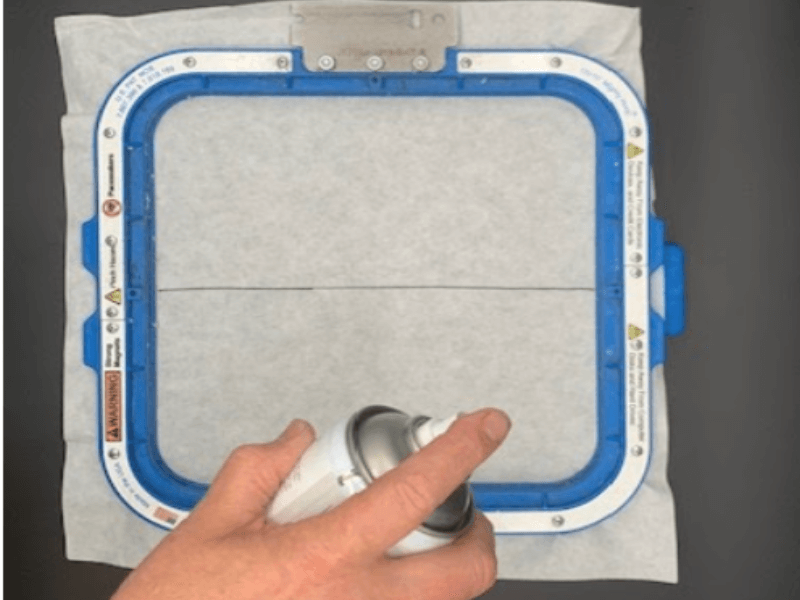
Step 2: Using a temporary spray, lightly mist the vinyl or the stabilizer.
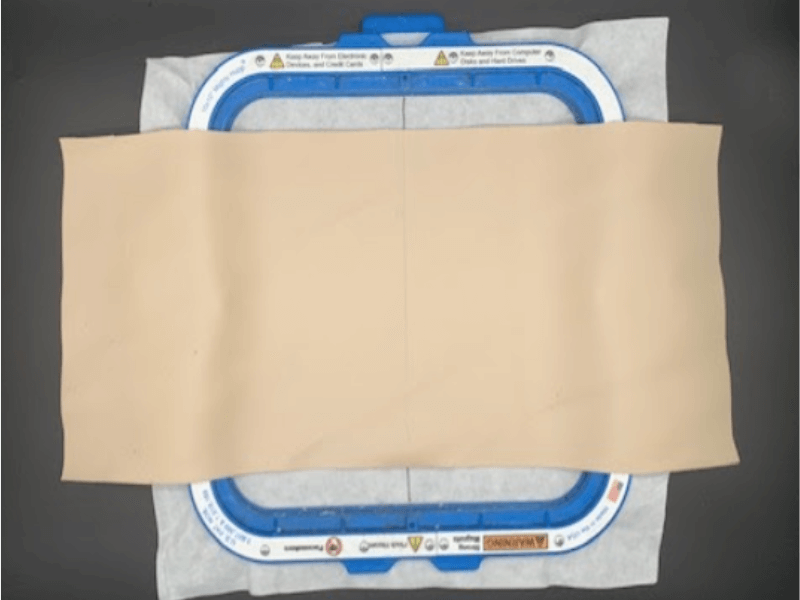
Step 3: Adhere the vinyl to the center of the hoop. The edges will hang over your hoop. (You will need this material as it will wrap around the back of the toilet paper roll).
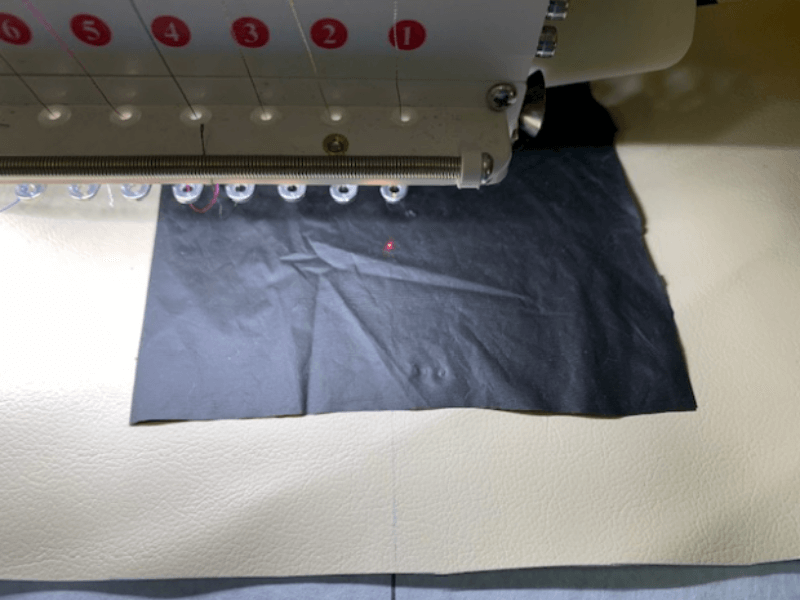
Step 4: Insert your hoop into the embroidery machine and stitch the outline.
Step 5: Stop the machine and place a black disposable tablecloth over the cat head portion. We do this to “blackout” vinyl that shows through since we use a lighter-density fill to prevent rippling.
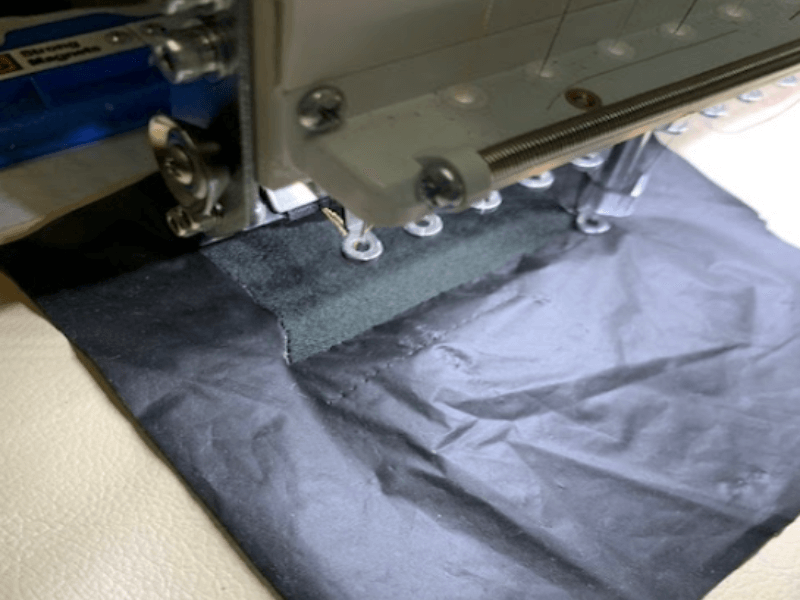
Step 6: Return your hoop to the machine and stitch the black cat.
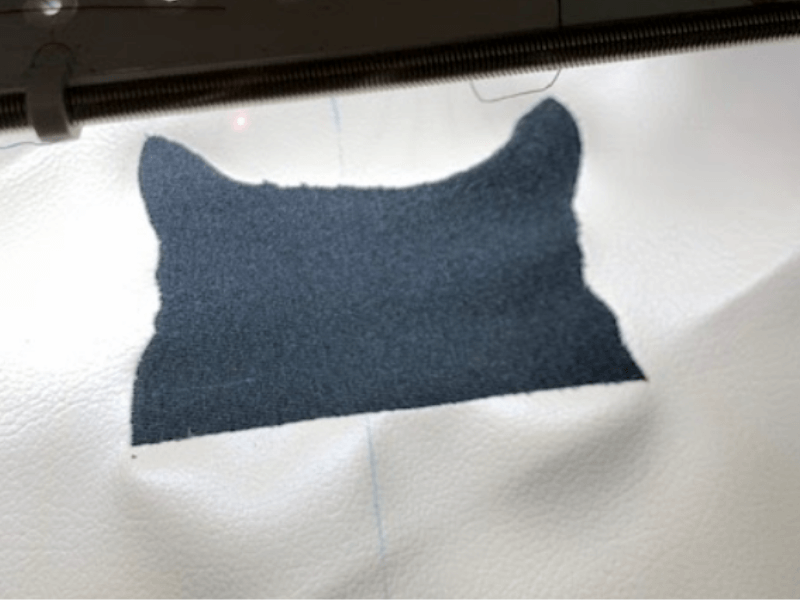
Step 7: Remove it from the machine and remove excess material from the cat design.
Step 8: Return your hoop to the machine and stitch through the end.
Step 9: Remove from the hoop and tear away the stabilizer.
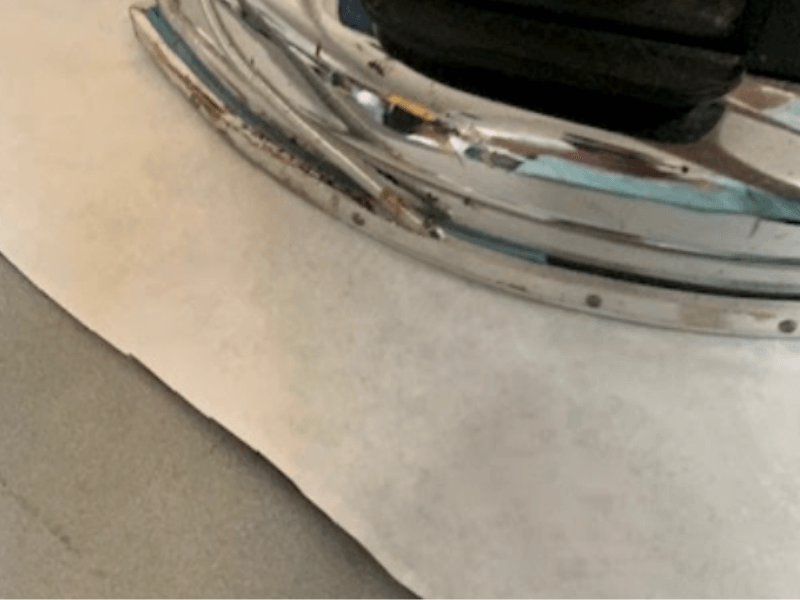
Step 10: Iron on heat and bond onto your craft felt.
Step 11: Remove the paper backing and iron onto the wrong side of the vinyl. Never iron on the good side of vinyl, and always use a pressing cloth to prevent the material from melting.
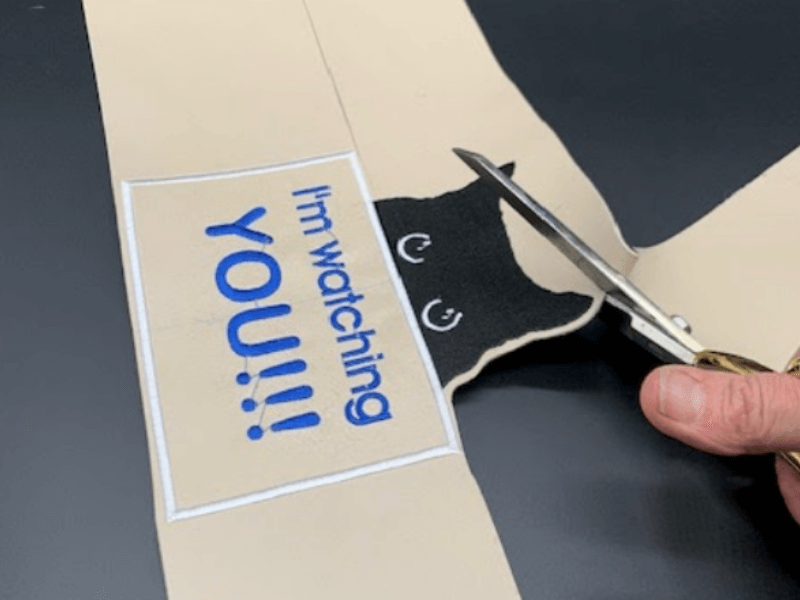
Step 12: After the felt is adhered, use scissors to trim around the edge of the design, leaving ¼ inch.
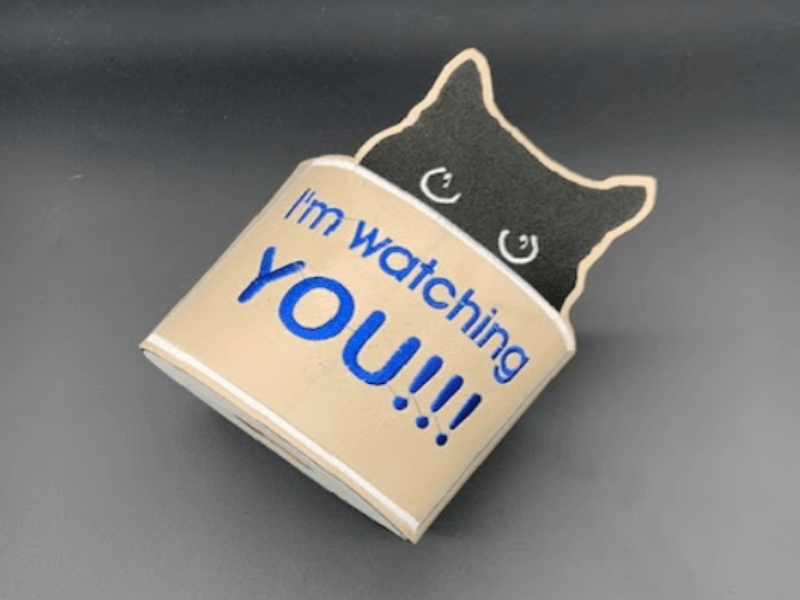
Step 13: To create the closure, glue on or sew a velcro closure.

Your cute embroidered cat toilet paper holder is complete and ready to add some fun to your bathroom decor!
Try this tutorial and switch up your design for personalized projects! If you haven’t yet, don’t miss out—try a free demo of the Design Doodler software to see how easy it is to create your own adorable designs!
If you create this project, we’d love for you to share it with us in our Facebook Embroidery Design Doodler Software Official Group.
Until next time, happy doodling!


Leave A Comment