Have you ever wondered how to make a lace sleeve top that is versatile, allowing you to dress up or down? You can take a simple shirt and add lace cap sleeves to give it an elegantly feminine, comfortable look. It’s easy, and we’re going to show you how with this project tutorial.

Why Embroider This Freestanding Lace Sleeves Top Project?
Lace is a visually stunning feature that can be added to almost any garment, especially on a budget. Your clothing can look expensive while costing you less.
Not only do you get to save money, but you can also create the garment you desire! You aren’t limited to the color or style of a particular lace design, but instead, you can personalize your clothing to what best suits you (or whoever you’re making it for)!
By mixing up embroidery lace designs and rotating them here and there, you can create your own clothing masterpieces.
Now before we begin, embroidering lace is a lot of fun, and we have many freestanding lace tips and tricks to share with you so you can get the best possible results.
Expand your embroidery world and have fun doing it with our new & improved Fun Effects Embroidery Course by learning 14 popular techniques, including lace, to skyrocket your creative potential.
Supplies Required For This Project:
Materials for Garment:
- Favorite top pattern
- Fabric per pattern instructions for the body of the top
- Matching thread
Embroidery Designs:
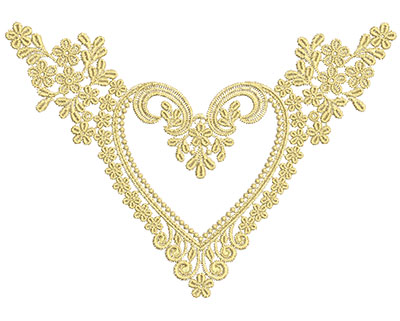
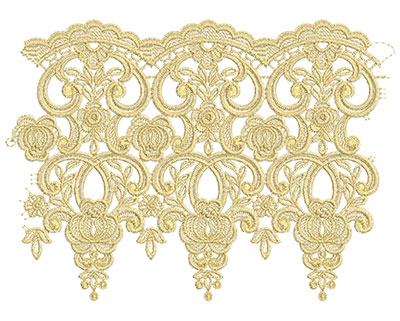
- Design used in the body – Vintage Lace Design Ed 6 Vol 6
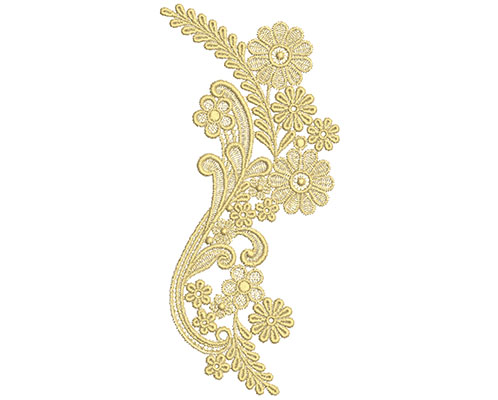
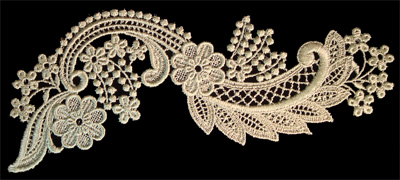
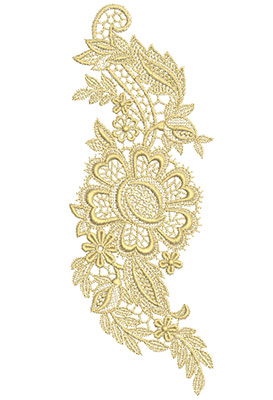
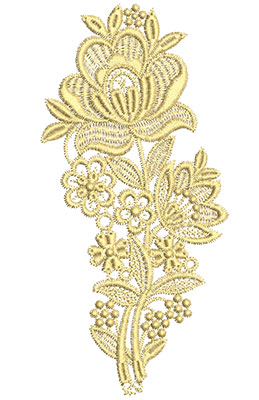
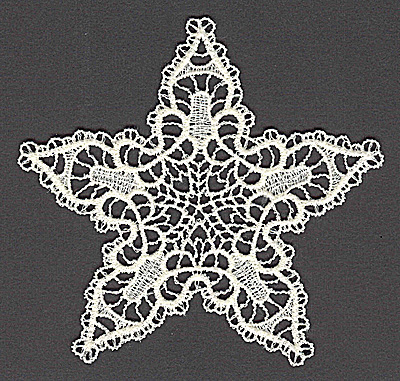
- Design used in the sleeve – Vintage Lace Design Ed 6 Vol 6, Vintage Lace Design Ed 6 Vol 4, Vintage Lace Design Ed 4 Vol 3
Materials for Embroidery:
- Embroidery thread
- Water soluble mesh stabilizer
- Water soluble stabilizer
- Embroidery designs
- Editing embroidery software
- ½ yd tulle to coordinate with top fabric
How To Wash Out Stabilizer
To remove water soluble wash away stabilizer, rinse in lukewarm water to dissolve the visible stabilizer. In a basin of water with fabric softener, soak the article for at least one hour, rinse, soak in soapy water for at least another hour, then rinse again.
Using a small mesh laundry bag, put the sleeves in the bag and wash them using the delicate cycle. Because there are multiple layers of water soluble stabilizer, it may take a couple of washings to remove all the stabilizer. It is worth all the washes and rinses to remove all the stabilizer to produce a soft product.
Learn more about embroidery stabilizers here.
Bobbins For Lace
When the opposing side of the lace can be seen, we suggest using a bobbin the same color as your top thread. However, sometimes it can be hard to find a bobbin the same color.
To make things easier, we suggest winding several bobbins with the embroidery thread you’re using before starting to embroidery your lace design.
This way, when the bobbin runs out, one of the extras can just be popped in. In these sleeves, we used matching bobbin thread.
Lace Sleeve Top Tutorial
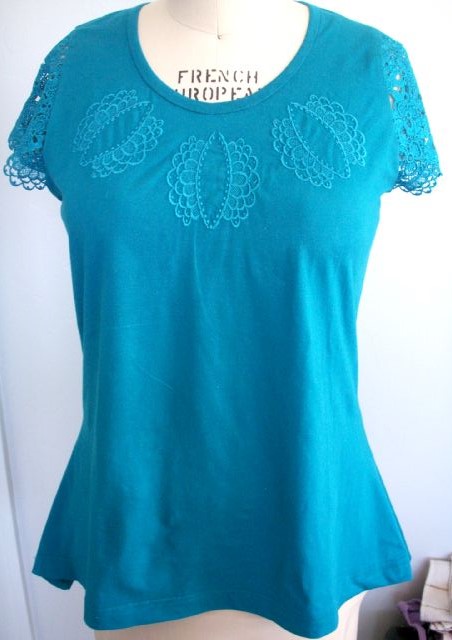
Step 1: embroider top front
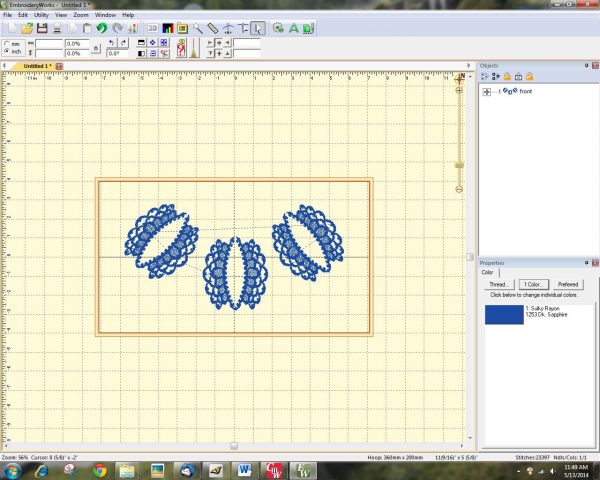
- Open your embroidery software program and import the body design.
- Mirror image the design and bring the two arcs together to touch at the top and bottom.
- Copy and paste the newly created design twice, move one to the right, and another to the left of the design.
- Arrange the designs to align with the neckline.
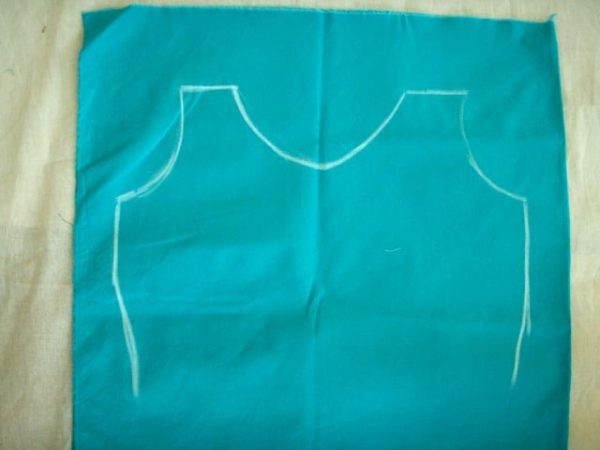
- Cut a larger piece of fabric than what the pattern piece calls for to embroider the design. With extra fabric, there is room to adjust the end placement of the design after it’s embroidered. After the embroidery is complete, then you can cut the actual pattern out.
- Chalk the fabric of your shirt, add 1″ extra on the sides and from the armhole up to create a rectangle
- On the knit, identify the center of the design, and make a ‘sandwich’ of mesh water soluble stabilizer, knit and water soluble stabilizer.
- Hoop the sandwich centering the design. Stitch out the design.
- Trim the excess stabilizer, wash out the stabilizer, dry, and set aside.
Step 2: creating lace sleeves
- The cap sleeves are great for giving a little coverage on the arm and are easy to make when combining the designs for lace. They usually fit in one hooping.
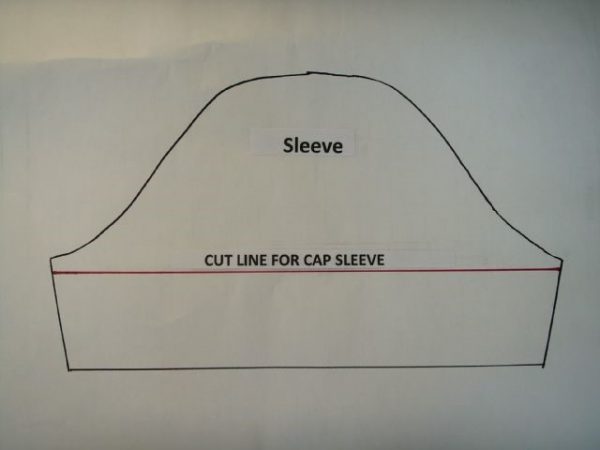
- To make a cap sleeve from a set-in sleeve pattern, measure down ½ “from the underarm point of the sleeve on each side and connect the 2 points.
- Use your software editing program to import the lace sleeve patterns. Both lace files used for the sleeves are AINL08A and AINL08B.
- Position AINL08B at the bottom center of the page, add the single unit of this design, AINL08A, equally to the sides of AINL08B until the required length is achieved.
- When the border is compiled, move on to create the body of the sleeve. Import design AINL05C and copy-paste to create multiples of the design.
- At the top center, begin arranging the designs in different directions to fill the sleeve area with the designs touching one another.
- There may be gaps in areas, and a filler design is used to fill in the gap. In this shirt, our filler was a single flower design AIMR11.
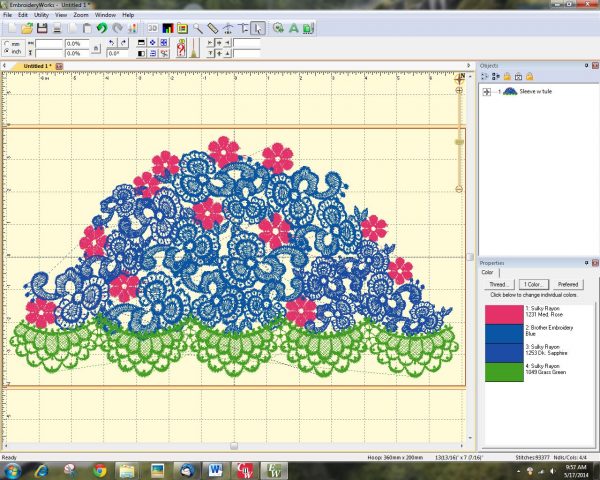
- Once all the designs are arranged as desired, update the order they stitch out.
- First, stitch out the filler flower, second the main sleeve designs, and lately the border. Save the design.
- Prepare a ‘sandwich’ to stitch out the sleeve. This ‘sandwich’ is a layer of water soluble mesh, tulle, and another layer of water soluble mesh. Continue to hoop the sandwich, set the embroidery machine to stitch all one color, and stitch out the design.
- For the second sleeve, mirror image the design and stitch out the second sleeve.
- After both sleeves are stitched out, wash out the stabilizer (see the beginning of this blog for instructions), and block the sleeves to dry.
- Once the sleeves are dry, give them a light press from the wrong side and cut the sleeves using the sleeve pattern.
- Now all the pieces are embroidered, cut out the pieces using the pattern pieces, and construct the top based on your pattern instructions.
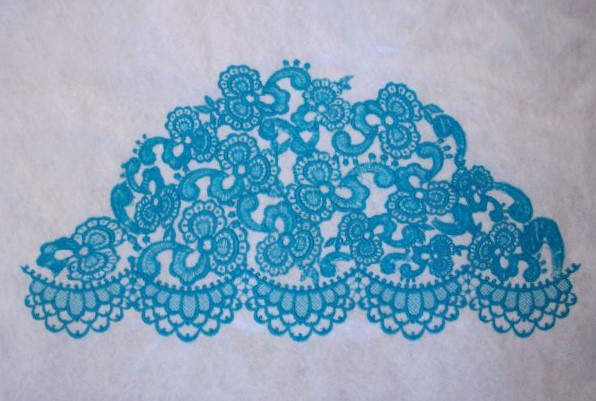
That’s it! Congratulations and great work on creating this beautiful project!
Vintage Freestanding Lace Embroidery Designs
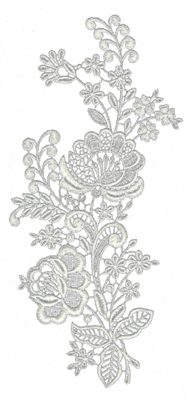
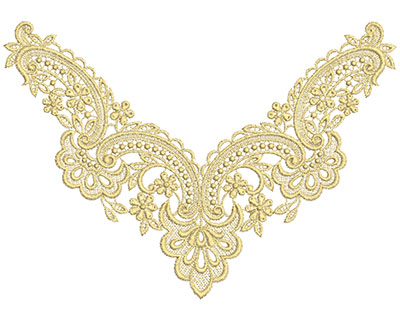
If you’re looking for more beautiful lace designs, be sure to check out our large selection of freestanding embroidery lace designs. We’re proud to say that our vintage lace designs are a piece of embroidery history. Created by our family for the wedding industry in the 1950s, each design was manually crafted one stitch at a time by European Schiffli Masters.
Conclusion: Start Stitching
No matter where you look in stores or online, you will never find the same garment you create. Add lace to your clothing for a budget-friendly elegant look. Now that you know how easy it is to add lace, it’s your turn! Get inventive and make your new favorite shirt, or get creative, recycle and make your old clothes new again.
Happy stitching!
P.S. Don’t forget to learn the secrets, tips & tricks behind the most popular embroidery techniques and have fun doing it with our new & improved Fun Effects Embroidery Course.
This project is by Sue Ann Obremski





Leave A Comment