Not all embroidery designs are created equal. Are you ready for high-quality, always smooth-running embroidery designs?
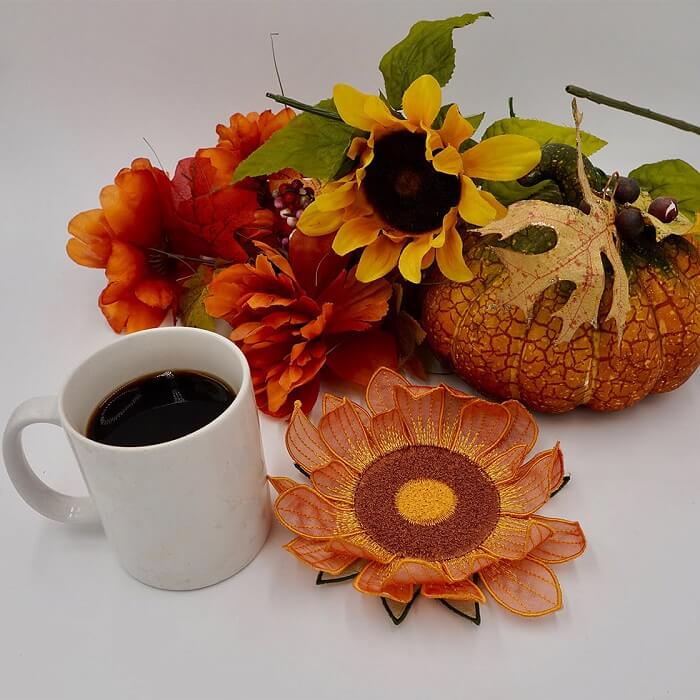
Here at the Embroidery Legacy, we take pride in the quality of our machine embroidery designs. For this reason, we’re giving away our free Embroidery Legacy Design Kit. Experience the difference quality digitizing makes with these smooth, stunning designs created by award-winning digitizer and embroiderer John Deer.
See why our embroidery designs stand out, let the stitching speak for itself!
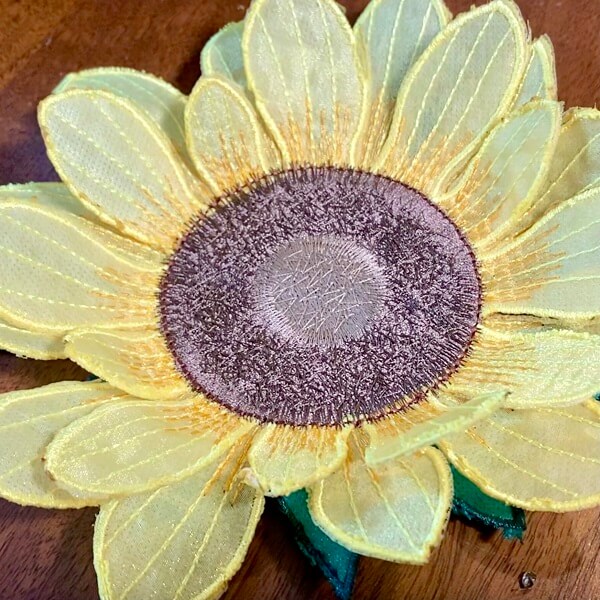
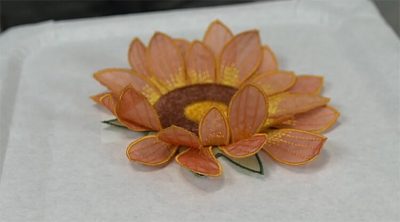
Free machine embroidery design -ITH project sunflower coaster
Congratulations on downloading our Free Embroidery Legacy Design Kit!
Before we begin, if you’re new to embroidery and this project seems a bit complex, I encourage you to give it a try. Although several steps are involved, it is relatively easy once you get into the swing of it. Plus, I be-leaf in you!
Below we provide you with a complete tutorial, step-by-step, showing you how to create your new 3D in-the-hoop sunflower coaster (no soil needed)!
Ok, flower puns aside, let’s get started.
Expand your embroidery world and have fun doing it with our new & improved Fun Effects Embroidery Course by learning 14 popular techniques to skyrocket your creative potential.
Supplies required for this free machine embroidery design – in-the-hoop project sunflower coaster:
- Tear-away stabilizer
- Wash-away or Dissolve-away stabilizer
- 200 x 300 hoop or larger
- Organza fabric
- Matching embroidery thread
- Painter’s tape
- Cork fabric
- Bobbin thread similar to cork
Free machine embroidery ITH sunflower coaster tutorial:
If you’re more of a visual learner, watch our video below for a complete tutorial on how to create this project easily:
If you want to stay up to date with new embroidery project ideas, tutorials, tips, and tricks, be sure to subscribe to our YouTube channel by clicking the button above.
Now if you want to see step-by-step written instructions on how to create this project, we, of course, have you covered there too:
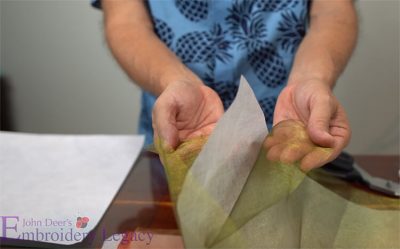
Step 1: Lay down a piece of Organza fabric. On top of this, place a piece of water-soluble backing (dissolve-away/wash-away). On top of the wash-away, place another Organza fabric piece (think of it like an oreo cookie; the white stuff goes in the middle). You can use the same color Organza for both pieces. Or, for a more creative effect, use two different shades of the same color Organza. Next, hoop all three pieces.
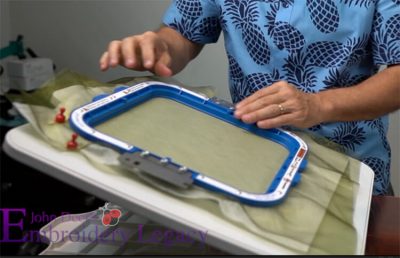
Step 2: Place the hoop on your machine and allow it to embroiderer the leaves. Remember to change the bobbin to match the bottom Organza color). Next, remove the hoop from the machine, and while the design is still in the hoop, use a stencil cutter to trace out the petals.
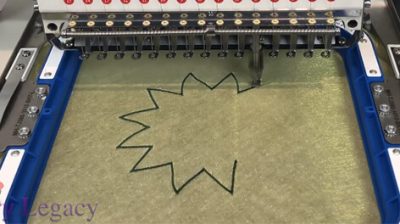
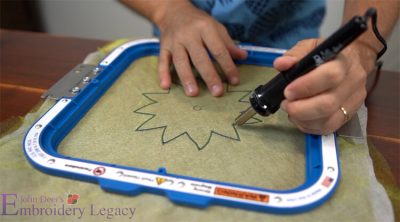
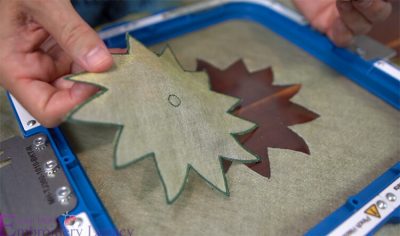
Step 3: Repeat the steps above two more times for the larger & smaller petals, remembering to change bobbin color to match the bottom Organza color.
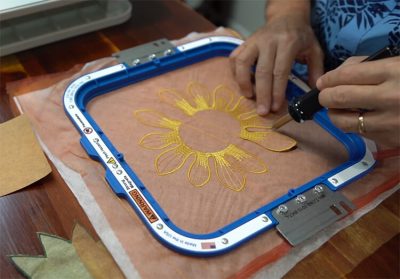
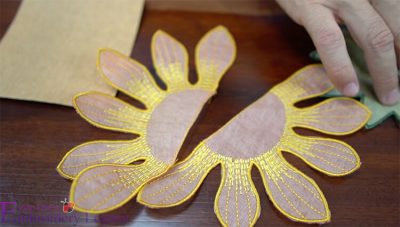
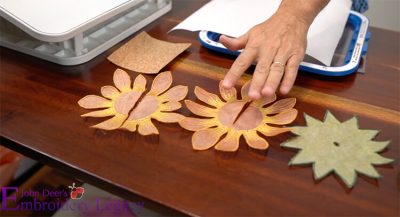
Step 4: We are now going to combine all three pieces using a piece of tear-away stabilizer. Begin by hooping the stabilizer by itself, then switch to a pre-wound bobbin and embroider the first placement guide stitches to create an X. Next, line up the hole on the leaves to the X on the placement guide stitches and tape it into place to ensure it does not move. Then proceed to embroider the second placement guide stitch.
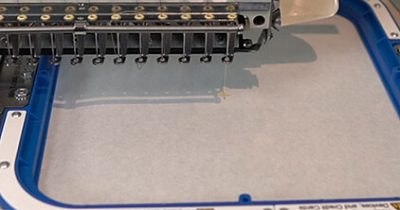
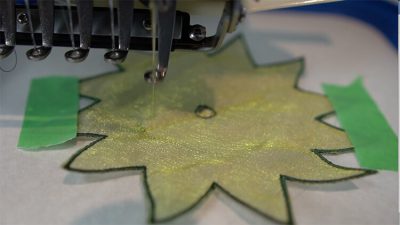
Step 5: Line up the larger set of petals to the placement guide stitches and tape them into place. Then place your hoop back on your machine and stitch the next set of placement guide stitches.
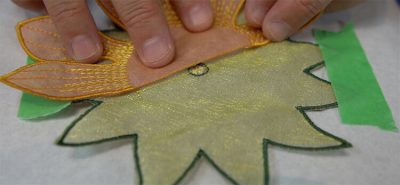
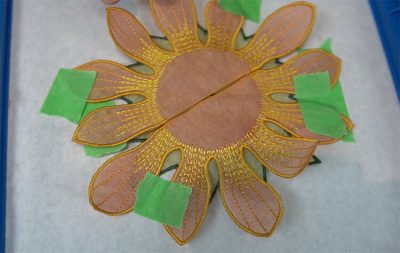
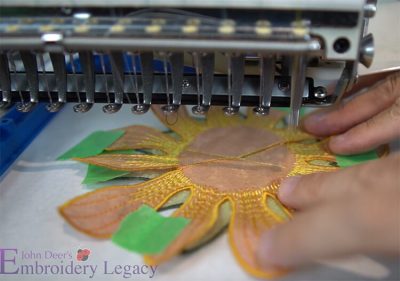
Step 6: Line up the remaining set of small petals to the placement guide stitches and tape them into place. Please note the smaller petals should be offset to the larger petals to give it a more realistic look. Then, place the hoop back on the machine & finish embroidering the center of the sunflower.
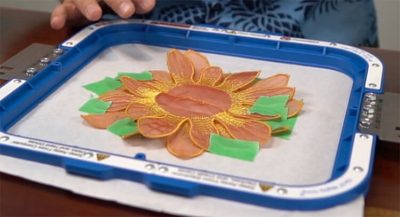
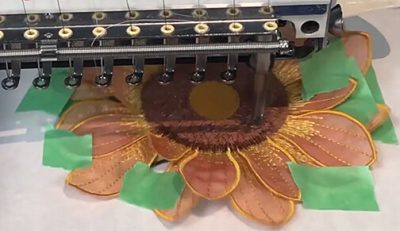
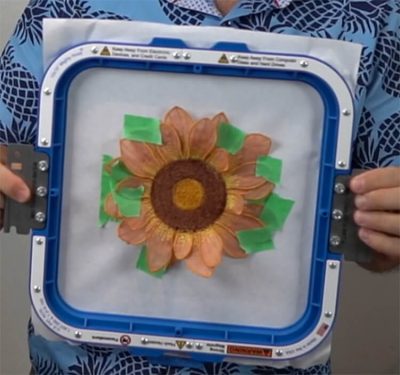
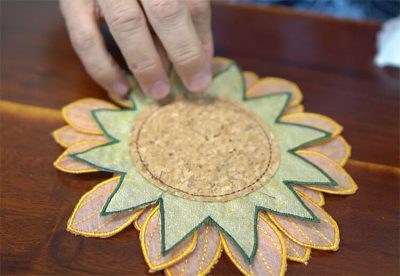
Step 7: Cover the exposed stitches on the backside of the sunflower with your piece of cork and tape it into place. Remember to change the bobbin to match the color of the cork and then run the finishing stitches. Next, remove all the tape and take the design out of the hoop.
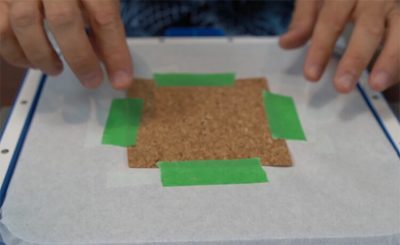
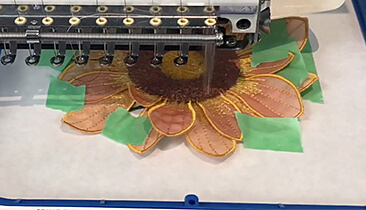
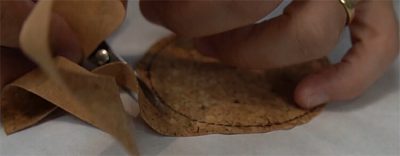
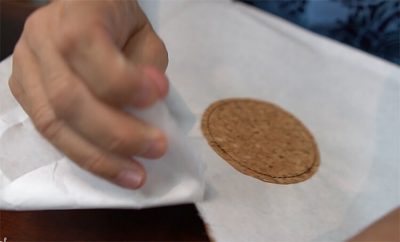
From here, flip the design over and cut off the excess cork material around the stitches. You’ll then tear away the stabilizer.
Nicely done! Your in-the-hoop flower coaster is now in full bloom (I just had to add in one more flower pun).
Want More Fun Embroidery Projects & Instant Access to Close to 30,000 Designs?
If you enjoyed this tutorial and want to create more stunning projects that’ll stand out and demand attention, I invite you to check out our Embroidery Legacy Design Club.
It includes access to close to 30,000 embroidery designs, new weekly design releases, and new Embroidery Legacy Project Ideas (like the one you just created) that’ll show you how to create a new embroidery project easily.
Congratulations once again on downloading your Free Embroidery Legacy Design Kit! Hopefully, it gave you a small taste of what we have to offer here at the Embroidery Legacy. If you enjoyed this project or have a question, be sure to leave a comment below. Happy stitching!
P.S. If you haven’t already, remember to take a quick peek at our Embroidery Legacy Design Club, and don’t forget to learn the secrets, tips & tricks behind the most popular embroidery techniques and have fun doing it with our new and improved Fun Effects Embroidery Course.

I am very excited to hear more from you – it seems I have stumbled upon a very helpful website! If you could please send me directions step by step as to how to “download” one of these beautiful designs to my sewing machine so that I can stitch it out, that would be wonderful!
I very much look forward to hearing from you!
I have a Destiny II machine
Hi Mary,
You can get download the free in-the-hoop flower design showcased in this article with our free Embroidery Legacy Design Kit. Simply follow this link and fill out the form to gain access and download it today: https://www.digitizingmadeeasy.com//free-embroidery-legacy-design-kit/
Enjoyed these videos, thank you
My pleasure Bernice
THANK YOU..
.I really learnt a lot and enjoyed it thoroughly…. you are amazingly big hearted in sharing your given gift of knowledge
may you always prosper to GREAT heights
Thanks for the kind words, glad you enjoyed the article and project!
I will take the organza class to my group hopefully it will get them interested in expanding their minds
I enjoyed that video it is very detailed looking forward to seeing more videos
Thanks for letting us know Grace! Enjoy the project!
Very cute design but when do we wash out the stabilizer?
Also, thank you for the freebies, the videos and the guidance. I am learning so much. I can hardly wait to begin the Digitizers Dream course. I know I will benefit from missing fundamentals I somehow managed to overstep.
You’re most welcome Stina! Glad to hear you’re enjoying everything. You would remove the stabilizer at the very end of the project, or you could keep it in if you need the stiffness.
can you help me please i brought an paid by palpayfor sweet pea baby design order noumber 131628 an macosx legacydesignkit got the free design but no sweet pea baby design i have tryed email but still got no where this is what i got back from pay pal my receipt order@adorableideas 866-492-3337 please email me an let me know what is happening my emal is [email protected] thanking you Iris Wells
Hi Iris, can you please email us at [email protected] and we can help sort this out 🙂
Hello. I downloaded and stitched the sunflower coaster. I am unable to find the placement stitch PES file. Only files it came with are AIFL108 Cork and A-F. Can you tell me where the placement stitches are located? Thank you,.
Hi Jamie, the first part of file “F”, after it stitches the X it will stop so the pieces can be placed one on top of the other, then file “F” will continue sewing the center tacking it all together. Hope this helps!