Want to learn how to embroider a hoodie to achieve professional results? We’ve got you covered!
Whether adding a fun design or personalizing a gift, this step-by-step guide will show you how to get excellent results every time. Let’s get stitching!

Enthusiasts or VIPEmbroidery Legacy Design Club members receive a special embroidery cheat sheet PDF. You can save the PDF on your computer or print it as a reference beside your machine.
Login to your digitizingmadeeasy.com account and check your “Classroom” tab!)
Want a hands-on guide? Watch the video tutorial below while following along with the blog!
Materials:
- Hoodie sweater
- Embroidery hoop
- Thread
- Scissors
- Cutaway Stabilizer
- Design template print-off
- Embroidery design – we used our Traditional Snake Tatt design for this sweater
Save 90% on high-quality embroidery designs when you join our Embroidery Legacy Design Club!
Hoodie Embroidery Tutorial:
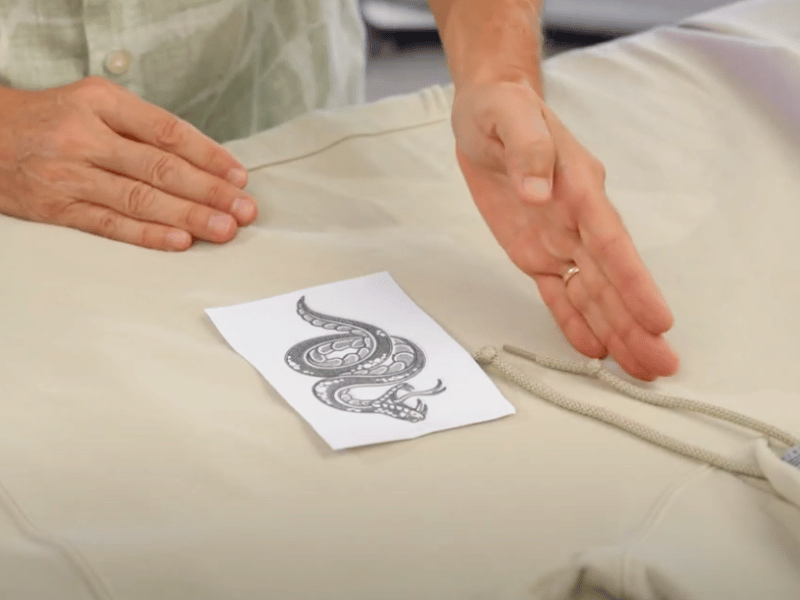
Step 1: Print out and cut your design template. Use the template to ensure your design fits within your hoop and achieves perfect placement on your hoodie.
Please note: Proper placement depends on the size of your hoodie and whether you’re placing it in the center or left chest.
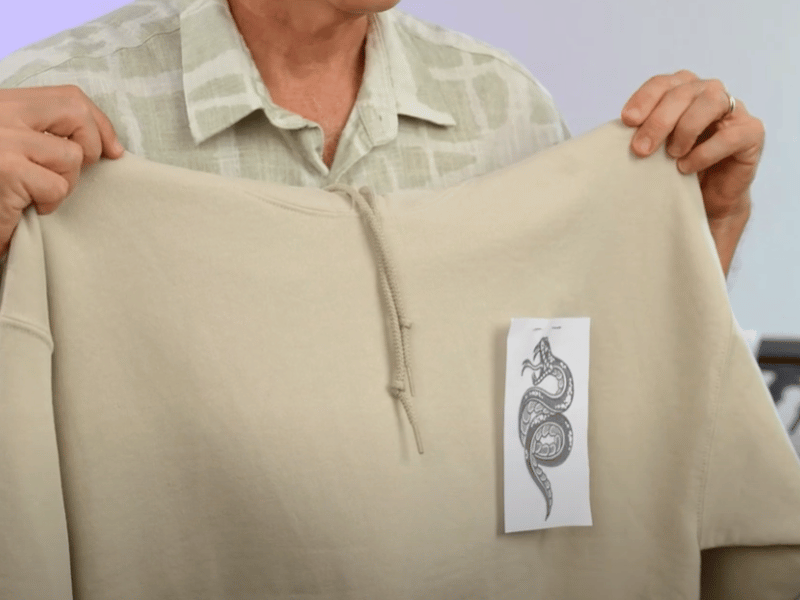
Step 2: Pin your design template in place. Hold up your hoodie to ensure the template is in the right place. Adjust the placement if needed.
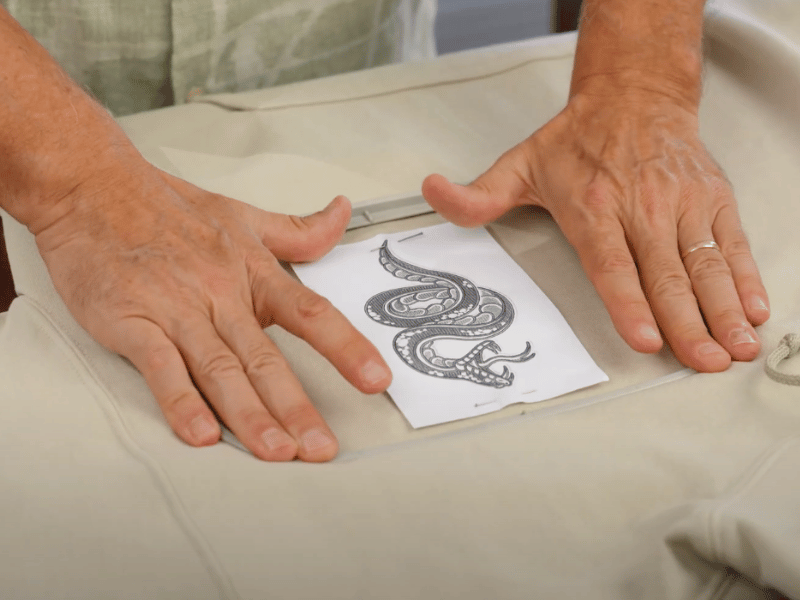
Step 3: Hoop your stabilizer and hoodie. (Watch the video above to learn how to gauge and preset your hoop for the best results.)
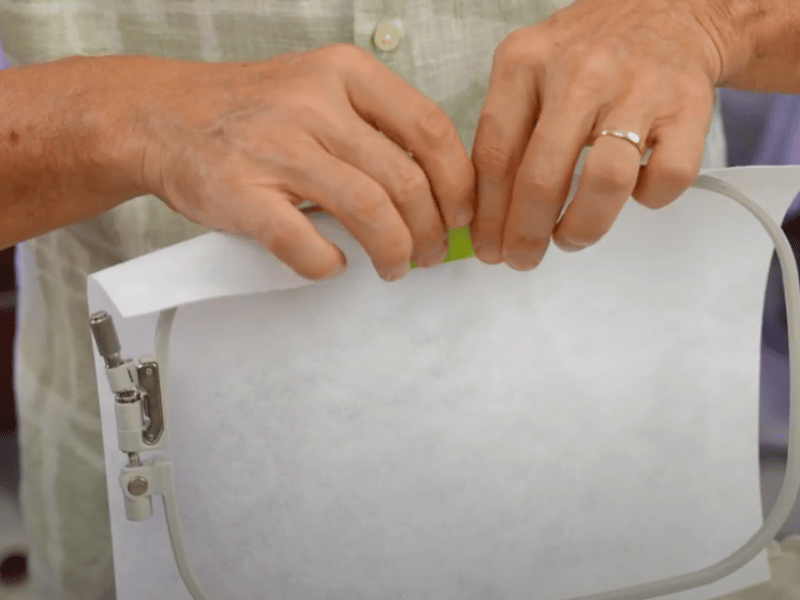
Tip: Tape the stabilizer to your bottom hoop to prevent the stabilizer from moving when you try to hoop. Put your bottom hoop through the bottom waist of the sweatshirt.
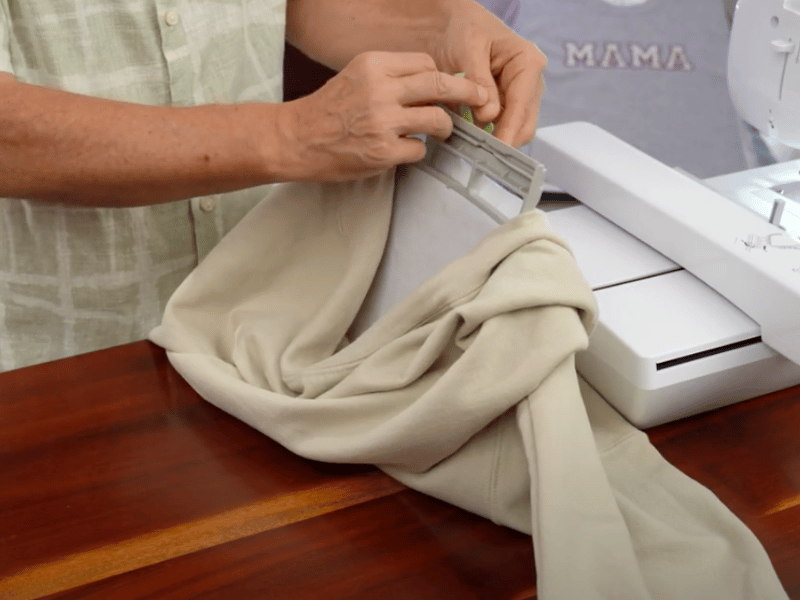
Step 4: Remove the tape from your hoop and stabilizer after your sweater is hooped.
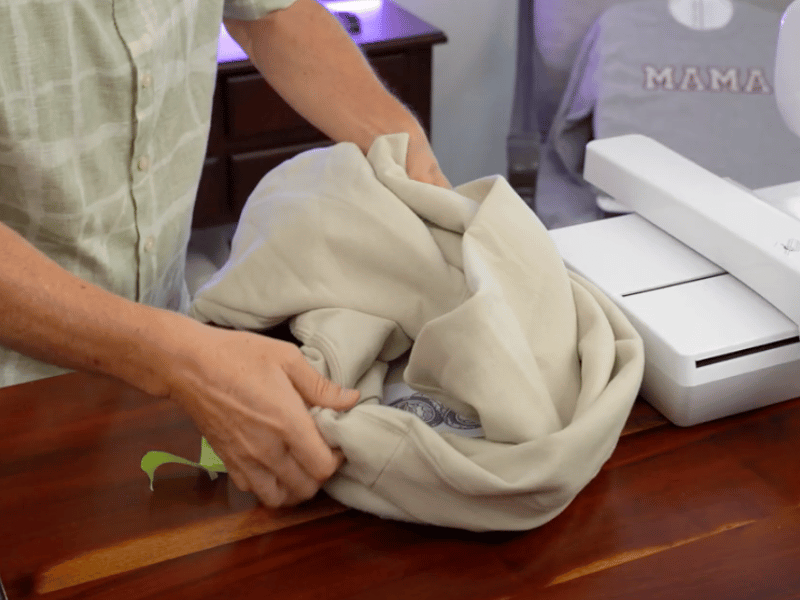
Step 5: Because we’re using a flat-head machine, turn your sweater almost inside out and create a bowl-like shape to create a flat surface.
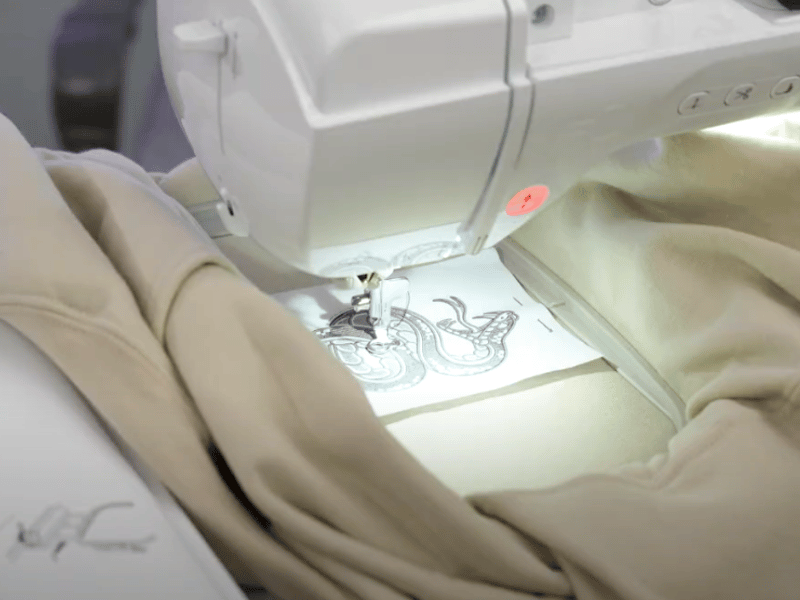
Step 6: Load your embroidery design into your machine and place your hoop in it. Center your needle in the center of your design template.
Keep your sweater material away from the needle to avoid stitching on unwanted parts of the sweater. Clips can hold loose fabric securely.
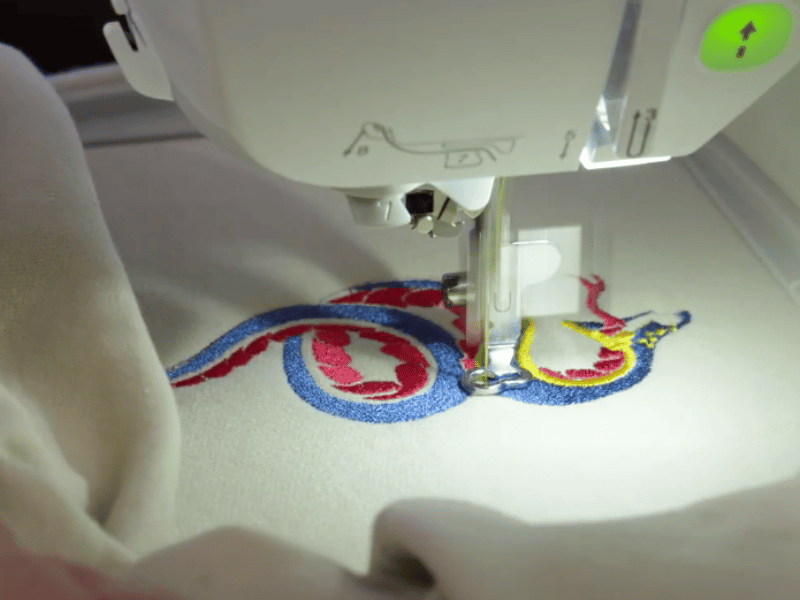
Step 7: Remove your pins and template from your hoodie and stitch out your embroidery design.
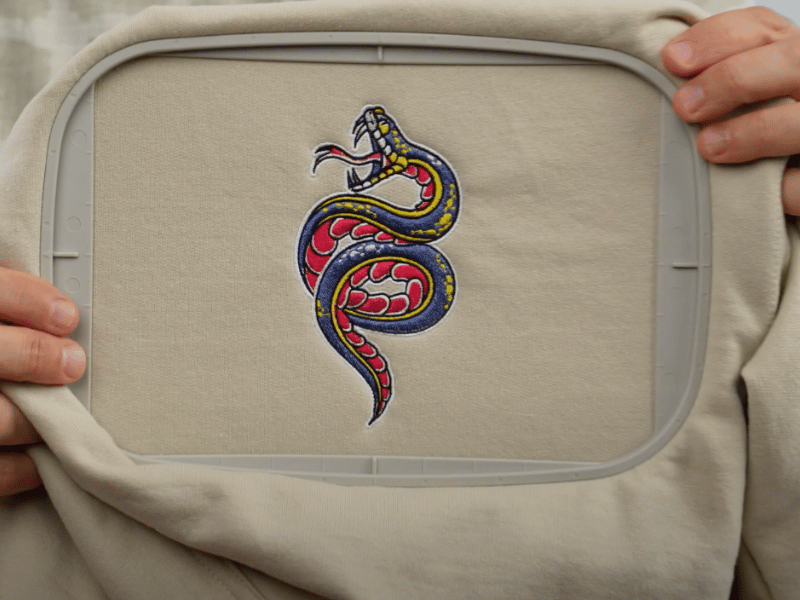
Step 8: After stitching your design, carefully remove your hoop from your machine.
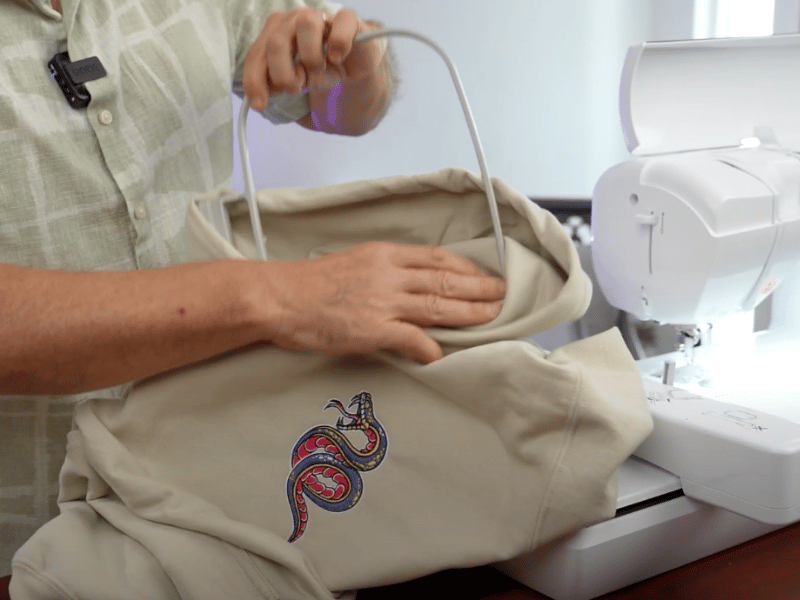
Step 9: Remove the hoop from your hoodie.
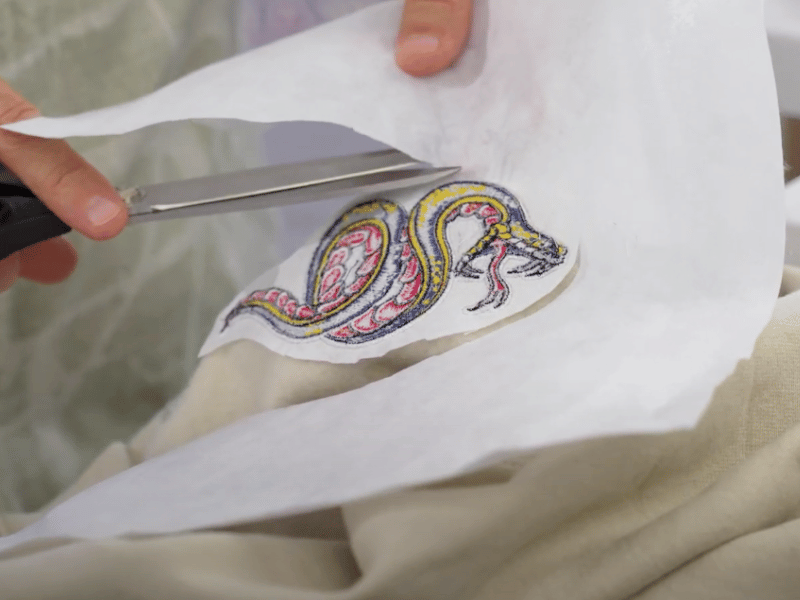
Step 10: Flip your hoodie inside and remove the stabilizer using scissors.
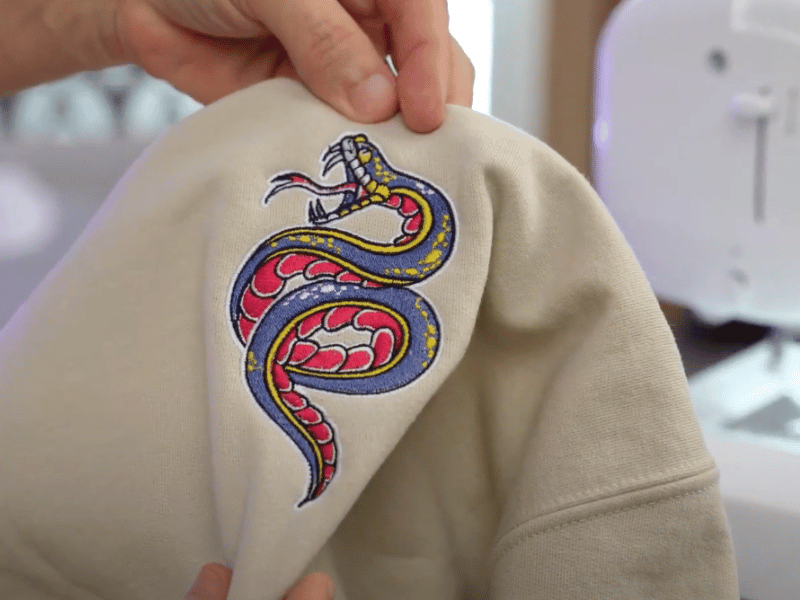
Step 11: You’re ready to wear your newly embroidered hoodie!

And that’s it! With these simple steps, you can embroider your hoodie with beautiful, professional results. Whether making a gift or creating something just for yourself, the process gets easier each time. Now, grab your hoodie and start stitching!
Don’t forget to check out all our other high-quality embroidery designs! Want to save up to 90% on designs? Join our exclusive Embroidery Legacy Design Club for great savings and free pocket page PDFs of different embroidery techniques exclusive to our members!


Leave A Comment