Want to spice up your kitchen table? Or how about an easy to transport placemat for picnics? If you’re looking for something functional but also environmentally and budget-friendly for your tablespace, this new embroidery project is perfect for you!
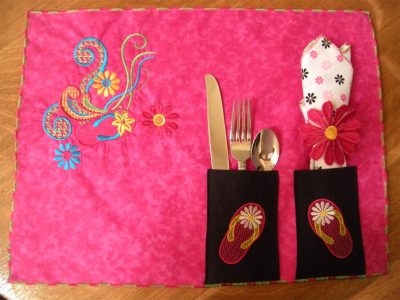
When dining both inside and outside, create a quick and easy placemat that already holds everything you need for your mealtime. You’ll never forget a utensil or napkin again, plus clean up will be a breeze!
Why create & embroider a quick custom placemat?
This placemat embroidery project is quick and easy, and it can be personalized to go with any decor or occasion. Suppose you need something for a family picnic. In that case, you can customize it with each person’s name at the top, if you make it for your kitchen table, you can include some purple flower embellishments, or if it’s for a Christmas dinner, you can customize it with a Christmas tree and some snowflakes. Not only can you choose different embroidery designs, but you can also vary in your fabric selection. The options are limitless as you can dress them up or keep them casual!
These placemats are perfect for outside dining; they can be useful in picnics or during camping. As they have pockets for your utensils and napkins, you’ll never be without your silverware essentials. When you have other essential items to pack, (such as your tasty meals), it can be easy to forget how you’re going to eat it!
These placemats are easy to store away and bring with you wherever you go as they take up very little space and can be molded to any size. They also are environmentally friendly, as there is no leftover garbage. Even the napkin can be washed and reused. Your garbage waste will be minimal. If you’re eating outdoors, throw your dirty placemats into a bag and bring them home to be washed for another use. Or if you’re eating at home, throw them right into your washing machine.
These placemats are easier to clean than an entire tablecloth, as there is always one messy eater in the group. Not only are these placemats environmentally friendly, but they’re also budget-friendly. As there are a small number of materials needed for this project, you can personalize what fabric and thread type you choose. You can determine how much or little you spend on your placemats.
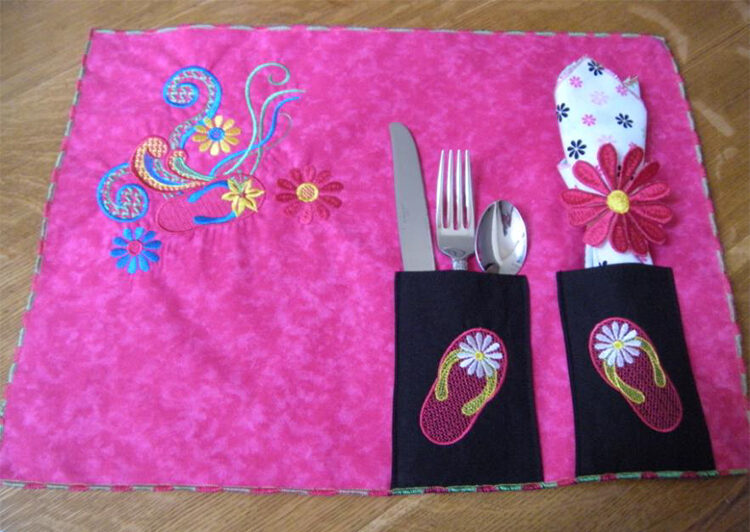
Now keep in mind, you don’t have to use this Tropical Swirls design for your placemat. To really personalize your custom embroidered placemat, you can choose from our giant database of close to 30,000 quality embroidery designs, or you can create your design text or image with the Design Doodler.
Supplies required for this custom embroidered placemat project:
- Placemat fabric
- Pocket fabric
- No Show Mesh stabilizer
- Dissolve Away Mesh stabilizer
- Organza
- Tropical swirls design
- Daisy flip flop design
- Daisy design
- Optional: stencil cutter for freestanding flower on napkin ring
Quick custom placemat project tutorial:
- Cut 2 pieces of placemat fabric 14” x 18”
- Cut 1 piece of No Show Mesh stabilizer to fit your hoop
- Cut 2 pieces of the pocket fabric and 2 pieces of No Show Mesh to fit your hoop
- Cut 2 pieces of pocket fabric 4” x 6”
- Cut 2 pieces of organza and 1 piece of Dissolve Away Mesh to fit hoop
- Hoop 1 piece of placemat fabric with No Show Mesh Stabilizer
- Embroider your first design in the upper left hand corner, we used our Tropical Swirls design
- Hoop 1 piece of pocket fabric with No Show Mesh Stabilizer
- Center the design over the pocket and embroider your second design, we used our Daisy Flip Flop design
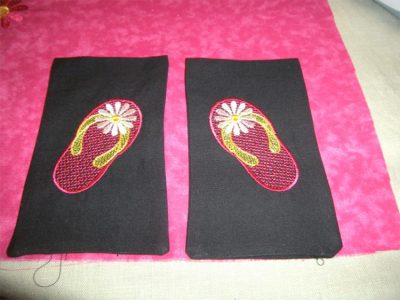
- Hoop the remaining piece of pocket fabric with No Show Mesh Stabilizer
- Mirror image the design, center the design over the pocket and embroider
- Trim the embroidered pocket pieces to 4” x 6”
- Place each set of pockets right sides together and sew the top and both sides
- Turn the pockets right side out
- Place the open ends of both pockets on the bottom right of placemat
- Stitch the pockets to placemat
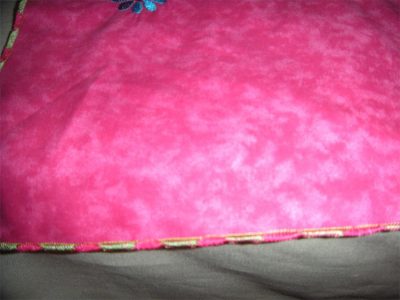
- With wrong sides together serge the embroidered and place placemat pieces together
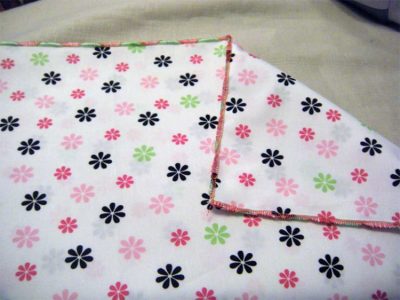
- Serge the 2 napkin pieces together
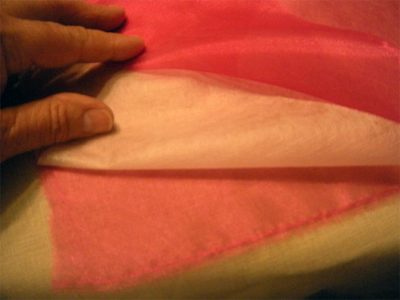
- Place the Dissolve Away Mesh/Wet N Gone stabilizer between the 2 pieces of organza and hoop
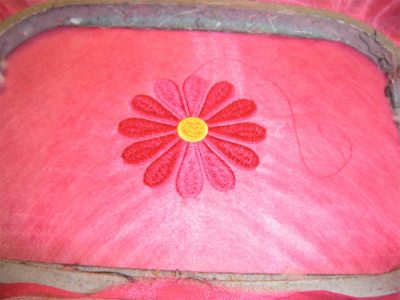
- Stitch your third design for your napkin ring, we used our Daisy design
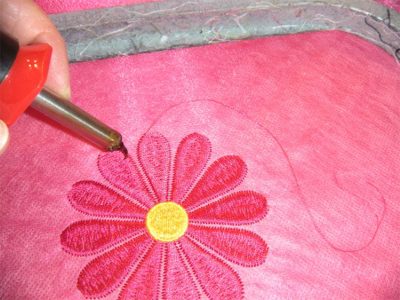
- Leaving your fabric hooped, use your stencil cutter to trace the shape of the flower to make it free standing
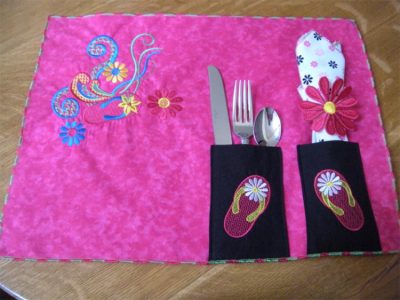
- Stitch the “ponytail” holder to the back side of the flower to create napkin ring
- Place your silverware in one pocket, and napkin in the other
- Voila! Time to eat.
Conclusion: embroider and create your custom placemat
With only a limited amount of supplies required for this project, the placemats can be easily made from leftover fabric. This project is also budget-friendly, so you can make several! Personalizing your placemats can give the desired theme to wherever your table may be, and making a mess isn’t concerning, as clean-up is easy. You can always be prepared to eat your meals with these quick and easy placemats.
P.S. If you need a design for this placemat, don’t forget to browse our giant collection of machine-friendly embroidery designs. Check out our Embroidery Legacy Design Club to learn how to save on our database of over 30,000 quality designs. Or, if you’ve never tried our designs before, download our free Embroidery Legacy Design Kit for 11 of our fan-favorite designs!
Happy stitching!


Thanks for the neat kit.
Enjoy Beth!
I love this! Can’t wait to make some, thank you so much for this tutorial. I don’t have a serger but my machine has lots of stitches that should work for edging.
Glad you enjoyed it Inga 🙂 happy stitching!