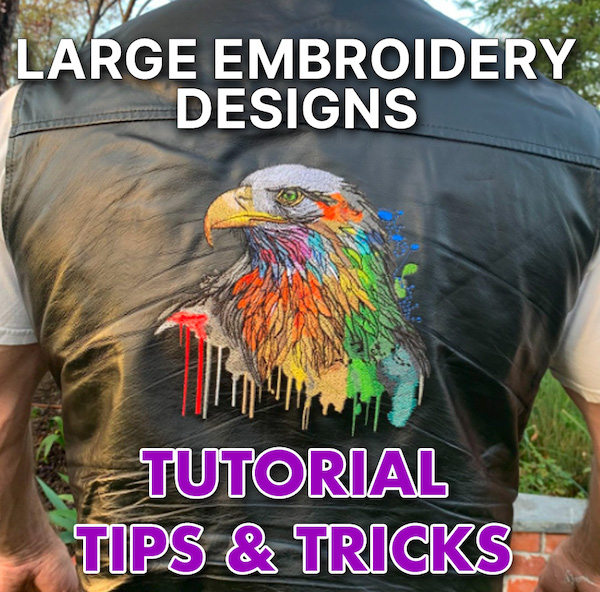
You walk into a room, and all heads turn to admire the stunning, intricate design embroidered on the back of your jacket. Vibrant colors, precise stitching, and an artistic design make it a masterpiece!
Creating large, attention-grabbing embroidery may seem difficult, but we’ve got the tools to get you great results!

Join us as we discuss the secrets to mastering jacket-back embroidery and answer your common questions. Let’s turn your larger creative visions into wearable works of art!
Large Embroidery Designs
Large designs are created to make full-scale artwork that are soft and have a flexible stitch. This approach means that the stitch types and fills may differ.
In a small-scale design, you might use a tatami fill stitch with a .30 mm spacing, but with the larger fills, you use layers of color to “paint” with a stitch spacing much larger, say, 1.0 mm. Using more space between colors creates smooth blending and color areas without too much density. The lighter density creates a soft, wearable embroidery.
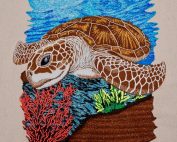
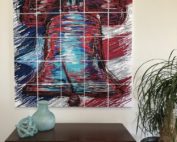
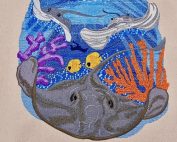
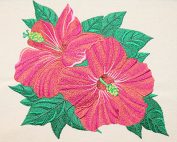
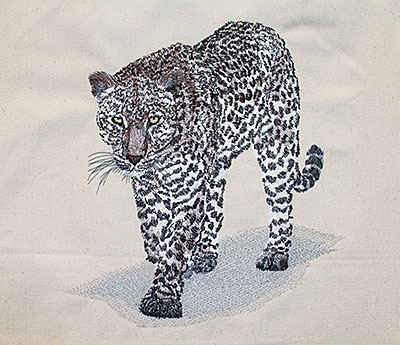
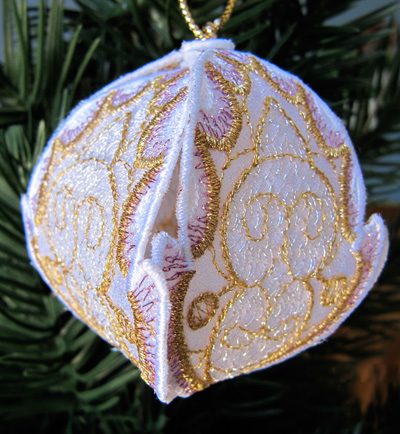
Here is an example of what an area of color blending looks like.

As you can see, it looks light, but when used in an overall design, it looks perfect!

Where Can I Find The Best Large Embroidery Designs?
You want large embroidery designs with incredible detail digitized into them, but they are not bulletproof when stitched.
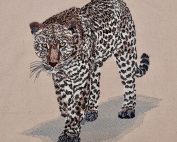
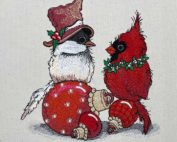
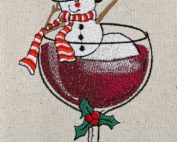
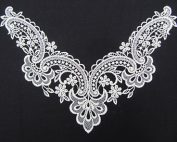
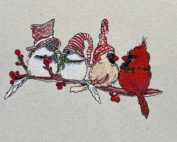
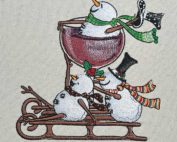
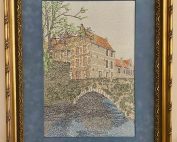
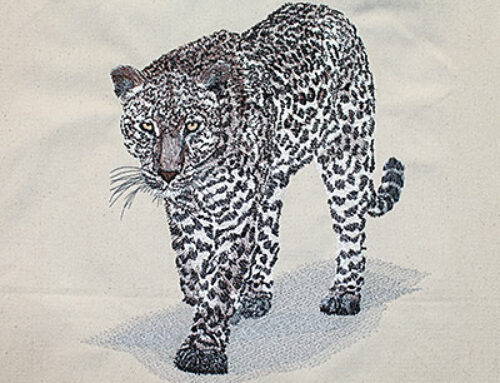
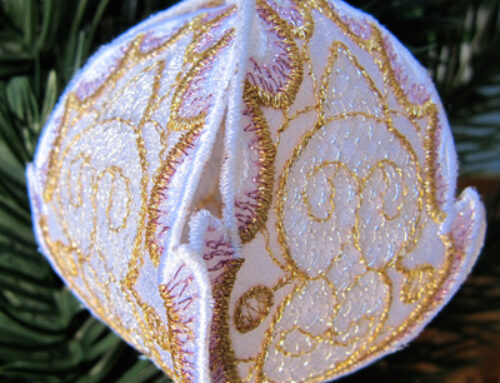
Our premium designs are works of embroidery art in various larger sizes. They’re perfect for creating jacket backs, wall hangings, pillows, or large accents for projects that demand attention.
Explore our quality designs for smooth-running designs that beautifully showcase embroidery.


Want to save on your embroidery designs? Learn more about joining our Embroidery Legacy Design Club!
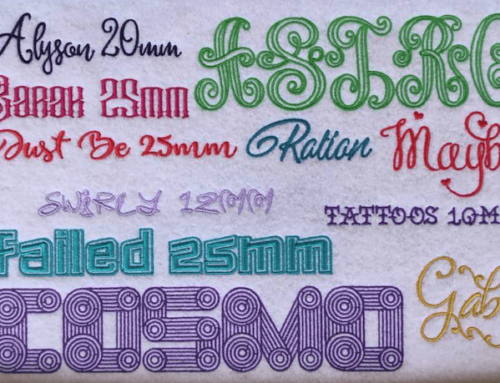
Want to create your own jacket back embroidery designs? Creating your own embroidery designs has never been easier with the Design Doodler!
Download a free trial of the Doodler and create designs as large or intricate as you like. Turn your artwork into stitches!
Beginner Tips For Embroidering Large Designs
We all know stitching out the design is fun, but you must plan properly to save time and materials. Your “action plan” needs several parts before you push that start button.
- Use the correct size design. We offer our premium designs in several sizes for this reason. Choose the design you want based on the size and placement of the garment you will stitch. We do not recommend resizing more than 10%, as these designs stitch beautifully at their given size.
- Print out your design template. Ensure the design and placement are perfect before you start. Printing a copy will allow you to cut it out and place it on the garment to determine if any changes are necessary.

- Select your thread and see it together. Each of our PDFs includes thread selections. We only recommend these colors; you can substitute colors to your taste. Lining up your colors together gives you a good visual of how your design will appear.

- Manage and plan your color changes. Many larger designs can have 15-20 (or more) colors, we suggest planning how you’ll switch out colors.
- Use 75/11 sharp-point needles. You do not need a special needle for your stitching—ensure they are in good condition.
- Use polyester 40-wt thread for your designs. This thread is strong and shiny and will not fray when layering colors. You can use rayon thread, which is less strong and can fray or break.
- Slow down your machine. Machine speed is a significant factor in any design but especially for large ones. Slowing it down may take longer, but you get a better result!
- Jump stitches can be frustrating, but sometimes, they are necessary to keep things moving and do not affect the outcome. You can always use a pair of snips to remove the jump stitches.

Jacket Back Garments For Large Embroidery Designs
Let’s discuss several types of large-scale embroidery on three types of jackets. Each has unique features to consider.
1. Denim/Duckcloth: A heavier jacket with or without lining are very popular, but they need a bit more consideration on placement due:
- Seams: Create “road hazards” in stitching. When placing a design, do not place dense details over seams.
- Rivets and embellishments: Beware of these items that can damage your machine.
- Linings: as they can be pretty heavy.

2. Leather: You only get one chance to stitch! Leather requires the most planning because you won’t be able to remove stitches as you would with fabric.
Our large designs work well with leather because they are less dense, which helps prevent piercing the leather too much. With some embroidery software, you can add fabric assist features and opt for leather to adjust for leather’s special needs.
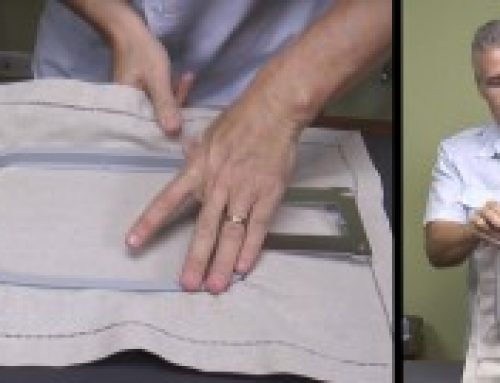
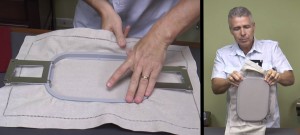
Leather can easily damage, so floating, pinning, or using a tack-down stitch is not possible. If you cannot hoop, consider making a fabric window to surround your leather fabric under the hoop, as shown below.

3. Lightweight or golf jackets: These are super easy to embroider and often a good starting point for new users. Pick up some from a thrift store and experiment!
A note about jacket linings! You may decide to open the lining and embroider on the jacket’s back. This technique requires sewing skills. If possible, open the center back seam.
What Stabilizer Do I Use For Jacket Back Embroidery?
A stabilizer is one of the most important parts of your stitch out. For jacket back embroidery, we suggest using a cutaway stabilizer. It has a fabric-like texture and won’t bunch up like tearaway stabilizers.
We suggest using a cutaway stabilizer for best results.
Cutaway stabilizer fibers shift slightly to accommodate stitches, and there is less distortion. No-show mesh can be a bit too light, and you risk your overall design shrinking and having registration problems.
Embroidery Design Placement on Jacket Back
Here is a rule of thumb for placement:
- Men’s jackets: 10″ below top of jacket
- Women’s jackets: 9-10″ below top of jacket
- Kids jackets: 5-7″ below top of jacket

Hooping Your Jacket Back Embroidery Designs
We suggest hooping rather than floating a large design to ensure your garment is secure and prevents distortion. Big designs take longer to stitch, sometimes hours. If they float, the constant movement can cause registration problems.
We’ll use the collar as a landmark for measuring, and you can mark the center with a tailor’s chalk, wash-away marker, or pins.
Here are the steps:
Step 1: Print your design; the red lines are your placement marks.

Step 2: Lay out your jacket on a flat surface. Using a ruler, mark the center of the back collar.

Step 3: Mark the vertical and horizontal lines for your placement guide. Since we’re embroidering a men’s jacket, we’ll center our design 10 inches from the collar.
Step 4: Center the design using the lines you marked. We’re doing this so we can see how the placement looks. The vertical mark is the most important, and you can adjust the design up or down to suit your taste.

Step 5: Once your center point is set, we’ll put our stabilizer.
Step 6: Using pins mark your horizontals and verticals.

Step 7: Turn your jacket inside out (you should see your pins on the inside).
Step 8: Place your stabilizer on the inside of your jacket. If desired, mark horizontals and verticals on the stabilizer with your marking tool.
Step 9: Line up your stabilizer and use temporary embroidery spray to secure the inside.

Step 10: Until you have your garment hooped, you can pin the corners.
Step 11: Turn your garment right side out and hoop using a flat surface or a hooping station.

Step 12: Embroider on your machine!

Jacket Back Embroidery Summary
For the best results in jacket back embroidery- here are several tips to keep in mind:
- Understand your garment
- Choose the correct design size
- Plan out your stitching and colors before pushing the start button
- Stitch slower (it takes longer, but you get a great result)
- Only use proven designs that are created for large scale and will stitch out with a soft and supple result
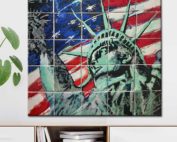
Completing large-scale embroidery designs takes planning, patience, and time, but they are worth it! We offer many choices, including our astonishing Premium Liberty Bell panel embroidery project with over 2,261,331 Stitches!
From 100 to 2.2 million stitches, you will always find beautifully stitched large embroidery designs from Embroidery Legacy! Try out this tutorial with one of our designs, and feel free to ask any questions you may have below!
Leave A Comment