Canvas is an amazing and versatile fabric that is becoming popular around the embroidery world. Are you ready to learn more about machine embroidery techniques, tools, and projects on canvas? Let’s discuss how thread and fabric weave magic together.
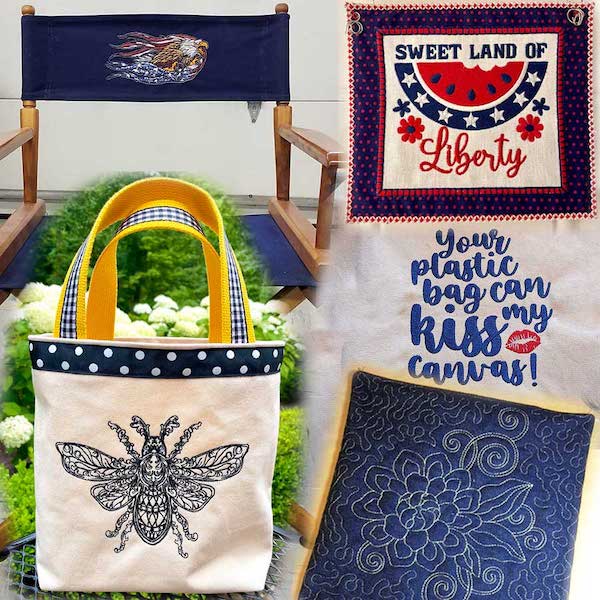
In this article, we’ll talk about transforming a plain canvas into a stunning work of art!
Why Embroider On Canvas
Canvas is such an economical and versatile choice for fabric. It is available at Fabric, Hardware (as drop cloths), and Dollar stores. There are also many sites with premade totes and other ready-made goodies. We’ll give you some project ideas (enough to fill the biggest tote you can make)!
Before the fun projects, let’s discuss what canvas is and the different kinds.
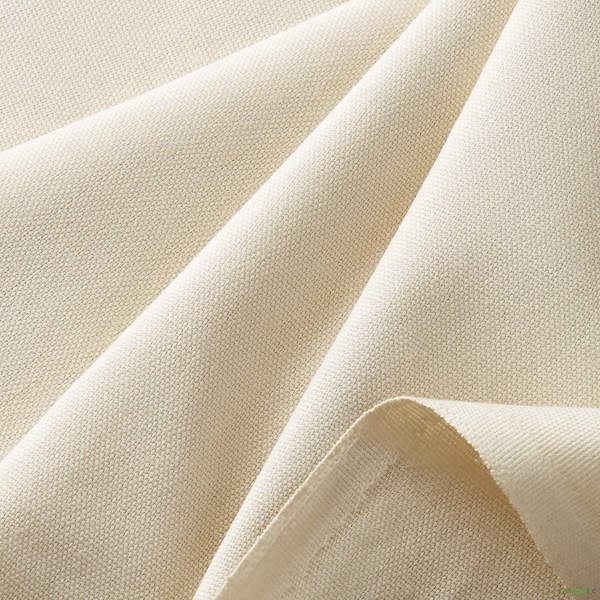
We will discuss the three main types.
- Plain: wide weave with larger fiber. Often used for tents and durable goods.
- Duck: thinner threads and smoother finish. Often used in tennis shoes and drop cloths.
- Cotton: stretchy and softer. Often used in outwear.
Side note, throughout this article, we’ll discuss fabric canvas, not needlepoint canvas.
Be careful when embroidering on canvas with a plastic coating or thick seams, as it may damage your needle. Most canvas is naturally colored, but it comes in white, black, and a rainbow of colors!
As far as embroidery designs, the world is your canvas! Get creative! You should stitch out with great results if you use high-quality embroidery designs.
Looking for high-quality embroidery designs for your next embroidery project? With 30,000 different designs, we have what you’re looking for. Check out our dozens of different machine embroidery design categories.
Embroidery Threads On Canvas
Polyester threads work wonderfully on canvas, but you can also use cotton or rayon.
The only drawback to rayon is that it frays more easily than polyester. The more rough the fabric, the more you can fray your thread.
Learn more about what the best threads are for your embroidery machine to give you the best stitched-out results possible.
Best Stabilizer for Canvas Machine Embroidery
Canvas is a firm fabric. Therefore sometimes you don’t need a stabilizer, but using one gives the best results. A medium-weight cutaway or a tearaway works very well.
Knowing what stabilizer to use with your embroidery can be confusing. Check out our Complete Embroidery Stabilizer Guide.
Embroidery Machine Needle For Canvas
Canvas has a very coarse weave and is quite strong, so there are only a few drawbacks.
When embroidering lettering on canvas or long straight lines, you often see your stitching line “jump” over one fabric thread. When using a dull needle or ballpoint, the embroidery thread tends to move sideways instead of going through the fabric. This happens because the needle is not sharp enough to penetrate the material. As a result, the thread gets pushed to the side rather than creating a clean stitch.
We recommend using a sharp point needle.
Machine Embroidery On Canvas Projects
We will show you a few ways to use canvas, but this is just the tip of the iceberg! Denim is like canvas, durable and wearable, making it a stable fabric for embroidery.
Displaying Embroidered Canvas On A Wooden Frame
Here is a sweet little birth announcement. The lettering is embroidered, and the embellishments are colored with permanent markers.
You can paint on canvas with no rippling, or feel free to dye it in any way you like before embroidering!
We painted a small frame and used a heavy-duty stapler.
Here are the steps for stapling canvas onto the back of a wooden frame:
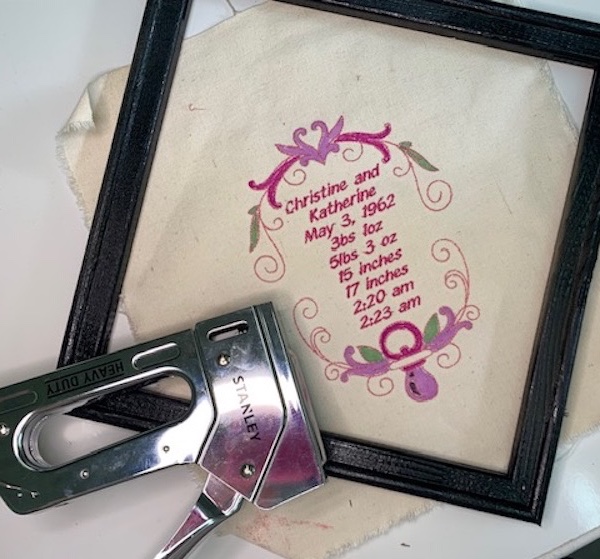
- Machine embroider your design. Lay your stitch-out face UP on a flat surface.
2. Lay your frame over it and adjust until it is square and centered in the frame.
3. Mark a dot at each corner.
4. Place the frame’s front side DOWN on a flat surface.
5. Lay the stitch-out face DOWN on the BACK of the frame. Align the dots with the four corners of the frame.
6. Staple the corners first, working on opposite corners as you go. If embroidering on stretched canvas, do not pull too tight to distort your embroidery.
7. Turn over and check to make sure your design is aligned.
8. Working on opposite sides, staple the sides in the center of your frame.
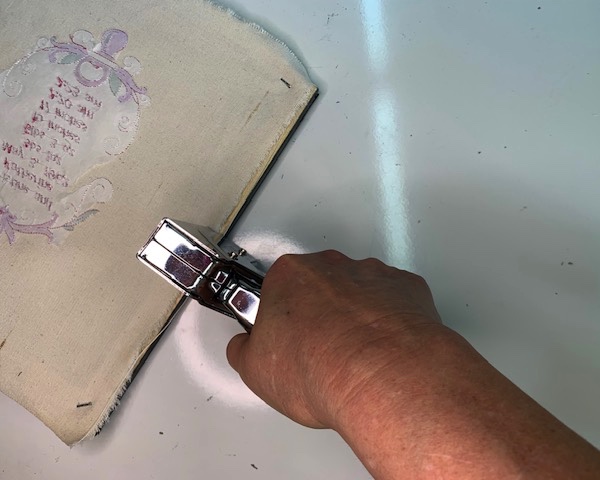
9. Fill in the sides with staples so your canvas fits tight.
10. Trim excess fabric showing around your frame.
11. Display and admire!
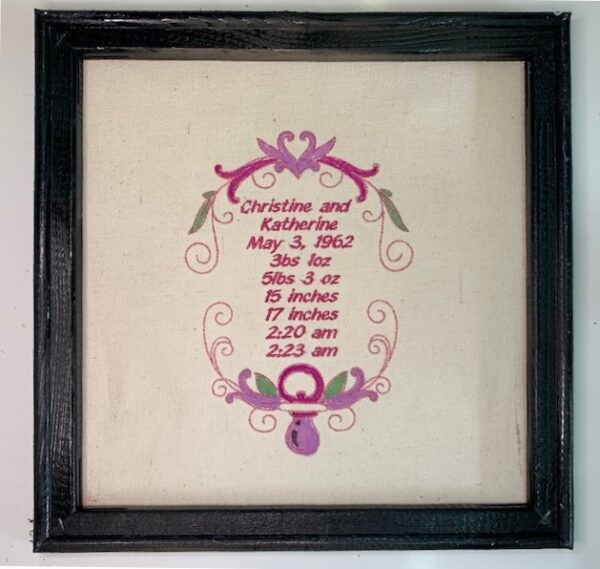
Canvas fabric is very strong, and you can pull on it, lining the fabric’s grain with the frame’s edge.
Create your own birth announcement or special occasion frames using our embroidery fonts. With over 1,000+ embroidery fonts, you’ll find the perfect text for your next project.
Display Your Machine Embroidery On A Canvas Frame
Embroider your design on any material you desire. Display it on a canvas frame as a gift, or hang it in your home as a stunning piece of wall art.
These can be budget-friendly and can be found at craft and dollar stores.
Join John in this step-by-step tutorial to transform your creations into eye-catching works of art!
Machine Embroidery Tile Scenes
When displaying embroidery as artwork, canvas material can be a wonderful medium. It is firm, stitches well, and is durable to stretch and display.
You can use multiple canvas frames to combine them into one big finished product.
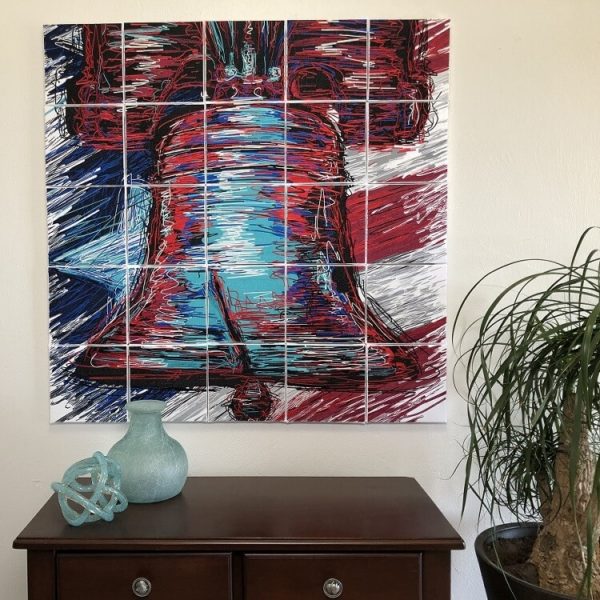
This amazing Liberty Bell wall display has over 2.6 million stitches! Stitched one square at a time to assemble it as one picture, and display it as this magnificent piece of art!
Do you want to create modern embroidery masterpieces? Learn more about our embroidery tile scene projects.
Canvas Project Ideas for Machine Embroidery
- Mug rug: simple, fast, and fun! Stitched right side up in the hoop!
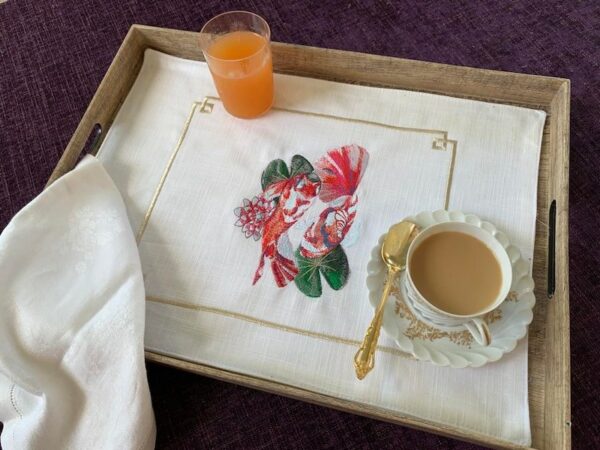
- Placemat: placemats made from canvas are so durable and washable!
Learn how to create your perfect placemat with our Embroidery Placemat Guide.
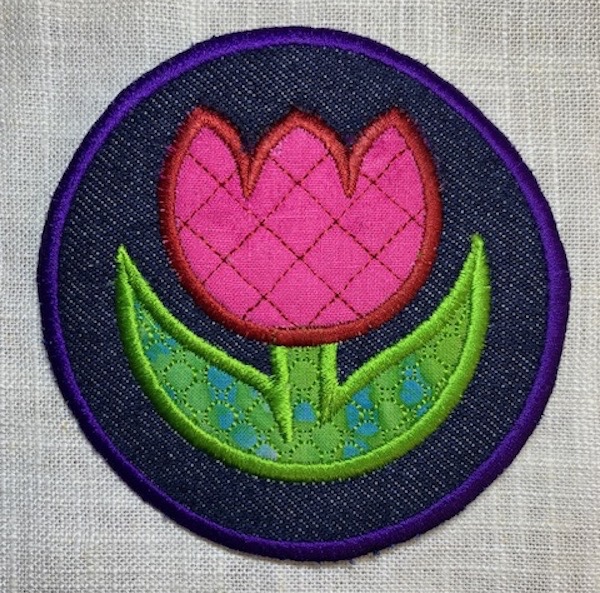
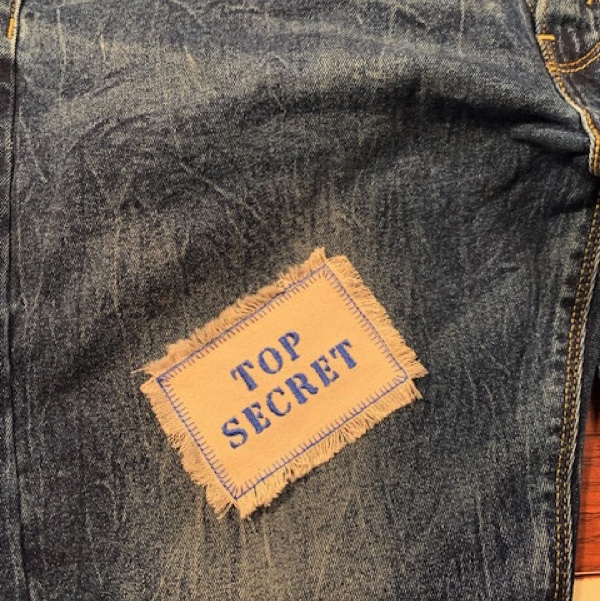
- Patches for clothing: they’re simple to make. After stitching, sew onto a hole in your jeans and fray the edge for a vintage style.
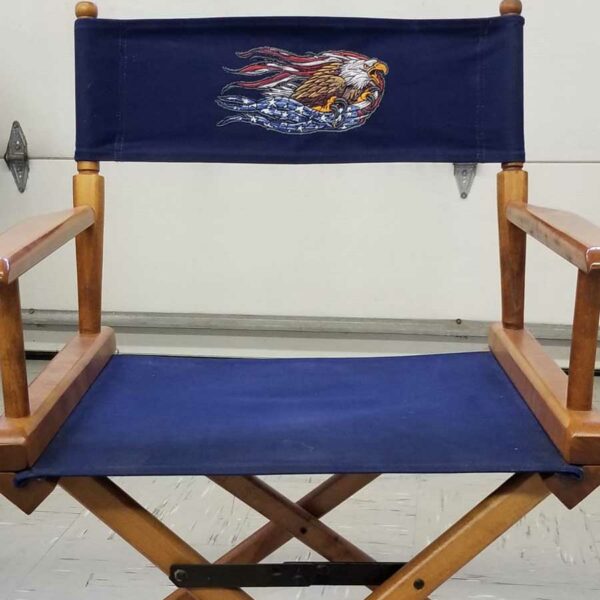
- Chair backs and seats: like vintage director’s chairs, the canvas is perfect for making your special spot yours!
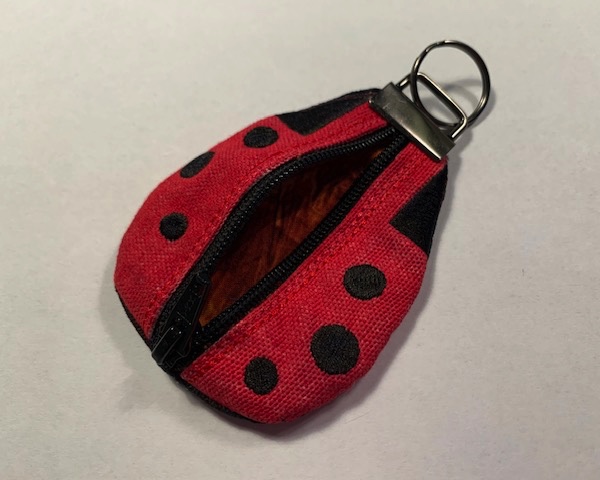
- ITH zipper projects: you can make anything in canvas that is made in vinyl.
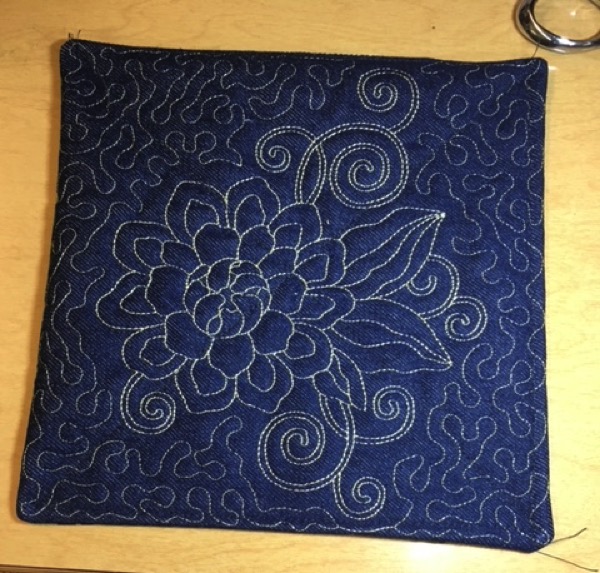
- Hotmitts: super easy to make in the hoop! Simply stitch the design on batting and canvas. Place another layer of backing over it face side down and stitch in place. Cut the fabric. Trim it inside out. Finish the project by hand.
- Totes: either stitched on canvas fabric or a premade blank tote bag, it only takes minutes while the joy lasts forever!
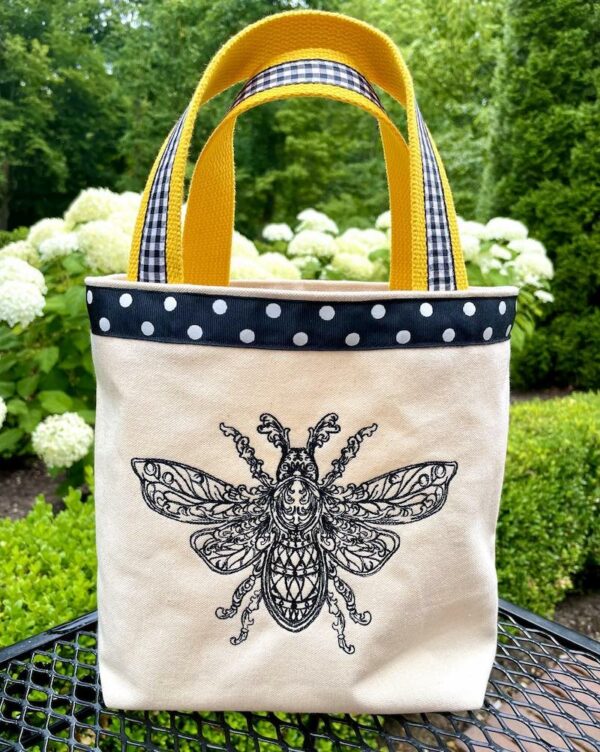
Linda Rayburn made this gorgeous tote using the Design Doodler Software – it is colorful, useful, and fun!
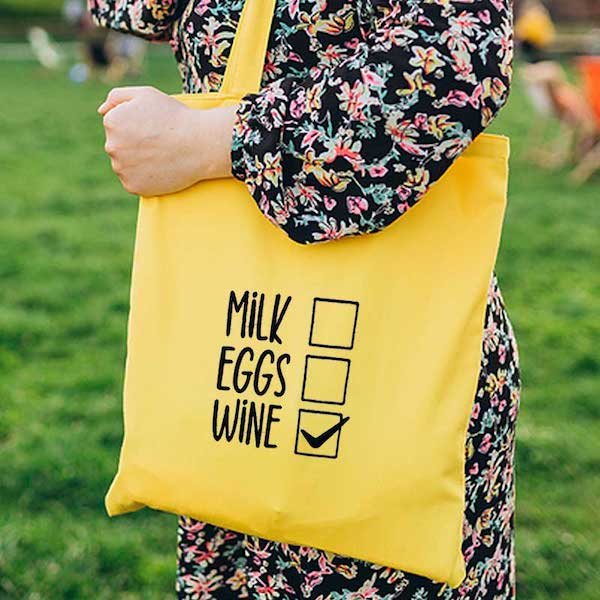
Check out our funny yet cute tote embroidery designs for decorating your next tote!
Conclusion: Embroidering On Canvas Is Easy With Great Results
Canvas is a wonderful fabric for embroidery; it’s versatile, stable, cost-effective, and available in many forms. As one of the most stable fabrics we use, you’ll find it works with virtually all of our 30,000 embroidery designs.
You will be up and stitching with very few guidelines, creating various fun projects!
P.S. Get your free Design Doodler demo to create your own embroidery designs. You can quickly convert your doodles to machine embroidery designs without knowing how to digitize!


Leave A Comment