Nodes are the unsung heroes of digitizing, the building blocks that shape every line and curve. Whether you’re a seasoned pro or just starting, understanding embroidery nodes is vital to unlocking your creative potential.
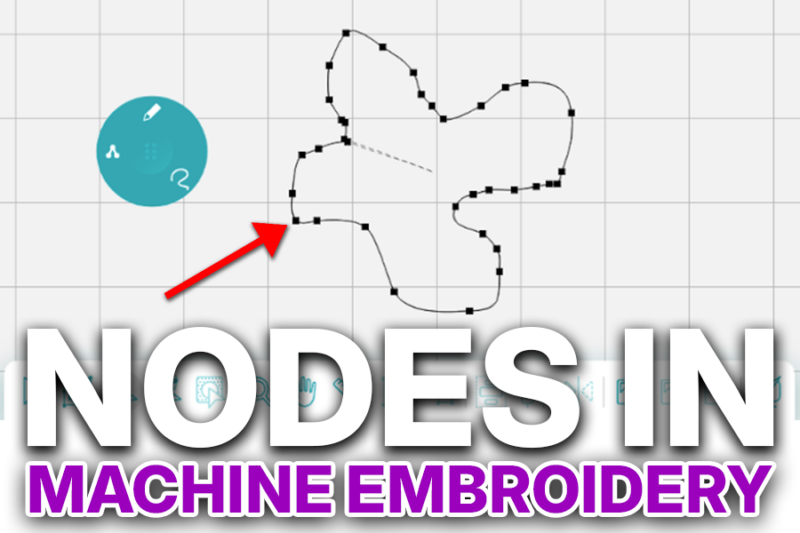
So, what exactly is a node? Simply put, it’s a control point that dictates the shape and flow of your lines. After mastering digitizing node adjustments, you’ll be able to create stunning and accurate designs.
In real terms, a node is like a bead on a wire. Just like Connect the Dots!

Now, imagine that using different types of beads changes how the wire comes out.
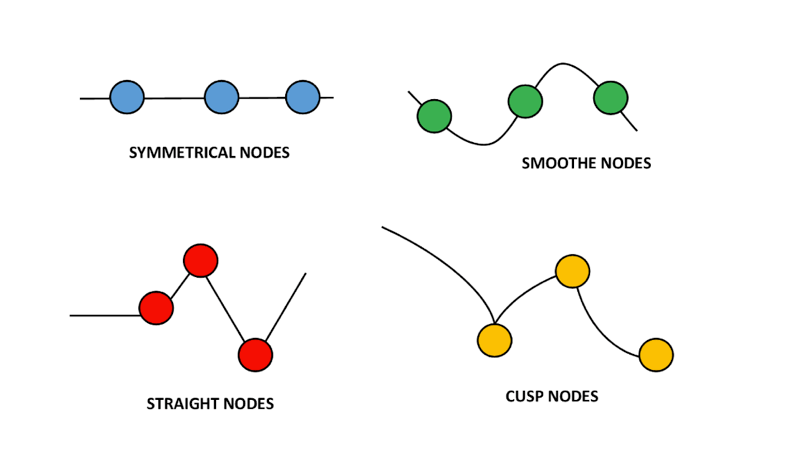
When you draw a line in the Design Doodler or any embroidery software, the nodes control the line’s shape. They determine how the line curves, moves, starts, and stops. Adjusting the shape of the nodes can help you refine and enhance your design.
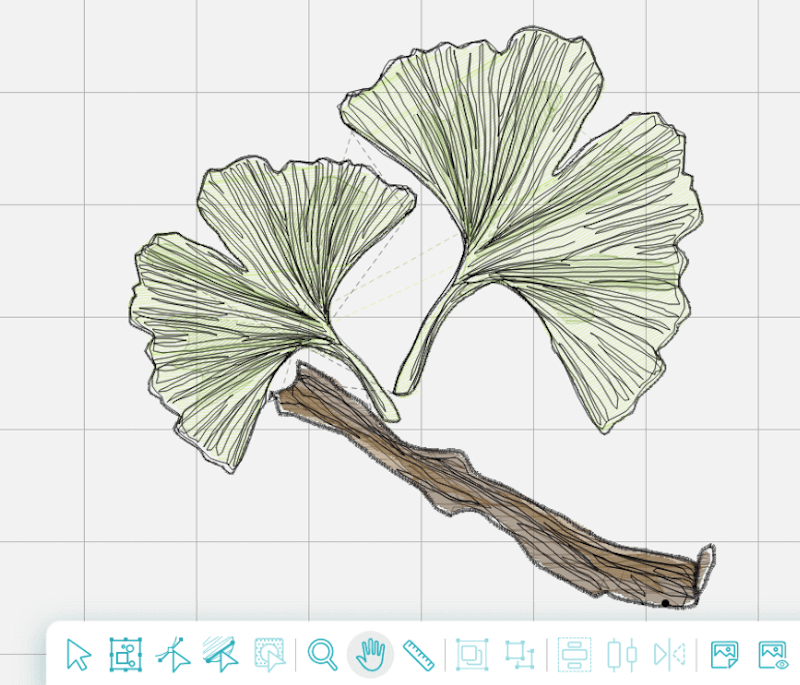
Here is what a bunch of nodes look like in a Design Doodler design!
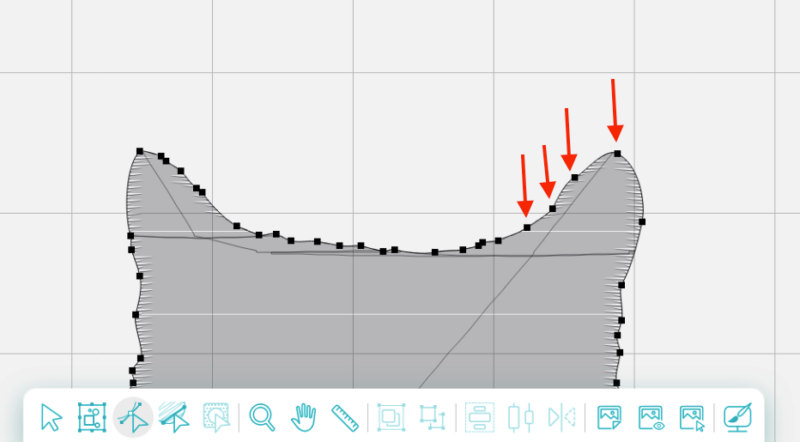
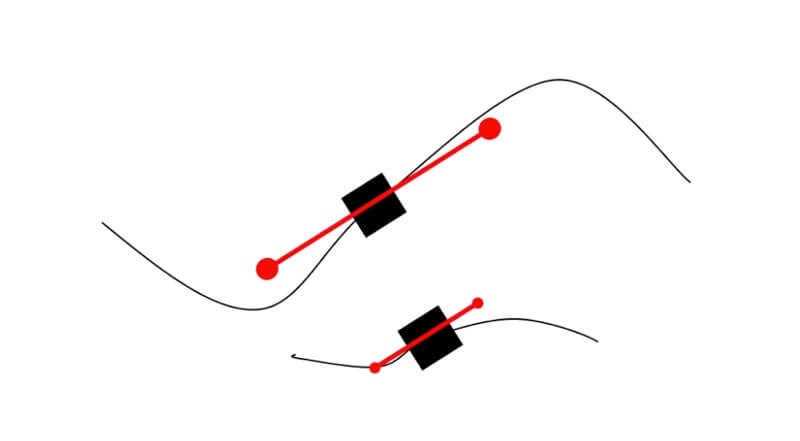
When we examine each one, it looks the same: a small square with a line of stitching running through it. When you select a node, red handles appear. Click and drag these handles to rotate the node or adjust the intensity of the effect on either side of it.
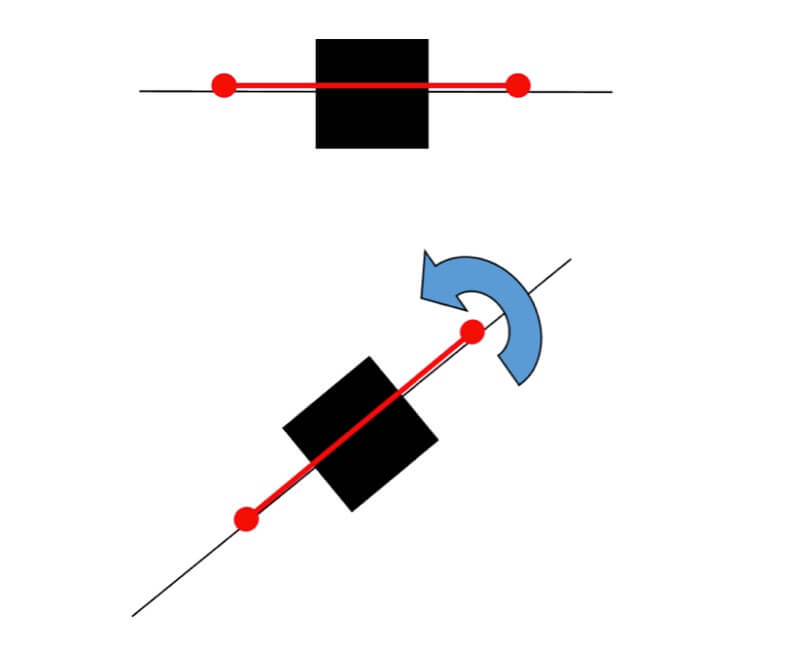
The further you pull the red handles apart, the larger the curve will be. The closer you push them together, the smaller the curve.
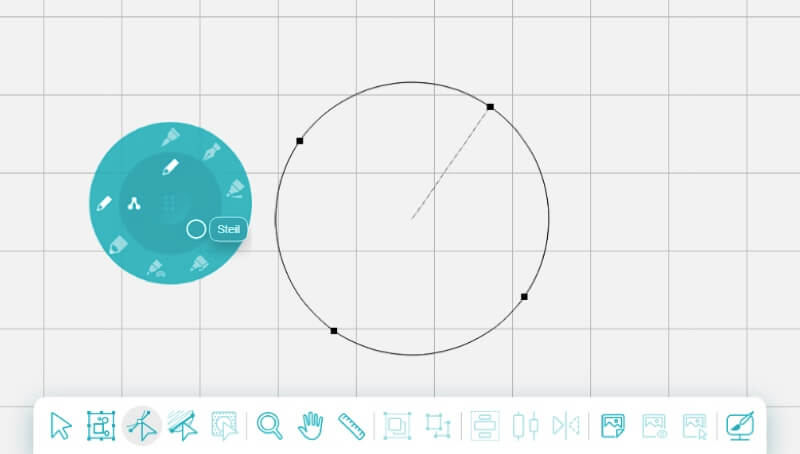
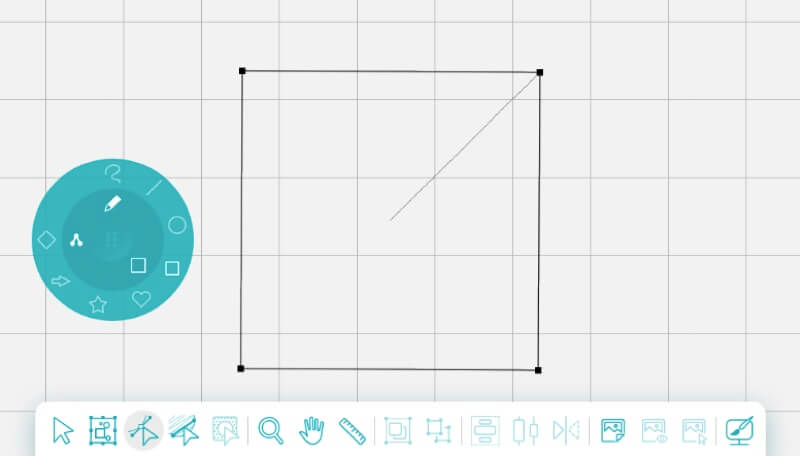
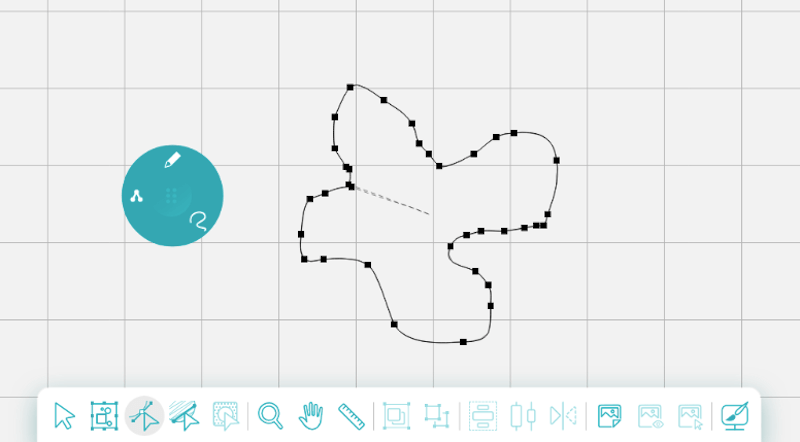
The number of nodes in a shape depends on its complexity. Simple shapes like squares and triangles have minimal nodes. Complex shapes like circles have more, and intricate shapes or hand-drawn lines can have hundreds.
What Happens When I Change Node Types?
We can change nodes to get different effects. You can select, add, or delete nodes by:
- Selecting an object.
- Selecting the “Path Edit” tool.
- Select the Properties Docker to decide what happens to these nodes.
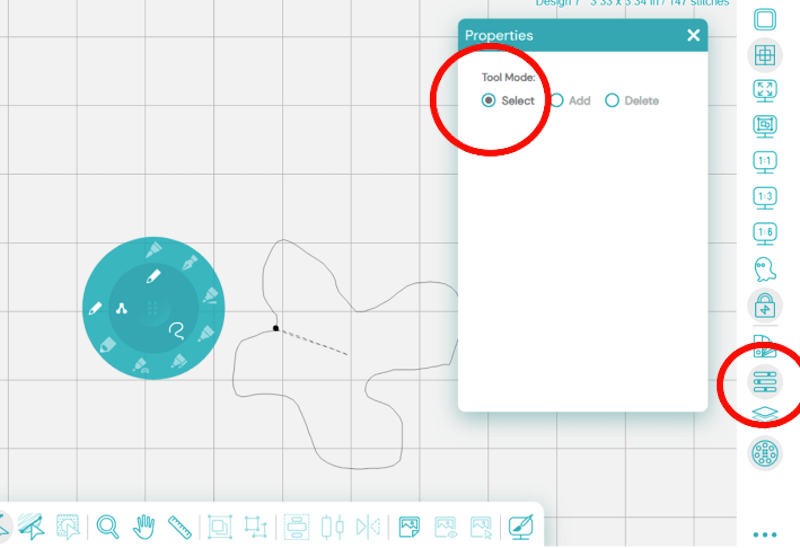
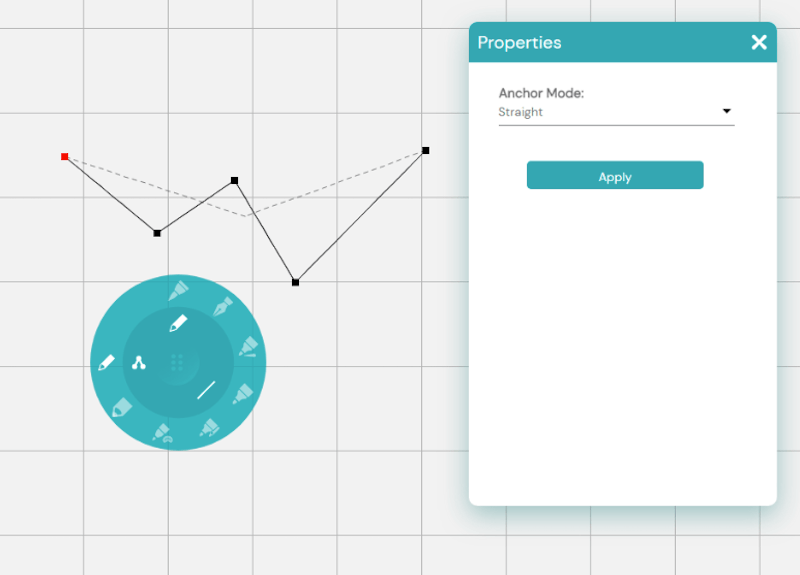
Let’s look at each type of node.
Straight: This is a straight line (point to point) on either side of the node.
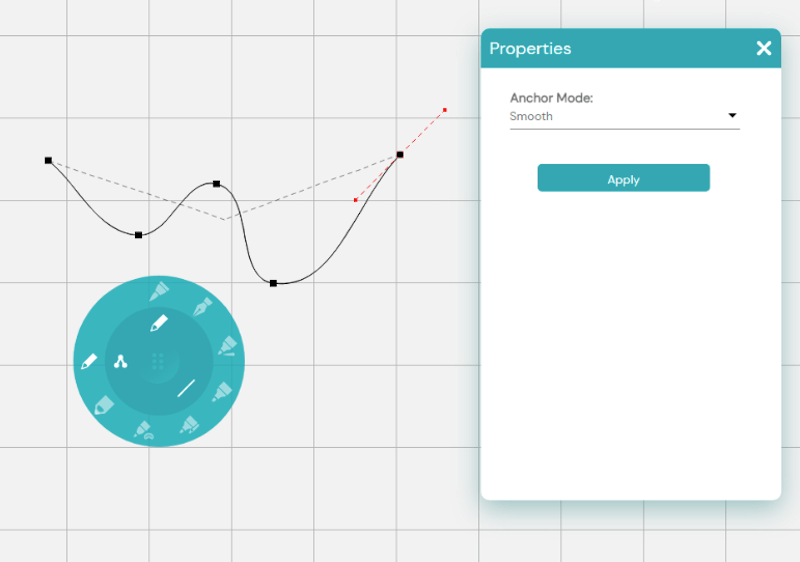
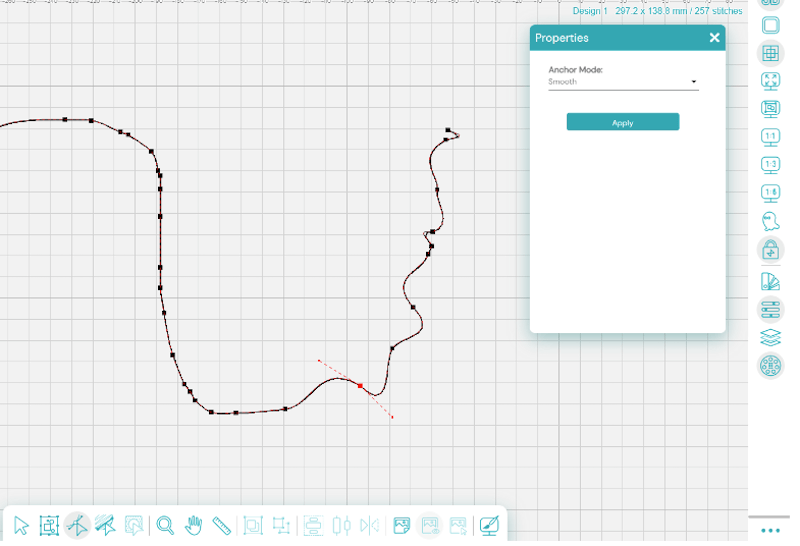
Smooth: Smooth nodes create a smooth curve from one point to the next. They are similar to straight nodes, but straight nodes have no handles, while smooth nodes do.
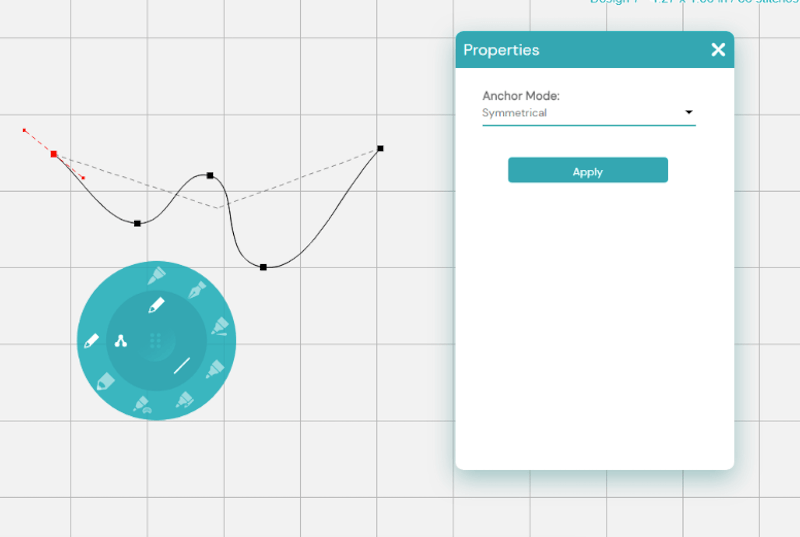
Symmetrical: Symmetrical nodes create mirrored curves. Any changes you make to one side of the node will reflect on the other side.
Cusp: Cusp nodes create sharp, V-shaped corners, which can also be curved. Converting existing nodes to cusp nodes doesn’t change the appearance until you adjust the handles. These nodes act as anchor points, allowing you to create sharp, pointed curves.
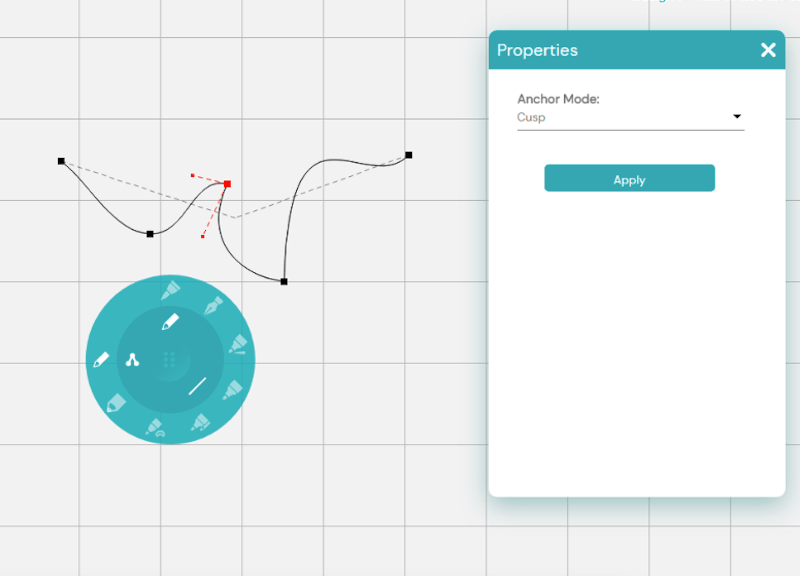
How does changing nodes affect the line?
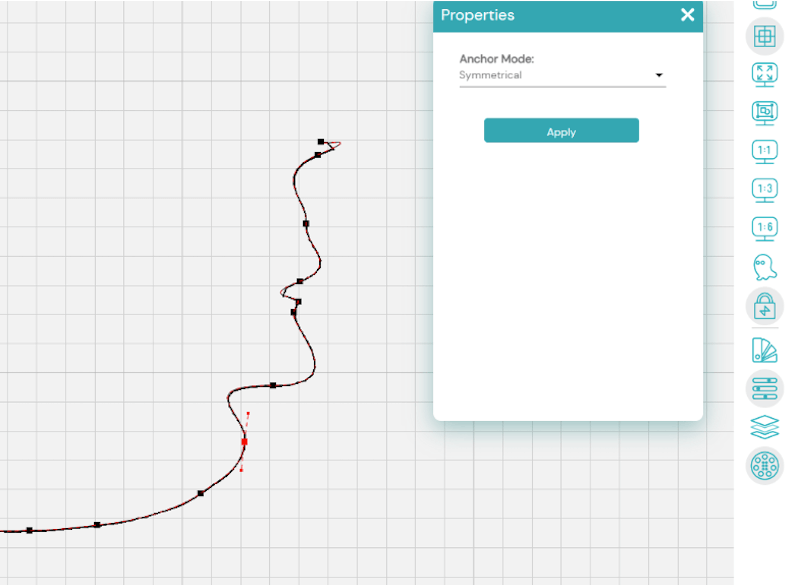
All these nodes are symmetrical, so each side mirrors the other. However, the curves may appear different depending on where a node is to the next node.
Here is the same doodle with all smooth:
And this one is all cusp:
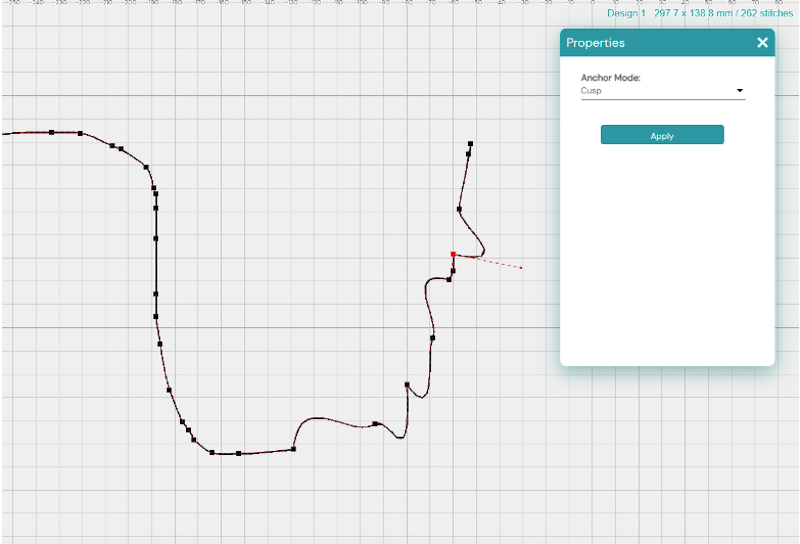
The effect is very different in each one!
Experiment with switching up the nodes and mixing and matching different types. You’ll be amazed at the variety of lines you can create!
Where are we going with all this?
Can you design a Doodle using a mouse? Absolutely!
Let’s start with a square.
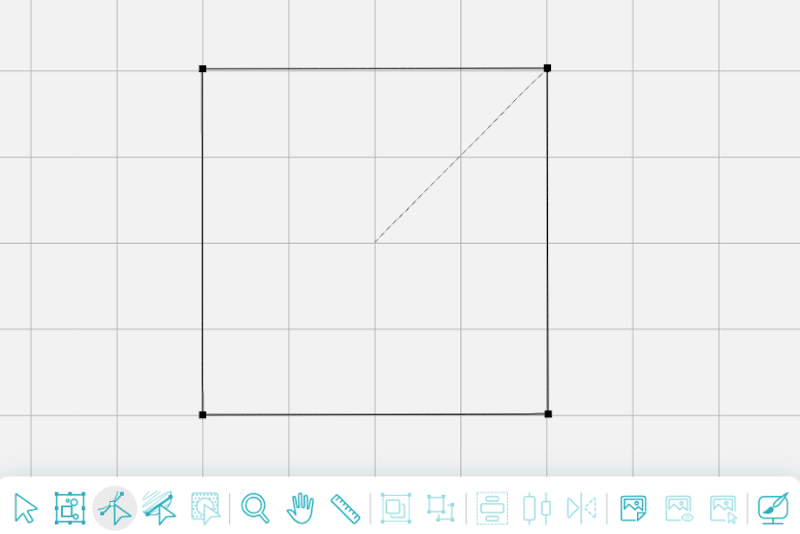
Let’s add a node in the middle of each flat side.
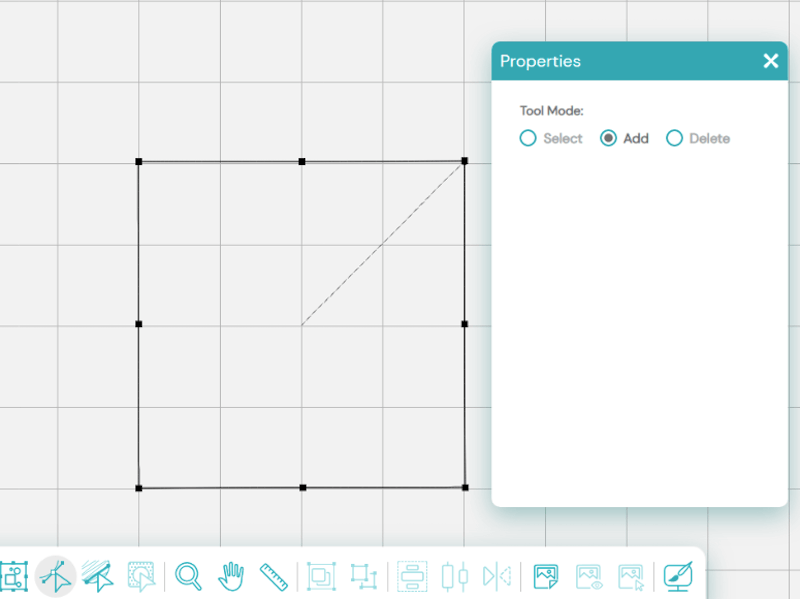
What happens if we were to move those nodes closer to the center?
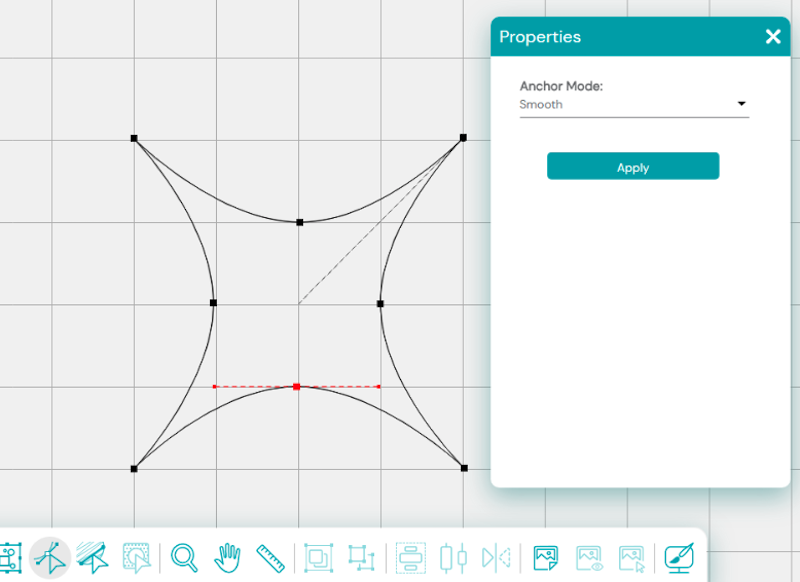
Let’s change them to Cusp nodes and move the arms to create a different shape.
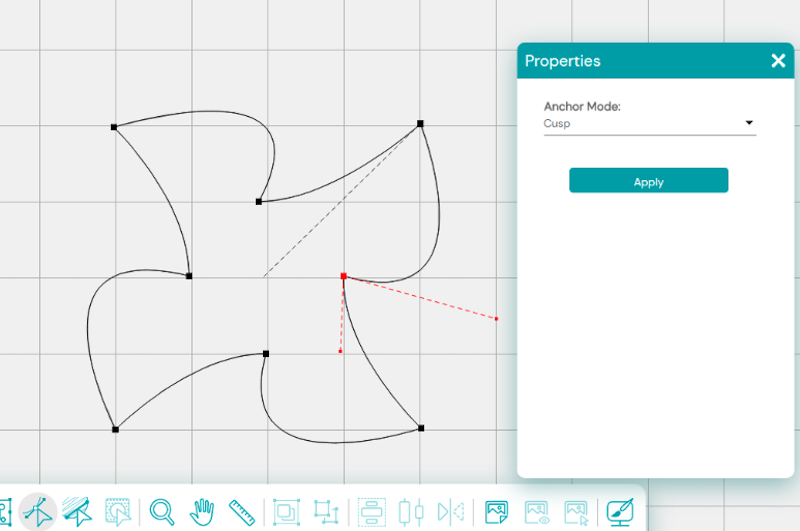
Experiment with the different nodes and see what you can create!
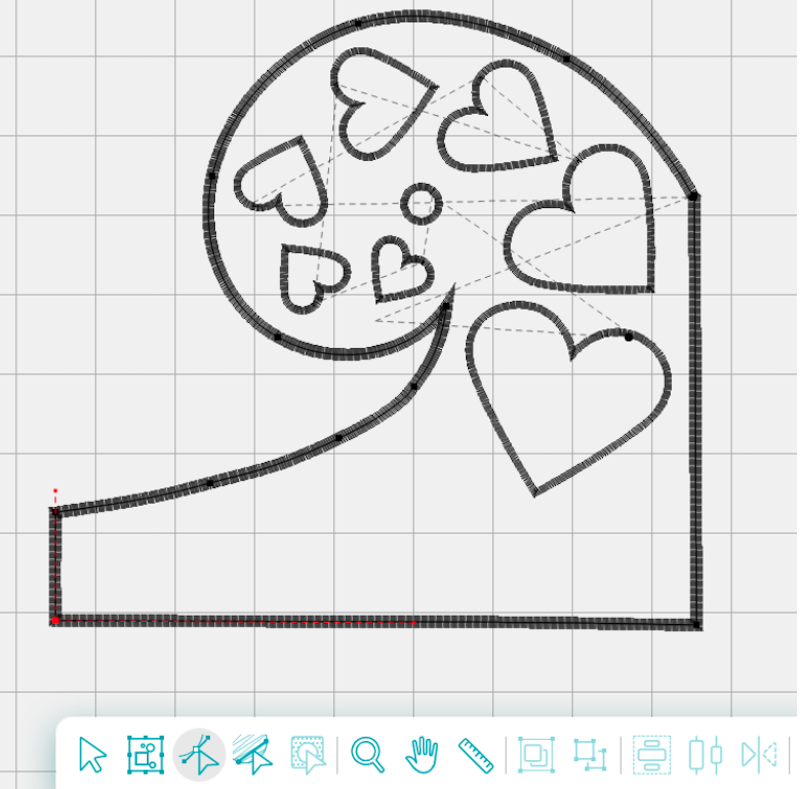
Let’s see what can happen with shapes.
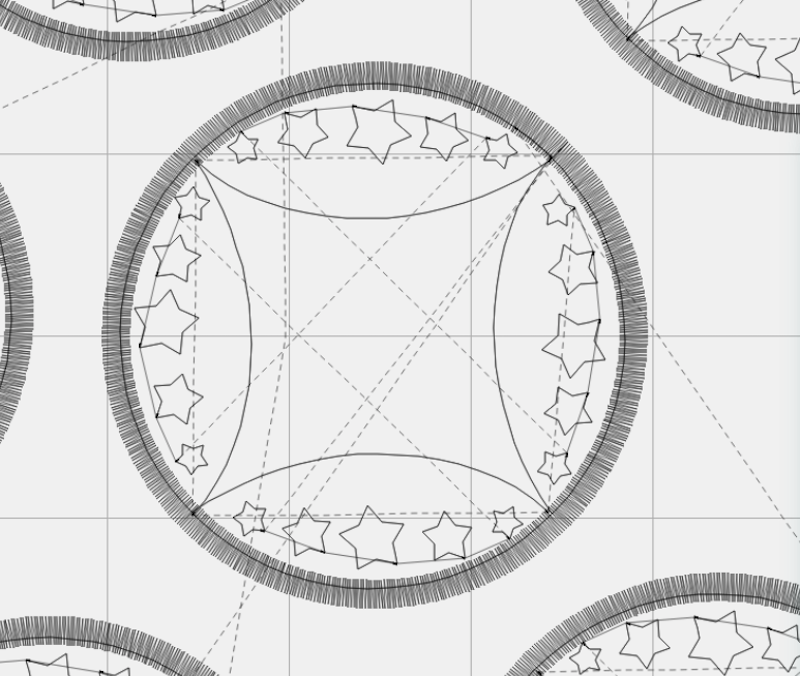
The preset shapes offer endless design possibilities! Mix, match, and experiment to create your perfect shape.
What should you remember about nodes?
- Nodes are the foundation. Lines in Design Doodler and other embroidery softwares are created using points called nodes.
- Node type and spacing matter. The behavior of a line between two nodes is determined by the kind of nodes and their distance from each other.
- Keep it clean. Use as few nodes as possible to create smooth lines and maintain optimal program performance.



Leave A Comment