Have you ever wondered where redwork stems from? What is the history of redwork, and why is it so commonly used in embroidery and quilting today?
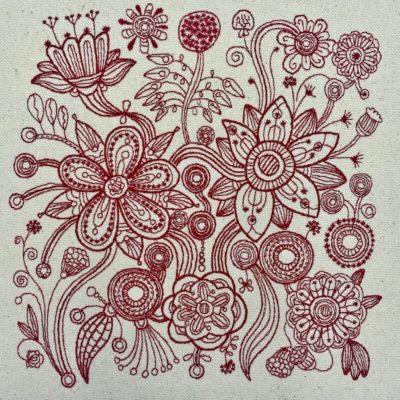
Ahhh… History… the subject many of us dreaded in school only to wish we would have listened more to understand our modern world. I struggled with machine embroidery when it was first suggested I supplement my traditional Cornely Embroidery with a used Tajima Machine. Oh heavens, no! Not me! I will not succumb to the modern age.
But the modern age is where I live, and I finally decided to make the best of it and beat modernity at its own game. I would figure out how to drag modernity back with me into the past.
This article will cover:
- History of redwork embroidery
- Redwork embroidery technique
- Redwork embroidery patterns today
- Redwork machine embroidery designs
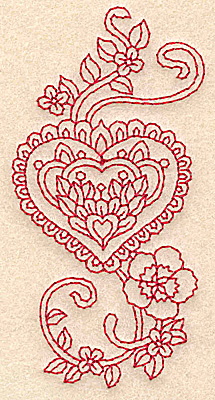
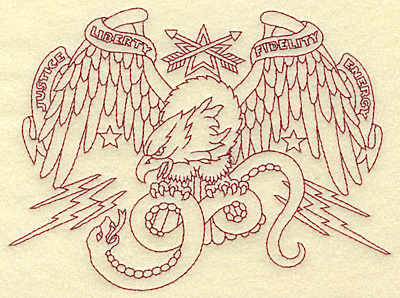
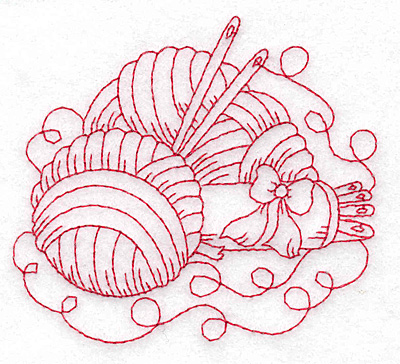
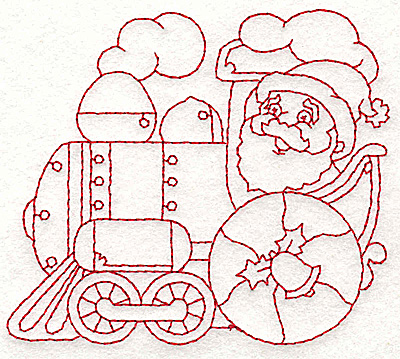
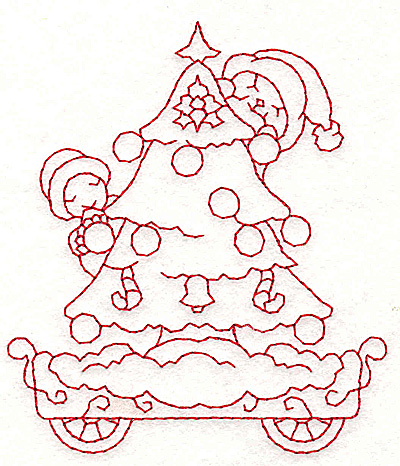
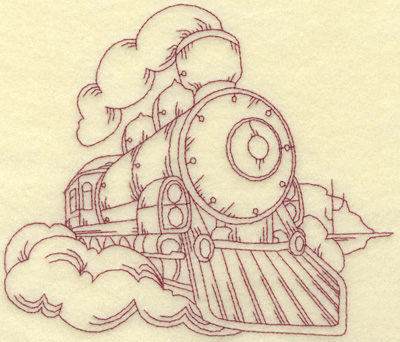
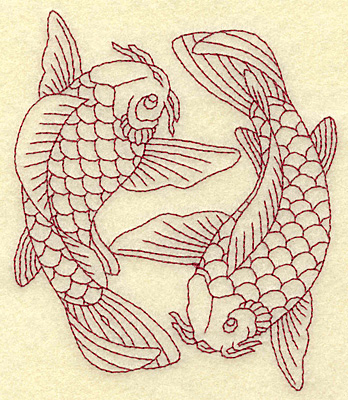
If you’re unfamiliar with redwork embroidery, a redwork design has exactly two passes of thread within every outline. Because of this, the start and stop point of a redwork design is in the same place. Redwork designs are a favorite with quilters and generally have low stitch counts which means less run time on your machine.
A recent discussion in one of Embroidery Legacys Facebook groups, Machine Embroidery & Digitizing Made Easy, asked what redwork was and how it differed from branching. The mention of redwork brought to mind jumble sales and days spent doing the “yearly washing” of linens with my mother-in-law using an old Maytag wringer washer. I always thought those designs silly and crude, but I found they are part of a rich tradition of handiwork upon further research.
The story of redwork reaches all parts of the globe and includes espionage, sales schemes, and beautiful imaginations. If you look beyond the flowers of the month or birds for different seasons, you will find a tradition of love and skill.
Let’s explore this one form of embroidery we all use and love. Let’s bring a little history forward in our modern way.
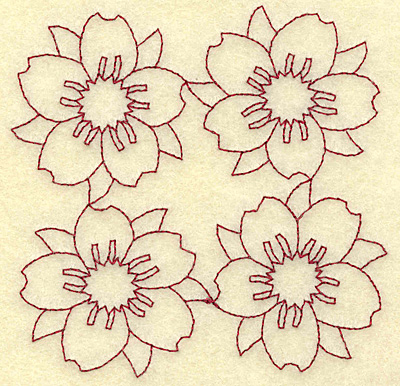
History of Redwork Embroidery
Redwork embroidery is a type of embroidery that became popular during the Victorian era. Back then, it was done only by hand. It was a series of outline stitches that were easy to achieve and had a very graphic quality due to only one thread color. Outline stitching was easy to do and much faster than the labor-intensive fill stitches such as satin. It required less skill and was easily done by children. A bonus was that the amount of thread required to complete a design was much less, which opened it up to a wider audience.
The redwork embroidery aesthetic movement
In our modern times of COVID, we turn to things beautiful and soothing, which was no different for Victorians and earlier. They surrounded themselves with beautiful things and took delight in creating all manner of goods to be used and enjoyed from the moment they rose until they lay down to sleep.
The Aesthetic movement was an art movement that featured an emphasis on aesthetic value. Therefore, a dishtowel beautifully embroidered had greater value, say, than a shovel or a pair of shoes. These items did not even need to be useful. They had merit in just being beautiful- art for art’s sake.
This meant that everyone could take part. If you thought the apron you created was beautiful, then it had as much value in the world as an art masterpiece. In fact, it was an art masterpiece.
Out of this overall movement sprung the Arts and Crafts Movement. It was a decorative arts trend that started in Great Britain and spread to the Americas and beyond. Famous Artists in the Arts and Crafts movement included William Morris, who produced gorgeous Textiles, wallpaper, and more.
In Britain, the Arts and crafts movement was a sort of rebellion against the Industrial Revolution. The focus of this production was brought back to the skillful creation of goods. Where machines had robbed the beauty of art and sacrificed quality for speed, the Arts and Crafts movement brought production full circle to artisans and handmade goods.
What does this mean, then, for you and me? It is a historical precedent that urges us to return to handwork and delight in the goods we can make for ourselves.
The history of redwork quilts
All of us have seen crazy quilts, right? Little scraps of velvet, cotton, silk, and more. Tons of gorgeous stitching and complicated stitched edgings around each piece. Where crazy quilts were the product of homemakers in the 1880s and beyond, the popularity of World and Regional Expositions opened up the world of embroidery for those who could not travel to Japan or Britain, or the Americas.
Crazy quilting after the Philadelphia Centennial Exposition in 1876 became popular with upper-class women and later with women in rural areas. Crazy quilts used small scraps of fabric for their construction. Different colors, textures, and patterns are made for individualized quilts. For rural homemakers in the US and abroad, silks and velvets were not in abundance, but plain cotton was.
Cotton and linen fabric were perfect for the showy and cheerful redwork. Bought in 6×6 and 10×10 inch squares pre-stamped along with a skein of floss for a penny, redwork quilts were reachable for everyone. Pillow shams, aprons, towels, and bath sets were adorned with redwork, and many of these included messages, verses, and bible passages. If it was made of cotton or linen fabric, it could be worked in Turkey Red!
Redwork embroidery Turkey Red thread
Turkey Red thread (though you might have visions of a great puffed-up bird) comes from Turkey, the country in the East. To this day, Turkey is a huge player in the textile, rug, and yarn markets.
Though the thread was imported from Turkey, Gosta Sandberg attributes the dye technique is from Eastern India. Dyes in the Victorian era (and earlier) were problematic. To make a dye colorfast harsh, chemicals were needed, and, in most cases, the thread was not colorfast and bled into the nearby fabric during washing.
According to Susan Brown in a post on Cooper Hewitt, The story of Turkey Red is a colorful tale of industrial espionage and theft. It was a brilliant scarlet dye for cotton. The color’s actual name is Adrianople red (Indian red), and it was used in the Mediterranean and unknown to Europe before 1800.
Not wanting to be behind, Textile companies in France and England sent spies to Turkey to discover the secret technique. They truly were not ready for the process; it was labor-intensive and used lye, oil, animal excrement, and oxblood (though this was later found not to be needed).
Additionally, the process was harsh, and not all fabrics and fibers survived the process! Armed with that information, the firms in Europe began research on how to produce the dye safely and quickly. Ultimately the compound Alizarin was produced, making Turkey Red the first synthetically created dye in 1869.
It sounds confusing, but everyone did not use Turkey red threads for redwork embroidery. Bluework, Greenwork, and Purplework were also popular but were all called redwork. Often they were referred to as “Purple Redwork”.
One difference is black thread. When using black threads, the work was not called Blackwork but rather Redwork in Black. Blackwork is a very specific type of hand embroidery that made use of intricate fills and patterns.
By the 1930s, a rainbow of pastel colors appeared on kitchen dishtowels, hot mitts, aprons, baby quilts, and more.
Iron on transfers
Anyone who has happened upon a garage sale, church rummage sale, auction, or had relatives drop boxes of magazines on the doorstep of unsuspecting “relatives who do needlework” knows Aunt Martha!
Likewise, the Workbasket magazine, a staple in the early 1930s, offered supplements to their needlework magazine of redwork patterns that could be ironed on. Aunt Martha transfers were produced by The Colonial Company and were often sweet and charming flowers or comical figures for the days of the week. They were serialized and had a theme for each offering. They could be used multiple times, but the newsprint they were printed on stressed under use.
Workbasket Magazine was published by Modern Handcrafts of Kansas City, MO. Like Aunt Martha, their patterns came on a sheet printed in red ink, but unlike her, Workbasket had large sheets (21×30) with an assortment of unrelated motifs.
Redwork business for stay-at-home women
Penny squares sold with pre-stamped designs on muslin were popular with consumers, but innovative homemakers drew their own designs and transferred them to fabric by pouncing.
Pouncing is the process of punching a line of small holes in paper and, after laying it on fabric, dusting or rubbing the paper’s surface with a pounce which was a small bag filled with chalk or other pigments. This marking left a very faint mark, but many women drew their own designs directly on the cloth.
Patterns could also be bought in subscriptions, and premiums could be earned for those enterprising ladies who referred friends to subscribe. The historic magazine Needlecraft: The Magazine of Home Arts, for example, printed a one-page advertisement showing one hundred redwork transfers in exchange for two journal subscriptions. Sunbonnet Sue, a popular quilt design, sprung out of this scheme and is still used on quilts today.
Redwork Embroidery Technique
So enough with the history lesson! How do we actually do redwork? Because of its simplicity, redwork is an excellent starting place for new needleworkers and young needle artists. Five types of stitches are easy to learn, and you simply follow the lines of the printed pattern.
1.The running stitch dips up and down into the fabric, creating a line similar to quilting. The goal is to have evenly spaced stitches to display skill.
2. The Backstitch is a series of even stitches usually worked right to left in which comes up ahead of the last stitch and then returns through the hole of the previous stitch.

3. The Stem Stitch is worked from left to right. Again, taking even stitches, these nestle against each other to produce a solid line. The thread is held below the needle.
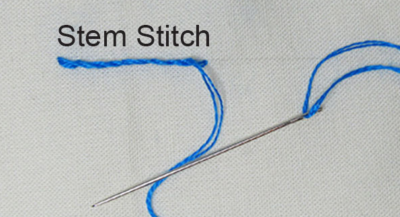
4. The Outline Stitch is the same as the stem stitch, but the thread is held above the needle.
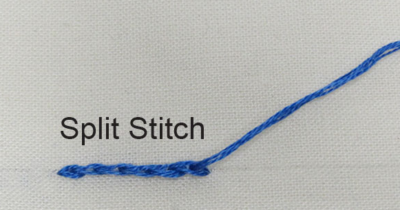
5. The Kensington Stitch is what my mom would call the split stitch. Since floss comes in 6 strands, you can use it in 2, 4, or 6; the floss is split, creating small hearts or “needle eyes.” This stitch was the hardest to master as I had to count out the strands, but it gets easier.
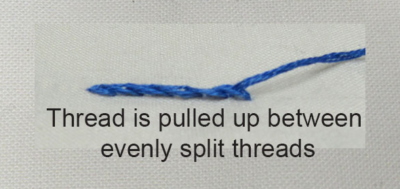
Redwork Embroidery Patterns Today
While I am more of a “history gal,” I realize that embroidery has to take advantage of increased popularity and a greater audience due to the internet and people like John Deer and The Deer’s Embroidery Legacy.
So what is a history gal to do with the changing times? Figure out how to pull modern machine embroidery techniques backward into the 1880s while they pull me forward into the 21st century.
There is no reason for modern and historical to be at odds, though; modern machines produce amazing results quickly. I can soothe myself by using old patterns and enjoy the benefits of using digitizing software.
But how do we go about this? Know what you like! Be willing to experiment and be open to new ideas. If you had asked me a year ago, I would not have even thought of using puffy foam, but now I have figured out how to use that to enhance “modified goldwork”. You can see as much as you want to see if you are willing to be broad-minded.
Redwork machine embroidery designs
Like any embroidery technique, not all embroidery designs are created equal. When using designs on your embroidery machine, you want to ensure they’ll run smoothly and not ruin your garment.
We suggest always using embroidery designs that you know will give you great results. Embroidery Legacy is sure to always give you the best results possible as our redwork designs are of great quality and personally digitized by the world’s most awarded digitizer, John Deer.
With hundreds of redwork embroidery designs to choose from, we are sure to have a redwork embroidery design to suit your creative needs. You can view our many Embroidery Legacy redwork designs by clicking here.
As always, with anything embroidery-related, everyone at Embroidery Legacy is here to help. Feel free to join our Facebook group Machine Embroidery & Digitizing Made Easy by clicking here, as we are committed to making sure you learn and enjoy the craft of embroidery to the fullest!
Digitizing custom redwork machine embroidery designs
Some embroidery software have a redwork setting designed to give exactly two passes to create the even stitching of traditional redwork. Honestly, it is compelling, and it offers the ability, with practice, to digitize hand lettering and reproduce the design.
Sound too good to be true? It isn’t, but it does require you to be a bit of a detective. Redwork needs to be skillfully pathed so that the lines flow from one to another.
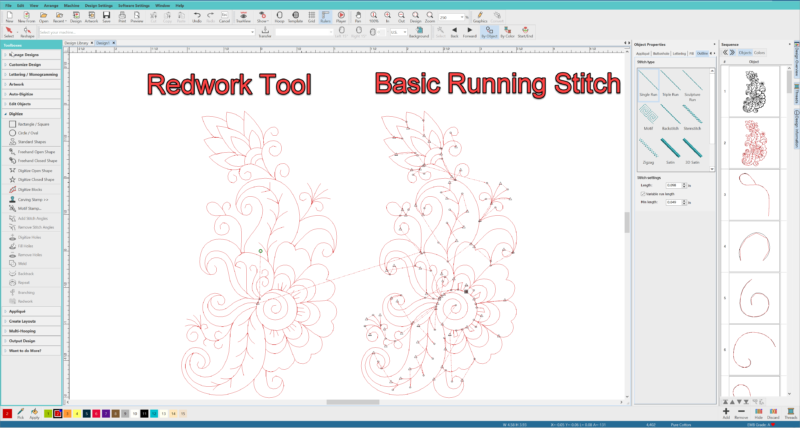
Redwork image on left is created using “Redwork” tool; notice here there is one trim
Redwork image on right is created using basic running stitch; notice many trims on the design
Interested in trying to create your own redwork embroidery designs? Try a demo of the Design Doodler to create your own redwork embroidery design and see how easy it truly is.
When looking at the pattern, you need to draw it out and decide before you jump in and start clicking. Figure out your flow and work from logical start to finish. You will need to line up your start and stop points (the green plus and the red diamond) to function as a bucket brigade handing the stitching from one person to the next.
Ideally, you would digitize the entire pattern as one pass with no trims, but if you cannot (say you are working on a quilt square with four repeated motifs), make sure the start and stop of each part of the motif flow.
Conclusion: Redwork Was & Is A Valuable Embroidery Technique
So why not give it a try?
My challenge to you is to create a redwork design of your own! You can do so with a free version of the Design Doodler. Do a series for towels, hot mitts, quilt squares, tea towels! Then, please share your results with us in our Machine Embroidery & Digitizing Made Easy Facebook group. Redwork patterns have a beautifully rich history, and they can be made your own.
Silhouettes of children or carefully digitized pictures of people are excellent, though challenging, topics. In the spirit of traditional redwork, use Turkey red, Blue, Purple, or Green and allow yourself to be creative with only one color.
Now if you’re looking to create Redwork but don’t want to have to digitize your own designs, don’t forget to check out Embroidery Legacy’s large collection of quality redwork embroidery designs by clicking here.
P.S. The article was written by Christine Buhr, a valued member of our Embroidery Legacy family. If you enjoyed this article and would like to see more articles written by Christine or have a comment or question, please leave a comment below!



Great article! I’m a newbie and was looking for information on redwork. I wanted to embroider on card stock and read it would be the best choice.
Thanks for reading Dawn, keep us updated on how card stock works for you 🙂
This was very interesting to read, and i learnt a few new things, Thank you Christine for a great blog 🙂 i would love to see more.
Thanks for taking the time to read. There will be more to come 🙂
Merci Christine pour tous ces précieux renseignements.
J’ai appris à broder à l’école primaire et avec Maman, mais le redwork ne faisait pas partie de l’apprentissage!!!
Avec hatch c’est tellement facile et lorsque je m’abrutis sur un motif (non redwork) un peu compliqué , le redwork m’aide à me reposer tout en restant “scotchée” à mon logiciel préféré!!!!!
As a youngster, I saw many Workbasket Magazines that my Grandmother had. It was nice to bring it back into my memories. Interesting article about redwork. Thank you Christine.
What a nice memory, thanks for sharing & taking the time to read Cathy 🙂
Very will written – thank you Christine! It is always interesting to learn the background and history of embroidery. You have a way with words that makes the reading of it captivating.
We agree, Christine has a great way with words! Thanks for reading Gail.
Loved this history lesson!! Thank you.
Glad you enjoyed it, thanks for reading Becky!
My EGA meeting had Red Work at our last meeting, & I am going to work on my piece, we do hand embroidery.
How lovely!