-
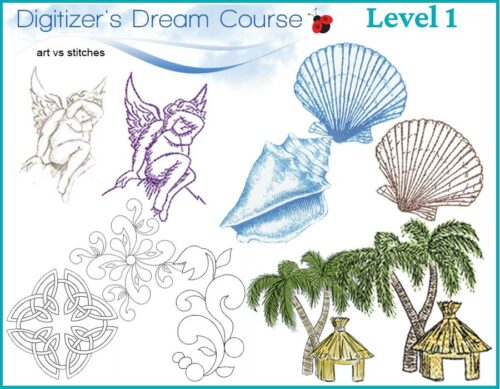 Level 1 is where we suggest everyone starts whether you’re completely new to digitizing or have been at it for a while. In this level, you’ll learn some of embroidery’s best kept ‘secrets’ & build a solid foundation of embroidery theory. This lesson heavily focuses on the running stitch as it is the primary stitch type used in machine embroidery.
 -
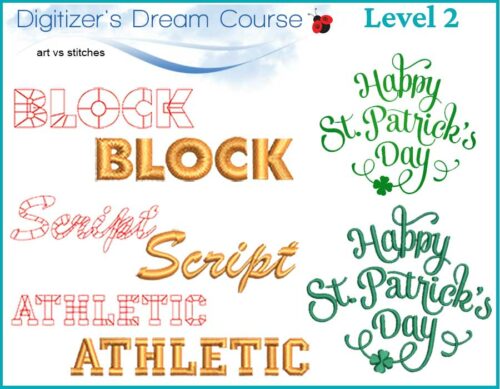 Level 2 continues where level 1 left off & focuses on the attributes of the satin stitch. This level will cover topics such as stitch length, densities, understanding short stitches in relation to stitch length and assessing shape angles based on the width of the stitch.
 -
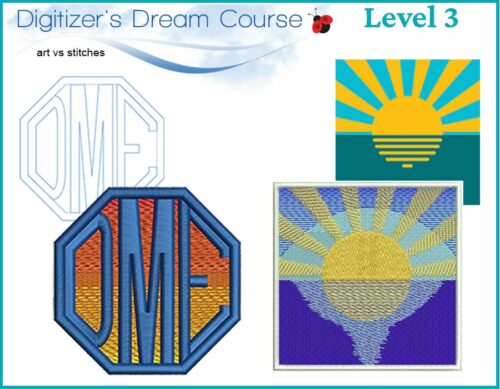 Level 3 continues where level 2 left off & focuses on the attributes of the fill stitch. Because fill stitches are primarily used to cover large areas, the principles of underlay, stitch direction, density and especially stitch length play a big part in creating soft designs
 -
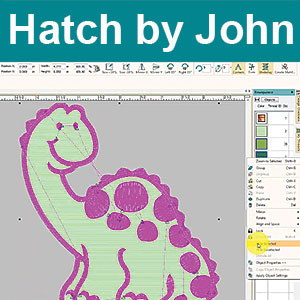
 In this lesson I will show you how to manually digitize a design from beginning to end.
 -
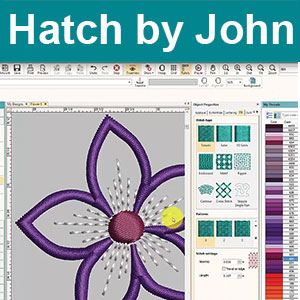
 In this lesson we will play with some of the the auto digitizing tools within the hatch software.
 -
 This informative video focusing on ESA Fonts will show you why they have been considered the “Gold Standard” in lettering quality for decades. Note: there are no associated files to download for this lesson.
 -
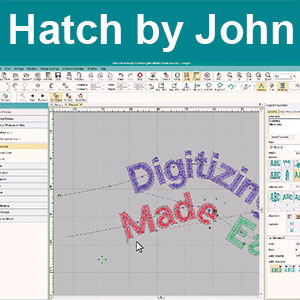
This tutorial will show and explain many of the key features within Hatch so you be sure you get the most out of your demo version.
Note: there are no associated files to download for this lesson.
-
 This informative video focusing on ESA Fonts will show you why they have been considered the “Gold Standard” in lettering quality for decades. Note: there are no associated files to download for this lesson.
0